Sculpey Premo™ Color Transfer Magnetic Photo Frame
Sculpey Premo™ Color Transfer Magnetic Photo Frame
Read More
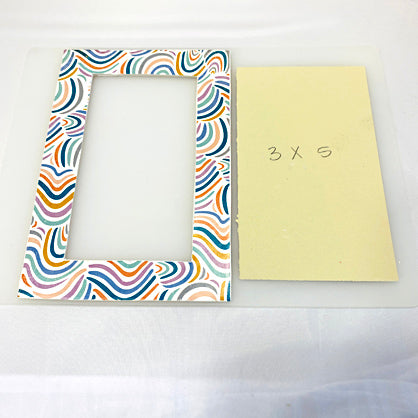
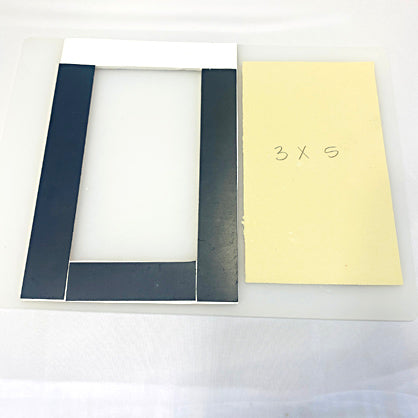
Secure your favorite 3x5 photo to any metal surface with this clever and colorful Sculpey magnet frame!
TIME TO COMPLETION:
60 Minutes to make and bake; some extra time required for glue to dry.
Read Less
ADDITIONAL SUPPLIES
- 4 x 6 Index Card
- Pencil
- Ruler
- Scissors
- Water basin
- Sponge
- Paper towel
- 3 x 5 Index Card
- Magnet strips
- Silicone glue

Project Instructions
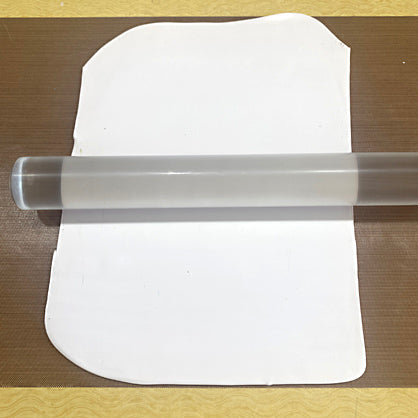
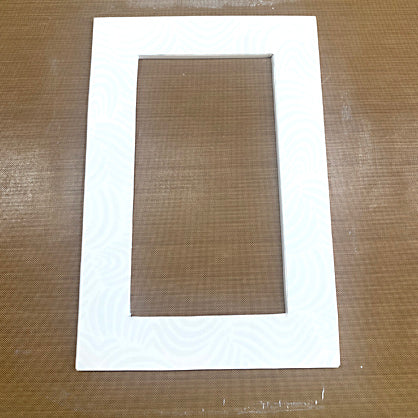
Step 1
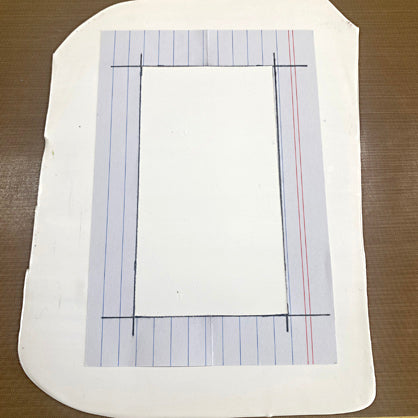
Step 2
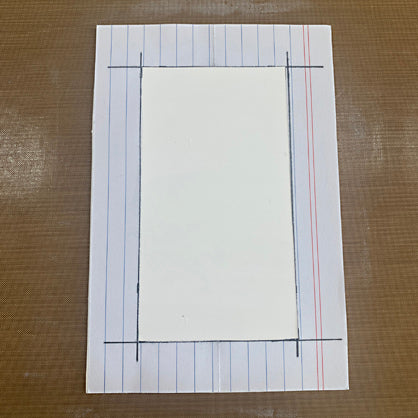
Step 3
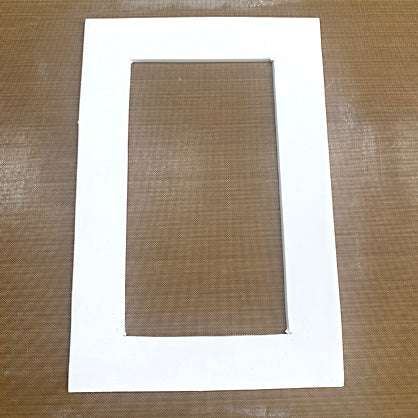
Step 4
Step 5
Step 6
Step 7
Step 8
Step 9
Step 10
Step 11
Step 12
Step 13
Step 14