

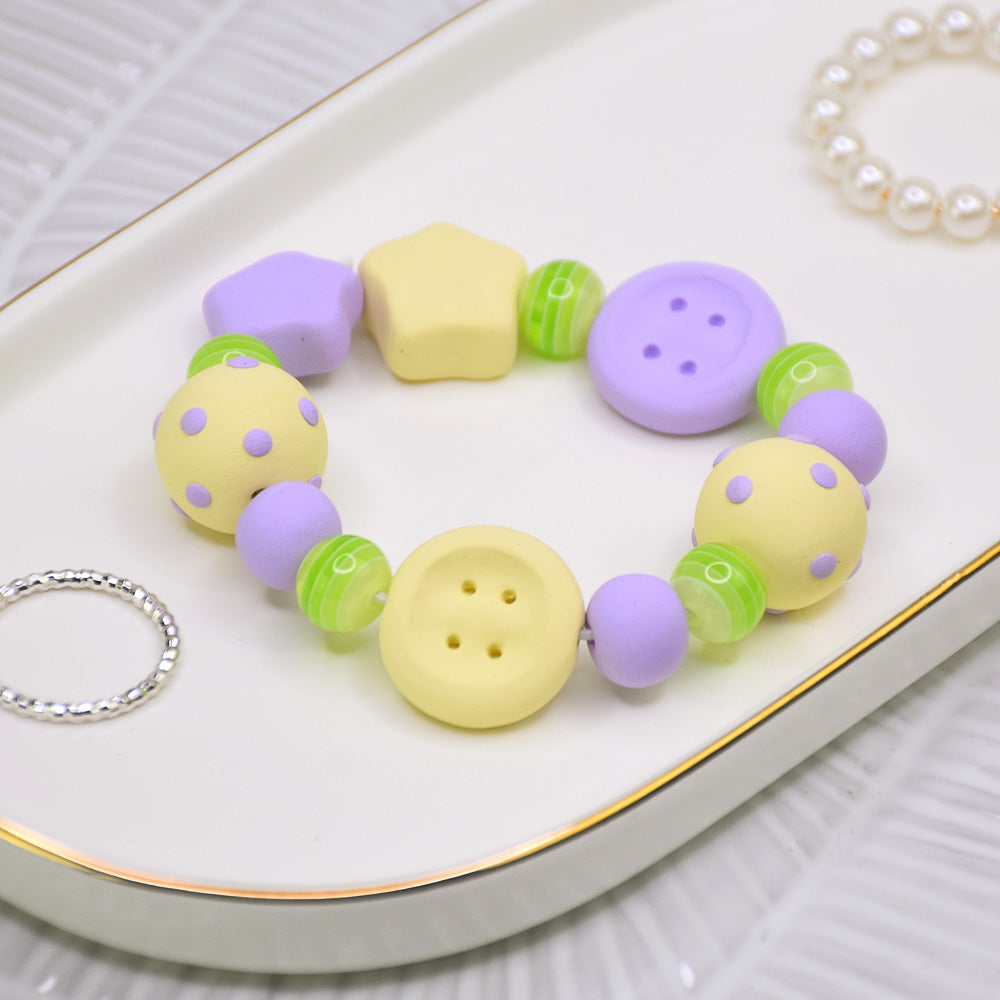
Sculpey III® Sugar Cookie Beaded Bracelet
Sculpey III® Sugar Cookie Beaded Bracelet
Read More
Design and create a cute and whimsical beaded bracelet for you or a friend in just about an hour!
TIME TO COMPLETION: About one hour
Read Less
ADDITIONAL SUPPLIES
- Needle Tool
- Dotting tool
- Glass beads in coordinating colors or make your own beads with the clay (NOTE: Marbling/swirling leftover colors together can be gorgeous!)
- Stretchy cord
Project Instructions
Step 1
Step 2


Step 3


Step 4


Step 5


