Skip to product information
1 of 1

Sculpey Bake Shop® Eraser Clay Sloth Pencil Hugger

Sculpey Bake Shop® Eraser Clay Sloth Pencil Hugger

Read More
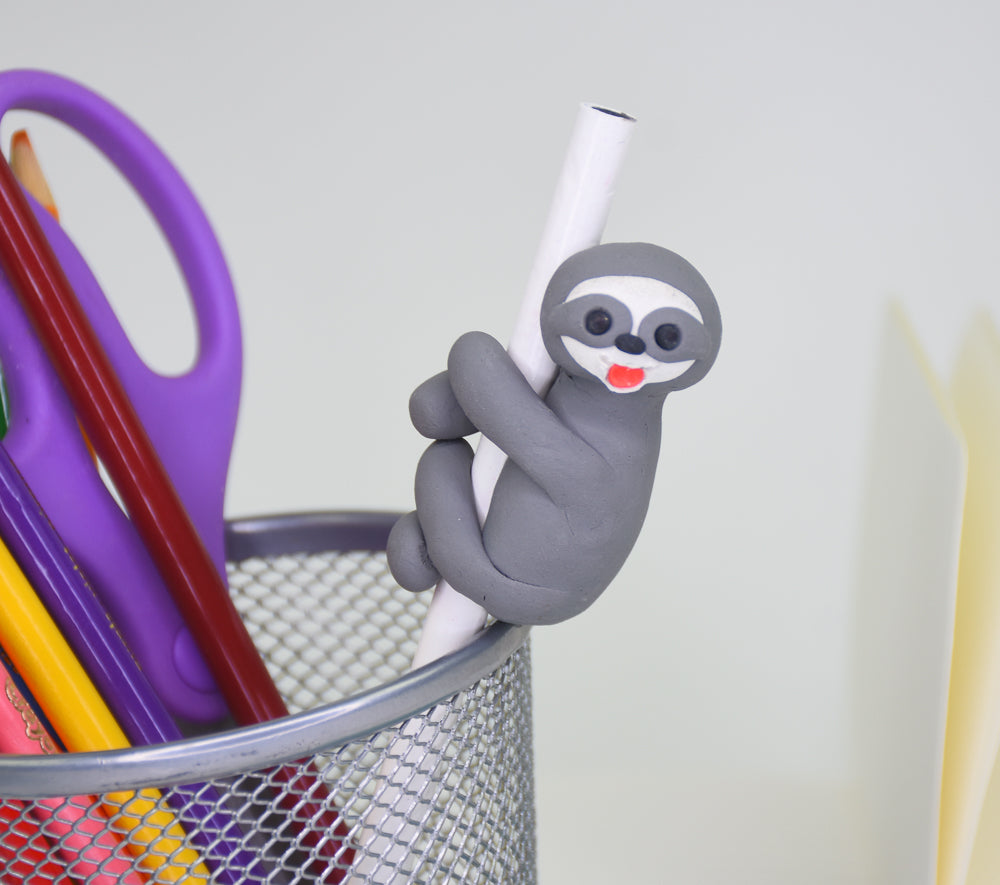
This clever sloth not only serves as decoration on your pencil, he is made with eraser clay so he is as functional as he is cute! COMPLETION TIME: 30 Minutes to make and bake
Read Less
ADDITIONAL SUPPLIES
  • Pencil
View full details
Project Instructions

Step 1

Getting Started:
Please make sure your work area is covered and you are not working on an unprotected surface. We recommend working on the Sculpey® Oven Safe Work Mat, wax paper, metal baking sheet, or disposable foil. Uncured clay may damage unprotected furniture or finished surfaces. Be sure to cover your crafting area appropriately.

Start with clean hands, unwrap and knead clay until soft and smooth, or condition by running clay though a Pasta Machine. We recommend using a designated machine for clay purposes only. When working with multiple colors, clean hands with soap and water or baby wipes (we have found that baby wipes work best) before switching colors. Shape clay, pressing pieces firmly together. Wash hands after use.

Baking:
Begin by preheating oven to 250°F (121°C). After you are done creating; for best results bake clay on an oven-proof surface such metal, aluminum foil, an index card or the Sculpey® Oven Safe Work Mat at 250°F (121°C) for 15 minutes per ¼" (6 mm) thickness according to package directions. Oven safe glass or ceramic surfaces are also acceptable for baking; however please note that the baking times may take longer as the glass or ceramic surfaces take longer to heat up. For best baking results, use an oven thermometer. DO NOT USE MICROWAVE OVEN. DO NOT EXCEED THE ABOVE TEMPERATURE OR RECOMMENDED BAKING TIME. BAKING SHOULD BE DONE BY AN ADULT.

Step 2

Mix one half bar of White and one half bar of Black to make Gray.

Step 3

Divide the Gray into a 1/3 piece and a 2/3 piece.

Step 4

The 2/3 piece will be the body shape. From the 1/3 piece make a round head and four long club shapes for legs.

Step 5

To help you make sure your sloth will be able to hug a pencil, you can build him on the pencil. Push the body onto the side of the pencil. Add the legs to the body and wrap them around the pencil. Smooth the seams with your fingers.

Step 6

Add the head to the top of the body and snug it up to the pencil.

Step 7

Flatten a very thin circle of White and press it to the front of the face.

Step 8

Make two very thin comma shapes from Gray and add them to the face as shown.

Step 9

Add Black eyes and nose to the face. Use the Clay Tool to impress a mouth.

Step 10

Add a little Red tongue to the mouth with the Clay Tool.
Bake the sloth on the pencil following the baking instructions for Eraser Clay.
You can cradle the sloth and pencil with a dish cloth to keep them in position while they are baking.
Allow to cool completely before handling.