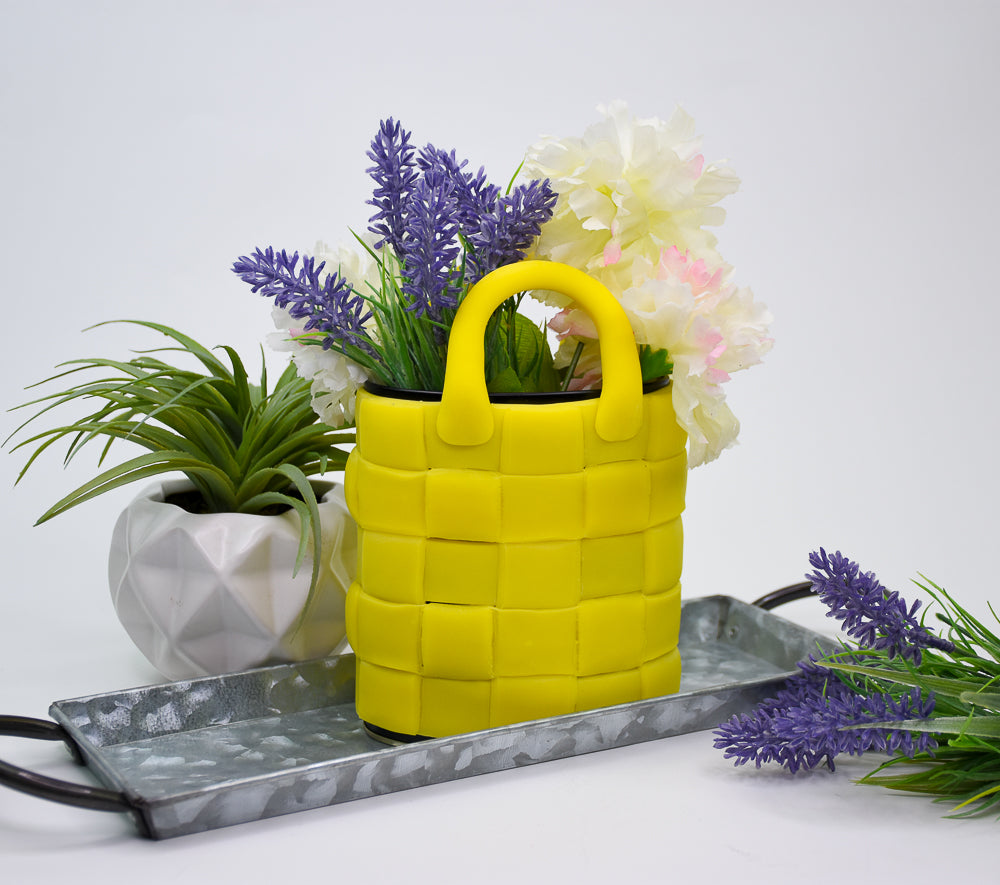

Sculpey Air-Dry™ Porcelain Tinted Basketweave Purse Planter
Sculpey Air-Dry™ Porcelain Tinted Basketweave Purse Planter
Read More
Team up our Sculpey Air-Dry™ Porcelain with our new color dyes to create this colorful woven basket.
TIME TO COMPLETION: 1 Hour plus drying time - recommended that you let the project dry overnight before using.
DESIGNED BY AMY KORANEK
Read Less
ADDITIONAL SUPPLIES
- Empty and clean metal tin
- Empty bathroom tissue cardboard tube
- Awl
- Hammer
- Ruler
- Disposable gloves

Project Instructions
Step 1
Step 2

Step 3

Step 4

Step 5

Step 6

Step 7

Step 8

Step 9

Step 10

Step 11

Step 12

Step 13

Step 14

Step 15

Step 16

Step 17

Step 18

Step 19
