

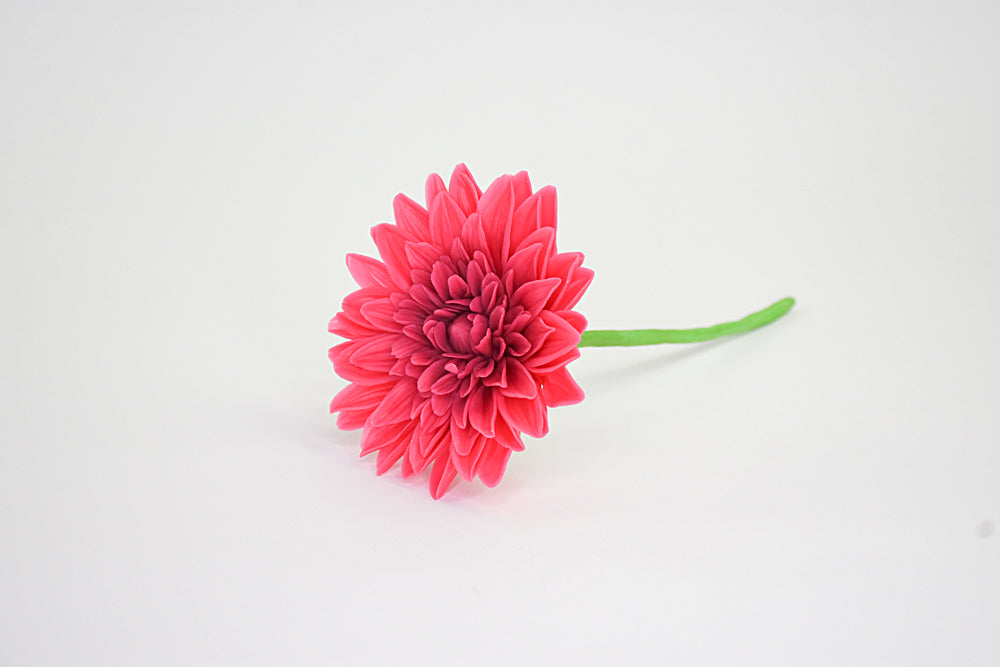
Sculpey Air-Dry™ Porcelain Sculpted Dahlia
Sculpey Air-Dry™ Porcelain Sculpted Dahlia
Read More
Enhance your home or office with this handmade floral masterpiece and watch the compliments roll in.
TIME TO COMPLETION: 2-4 days depending on the relative temperature/humidity in your work area.
Read Less
ADDITIONAL SUPPLIES
- Dahlia petal cutters and petal veiners
- Paper wrapped florist wire (#18 or 20)
- Pliers and wire cutters
- Green florist tape
- White PVA/school glue
- Flat palette knife
- Needle tool
- Craft knife
- Acrylic ink in magenta and sap green – tube watercolour or oil paints can also be used
- Disposable gloves
- Plastic sandwich wrap
- Chalk pastels, brightly coloured eye shadows, or Pan Pastels
- Paint Brushes
- Cornflower pounce for dusting (cornflour in a sock or piece of cotton fabric works well)
- Pointed wooden skewer
- Plastic document wallet with the sides cut open
Project Instructions
Step 1
Step 2


Step 3

Step 4


Step 5


Step 6


Step 7


Step 8


Step 9


Step 10


Step 11


Step 12


Step 13


Step 14


Step 15

Step 16


Step 17

Step 18


Step 19


Step 20

