

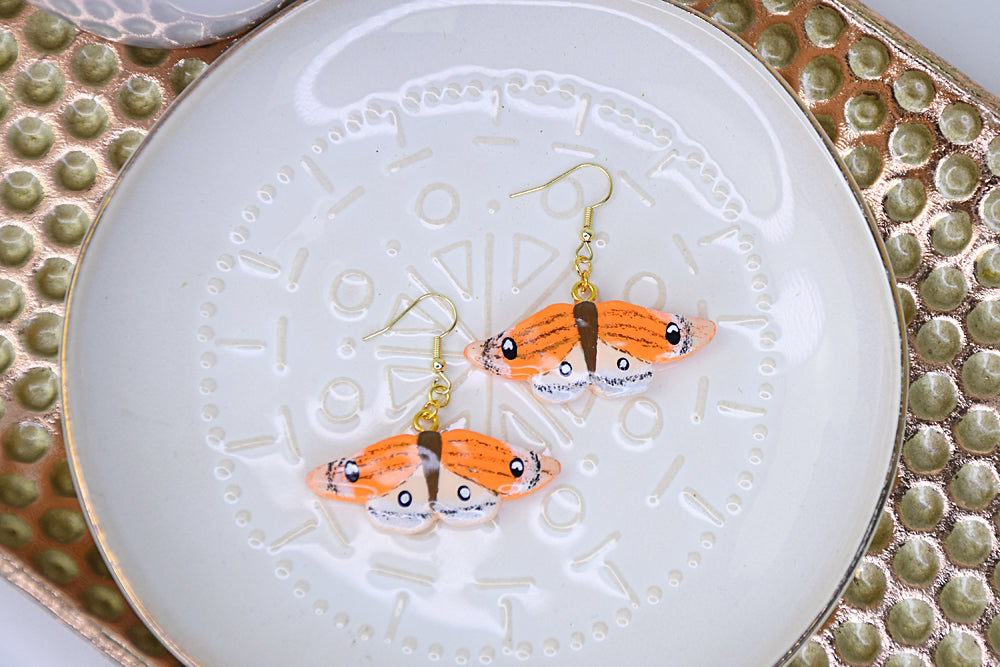
Sculpey Air-Dry™ Porcelain Moth Earrings
Sculpey Air-Dry™ Porcelain Moth Earrings
Read More
Craft these stunning, vibrant moth earrings with Sculpey’s Air-Dry Porcelain Clay for a unique, handmade accessory. Elevate your style with these intricately designed earrings, adding a pop of color to any outfit.
Time to complete – Sculpting time approximately 20 minutes and 30 minutes to paint, plus drying time
Read Less
ADDITIONAL SUPPLIES
- Paper
- Scissors
- Eye screws
- X-acto knife
- Dremel drill
- Acrylic paint
- Paint brushes
- Jewelry pliers
- 4 mm jump rings
- Small Dotting tool
- Earrings hooks and backings
Project Instructions
Step 1
Step 2

Step 3


Step 4


Step 5

Step 6

Step 7

Step 8


Step 9
