

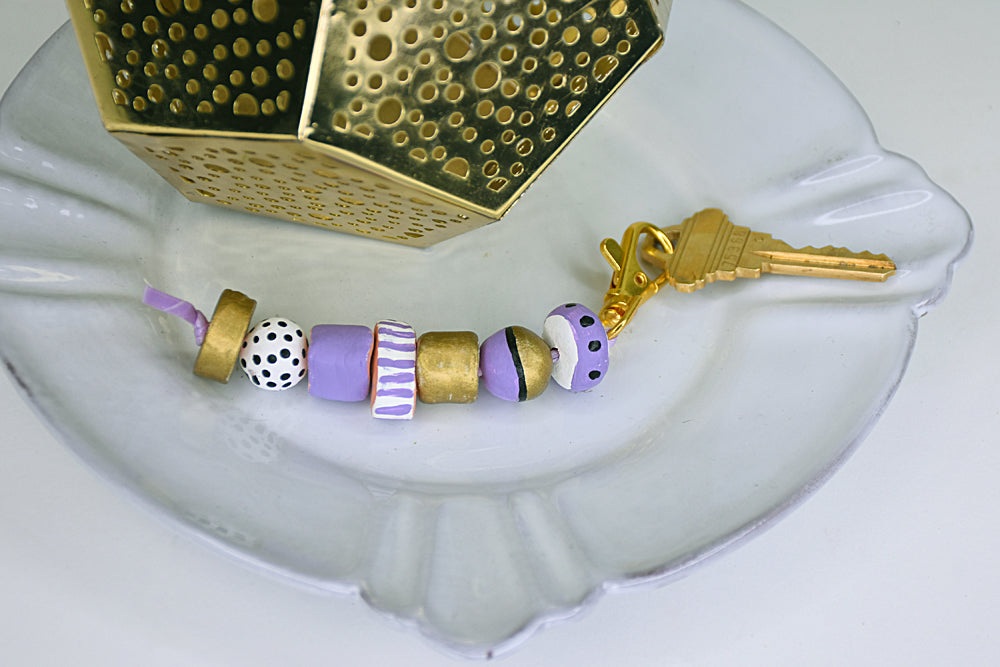
Sculpey Air-Dry™ Beaded Keychain
Sculpey Air-Dry™ Beaded Keychain
Read More
Create a custom keychain for yourself, a friend or coworker! Actually, these beads are so fun to make and decorate, you will probably want to several of them.
COMPLETION TIME:
30 Minutes plus drying time - recommended that you let the beads dry overnight before painting and finishing.
Read Less
ADDITIONAL SUPPLIES
- Clear kitchen wrap or zip lock storage bag
- Water basin
- Coordinating cord, floss, or yarn
- Gold tone lobster clasp
- Scissors
- Acrylic paint in white, black, lilac, and gold
- Paintbrush
Project Instructions
Step 1
Step 2

Step 3

Step 4

Step 5

Step 6

Step 7
