Skip to product information
1 of 1

Original Sculpey® Transfer Trinket Tray

Original Sculpey® Transfer Trinket Tray

Designed by Amy Koranek
Read More
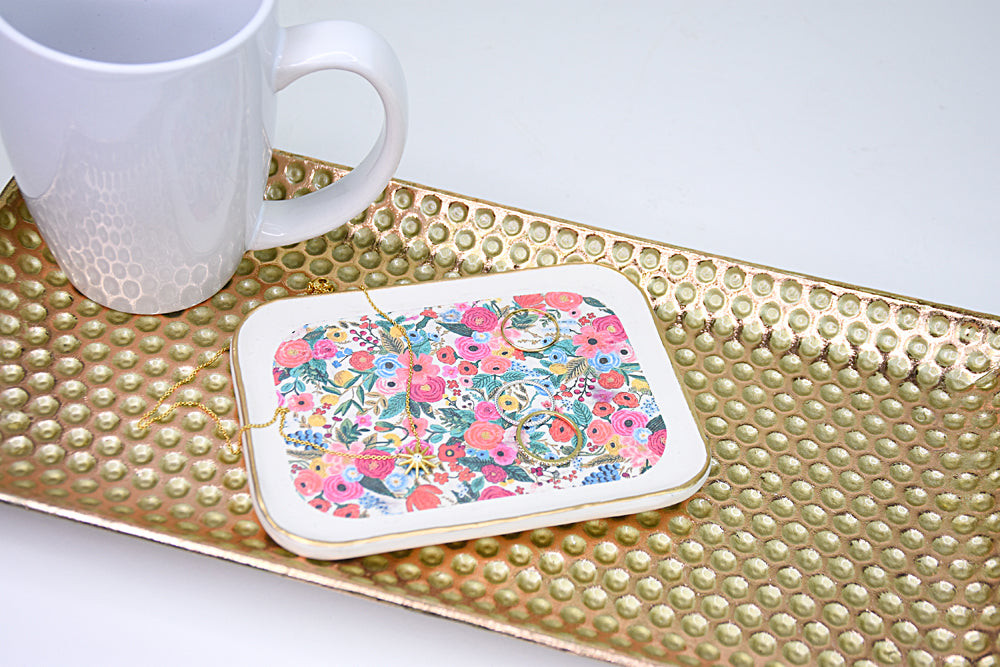
Corral your clutter with this quick and easy trinket dish featuring a water transfer design. COMPLETION TIME: 75 Minutes to make and bake. Some time is needed for painted edge to dry.
Read Less
ADDITIONAL SUPPLIES
  • Transfer sheet
  • Pencil
  • Ruler
  • Scissors
  • Water basin
  • Sponge


View full details
Project Instructions

Step 1

Getting Started:

Please make sure your work area is covered and you are not working on an unprotected surface. We recommend working on the Sculpey® Oven Safe Work Mat, wax paper, metal baking sheet, or disposable foil. Uncured clay may damage unprotected furniture or finished surfaces. Be sure to cover your crafting area appropriately.

Start with clean hands, unwrap and knead clay until soft and smooth, or condition by running clay though a Pasta Machine. We recommend using a designated machine for clay purposes only. When working with multiple colors, clean hands with soap and water or baby wipes (we have found that baby wipes work best) before switching colors. Shape clay, pressing pieces firmly together.  Wash hands
after use.

Baking (also called Curing):

Begin by preheating oven to 275 °F (130 °C). After you are done creating; for best results bake clay on an oven-proof surface such as metal, aluminum foil, an index card or the Sculpey® Oven Safe Work Mat at 275°F (130 °C) for 15 minutes per ¼" (6
mm) of thickness according to package directions. Oven safe glass or ceramic
surfaces are also acceptable for baking; however please note that the baking
times may take longer as the glass or ceramic surfaces take longer to heat up. For
best baking results, use an oven thermometer. DO NOT USE MICROWAVE OVEN. DO NOT EXCEED THE ABOVE TEMPERATURE OR RECOMMENDED BAKING TIME.

Step 2

Condition and roll the clay to a 1/4” thick sheet. Make sure the sheet is large enough to hold the transfer plus a 1/2” border all the way around.

Step 3

Lay the clay on the baking surface so that you do not have to move it again. Cut out the clay sheet to 4.5” x 6”.

Step 4

Use a 2” circle cutter to mark the corners of the clay.

Step 5

Cut out around the rounded corners with a Clay Blade.

Step 6

Remove the excess clay from the corners.

Step 7

Use the inside shoulder of the 12 mm Ball Tool to smooth the outer edges of the clay and round it down.

Step 8

Carefully and evenly pinch the edges of the clay up with your fingertips.

Step 9

Make a nice edge all the way around the outside by carefully pinching.


Step 10

Smooth the pinched up sides with fingertips.

Step 11

Turn the transfer sheet face down and use a pencil and ruler to mark the size on the paper backing. You should be able to see the image of the transfer on the back side. Use a 1-3/4” circle cutter to trace the corners so they are rounded. My transfer image is 3.5” x 5”.

Cut out the transfer on the lines with scissors.

Step 12

Lay the cut transfer face down on the clay. Burnish the transfer sheet down with fingertips in all directions.

Step 13

Dampen the backing paper on the transfer sheet with a wet sponge. When the paper backing begins to slip, the backing is ready to be carefully peeled away.

Step 14

Bake the tray following the baking instructions for Original Sculpey®. Allow to cool completely before handling.

Step 15

Use a gold paint marker to make a thin gold rim on the edge.

Step 16

Allow the paint to dry completely before handling.