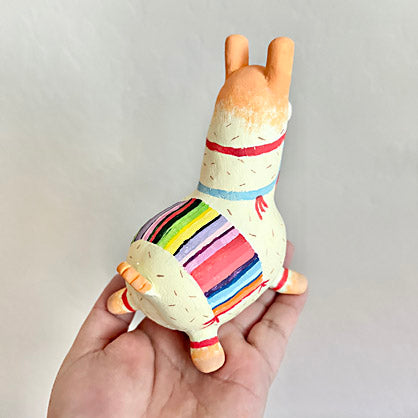
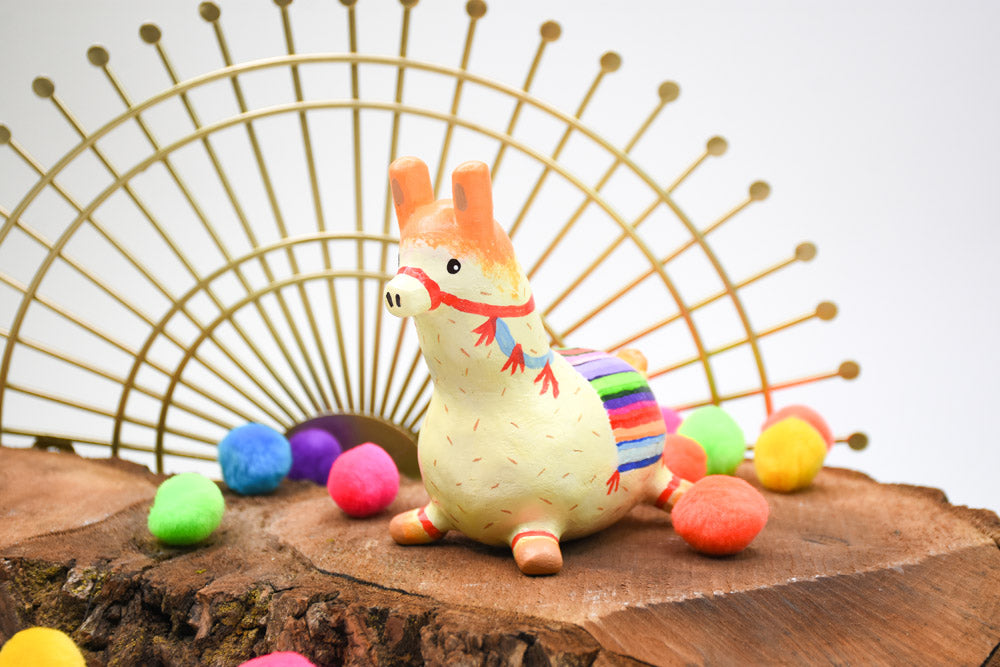
Original Sculpey® and Super Sculpey UltraLight® Llama Mini Sculpture
Original Sculpey® and Super Sculpey UltraLight® Llama Mini Sculpture
Read More
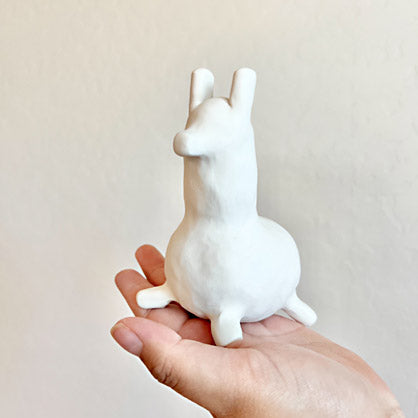
Craft a delightful miniature llama sculpture with Sculpey’s Original clay in White. This versatile creation makes a charming addition to your shelf decor, a unique figurine, or a thoughtful gift!
TIME TO COMPLETION: Sculpting time approximately 3 hours
Read Less
ADDITIONAL SUPPLIES
- Acrylic paint
- Wire cutters
- Paint brushes
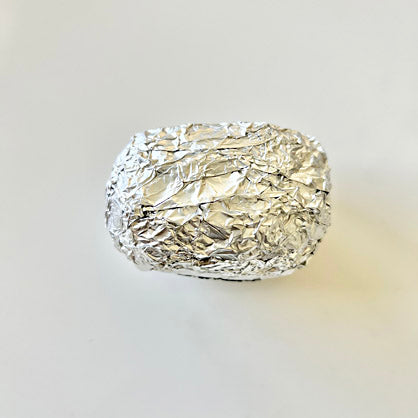
- Aluminum foil
- Wooden toothpicks
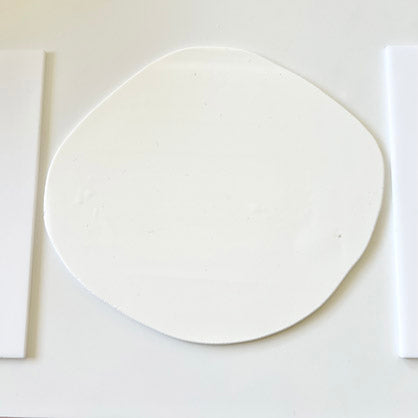
- 6 mm Clay depth guides (these can be made by pre-baking 6 mm thick "sticks" of clay)
Project Instructions
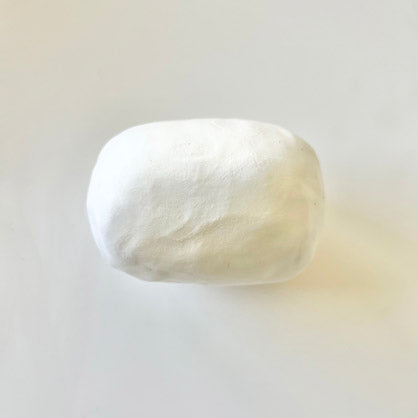
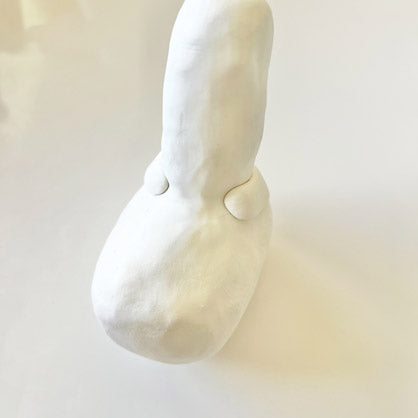
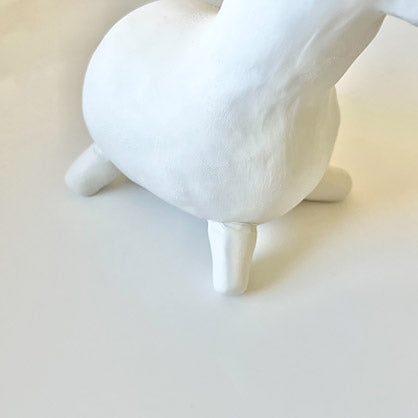
Step 1
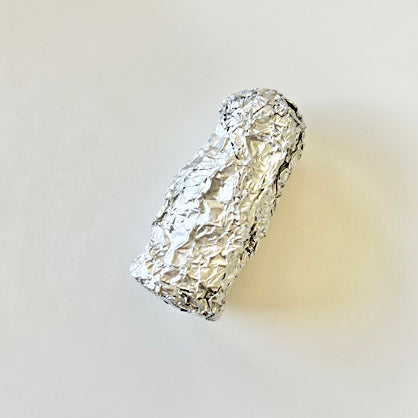
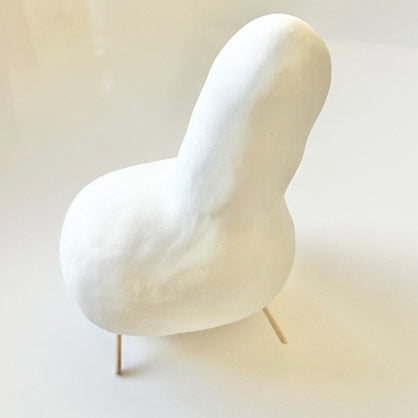
Step 2
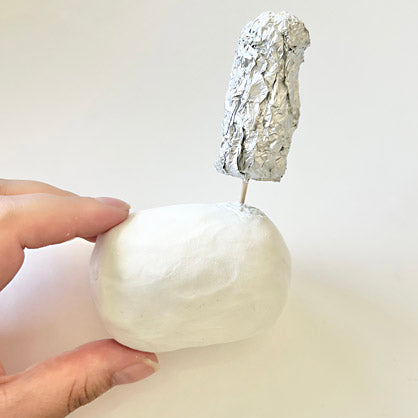
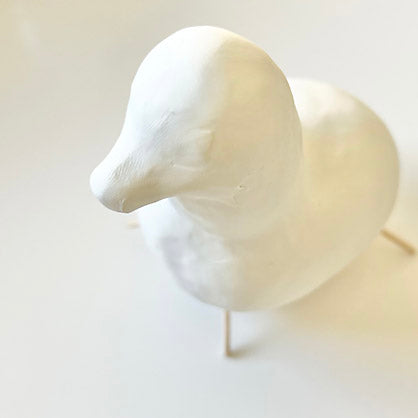
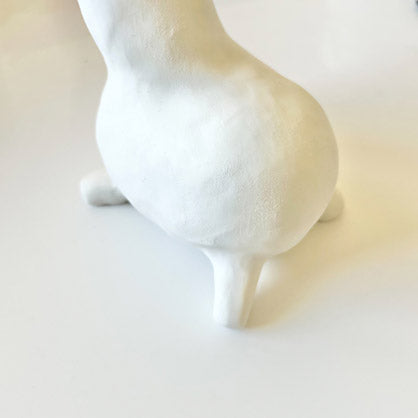
Step 3
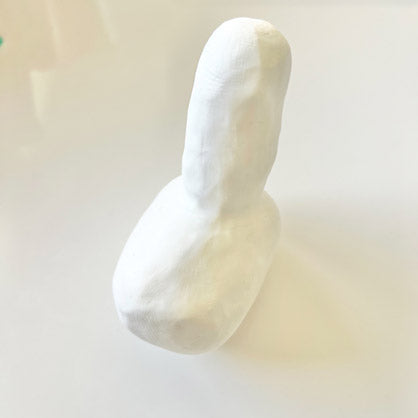
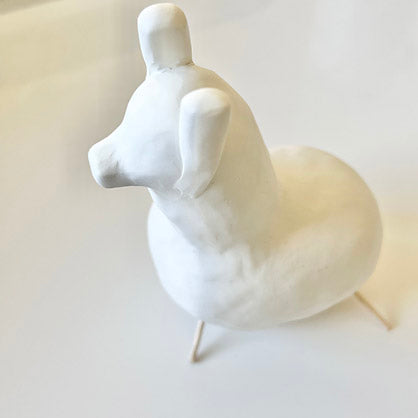
Step 4
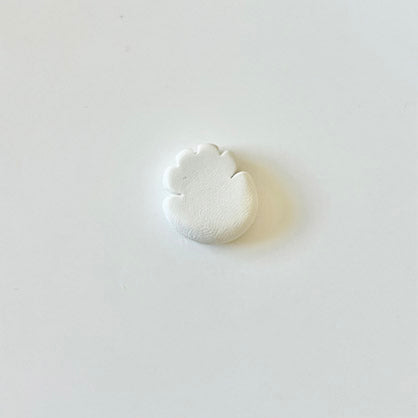
Step 5
Step 6
Step 7
Step 8

Step 9
Step 10

Step 11

Step 12
Step 13

Step 14
Step 15
Step 16
Step 17