Skip to product information
1 of 1

Liquid Sculpey® Party Earrings

Liquid Sculpey® Party Earrings

Designed by Amy Koranek
Read More
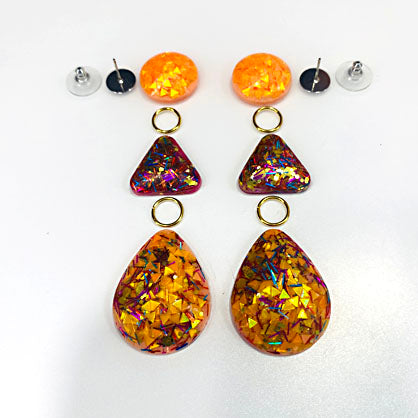
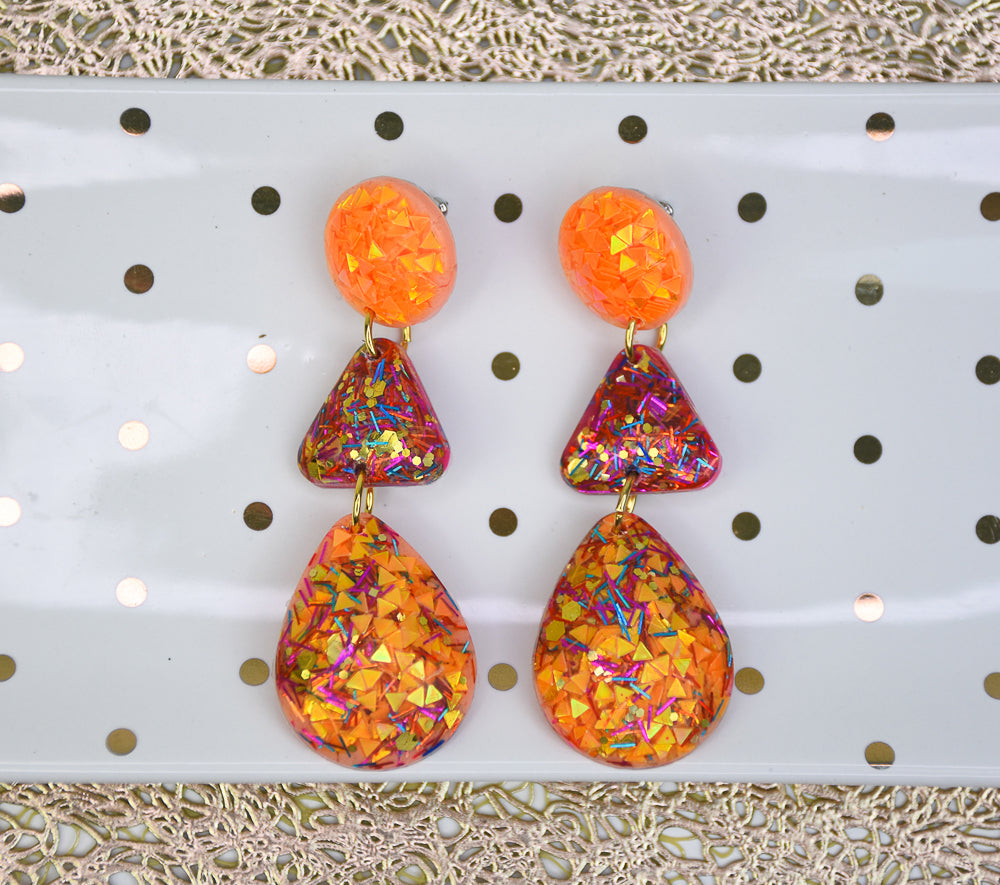
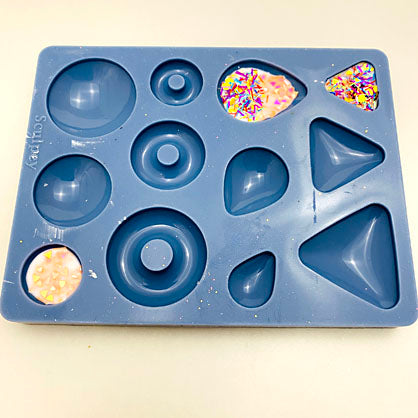
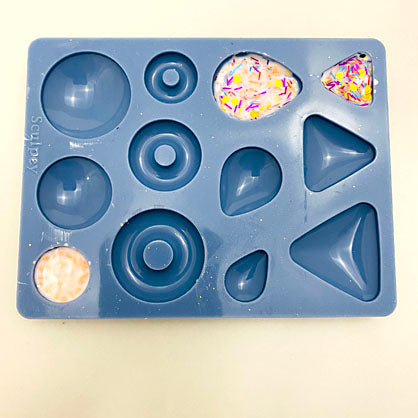
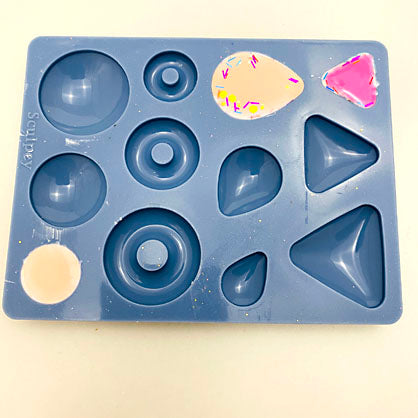
Turn up the drama with these brilliant sparkling earrings! You can control the level of sparkle yourself with the addition of glitters to the Liquid Sculpey. TIME TO COMPLETION: 90 Minutes to make, bake (2 times), and assemble
Read Less
ADDITIONAL SUPPLIES
  • Paper towel
  • Orange triangle glitter
  • Confetti glitter
  • 6mm Gold tone jump rings (4)
  • Ear posts with backs (2)
  • Dremel drill, or pin drill, or spring drill
  • Silicone glue or instant drying glue
  • Flat nose pliers
View full details
Project Instructions

Step 1

Getting Started with Liquid Sculpey®:

Please make sure your work area is covered and you are not working on an unprotected surface. We recommend working on the Sculpey® Oven Safe Work Mat, wax paper, metal baking sheet, or disposable foil. Uncured Liquid Polymer Clay may damage unprotected furniture or finished surfaces. Be sure to cover your crafting area appropriately. - Stir Liquid Sculpey® completely. Thin with Sculpey® Liquid Clay Softener as needed - Wash hands after use (we have found that baby wipes work best)

Baking:

-It is important to use oven thermometer when you bake the liquids so that you can ensure your oven is at the correct temperature.

-Do not microwave the liquids. They must be baked in a Preheated oven at 275 ºF (130 ºC) for liquid colors and 300 ºF (149 ºC) for Clear – Do not exceed baking temperatures.

-If your piece is less than 1/4” bake for 15 minutes. For thicker pieces that are 1/4” or above bake for 30 minutes.

-If your liquid project has become yellowed or discolored in the oven, when you remake it, tent it by placing either – folding an index card in half and placing your project under it by using aluminum foil over your project.

Here’s a tip for baking perfectly in silicone molds. Dampen a dish towel with water and wring out as much of the water as you can. Fold the damp towel so that the molds can sit level on top of it. The damp towel will slow down the curing process so that the LS will cure evenly throughout and avoid warping.

Step 2

After stirring the Clear Liquid Sculpey® (LS) really well - refer to instructions above- add a puddle of Clear LS to the small triangle, the large teardrop, and the small circle in the Cabochon Mold. Do not fill all the way at this time. We need room for glitter
and for later back-filling these areas with more LS.

Step 3

On the small circle shape sprinkle orange triangle glitter.

On the large teardrop sprinkle half with orange triangle glitter.

Step 4

On the small triangle shape sprinkle confetti glitter.

On the large teardrop shape sprinkle confetti glitter.

Step 5

Tap the mold on the work surface to release air bubbles and to help the glitters settle.

Step 6

Back fill the small circle shape and the large teardrop shape with Light Orange LS.

Back fill the small triangle shape with Fuchsia LS.

Bake the mold following the baking instructions for Liquid Sculpey®. Allow the mold to cool completely before flexing it gently to remove the pieces.

Repeat all previous steps tomake a second set.

Step 7

Layout pieces so that you can determine where the holes should be drilled for assembly.

Use a drill to drill the connecting holes: bottom of the circles; top and bottom center of the triangles; and, top of the teardrops.

Connect the clay elements with jump rings using flat nose pliers as shown.

Glue ear posts to the backs as shown and allow the glue to dry completely.