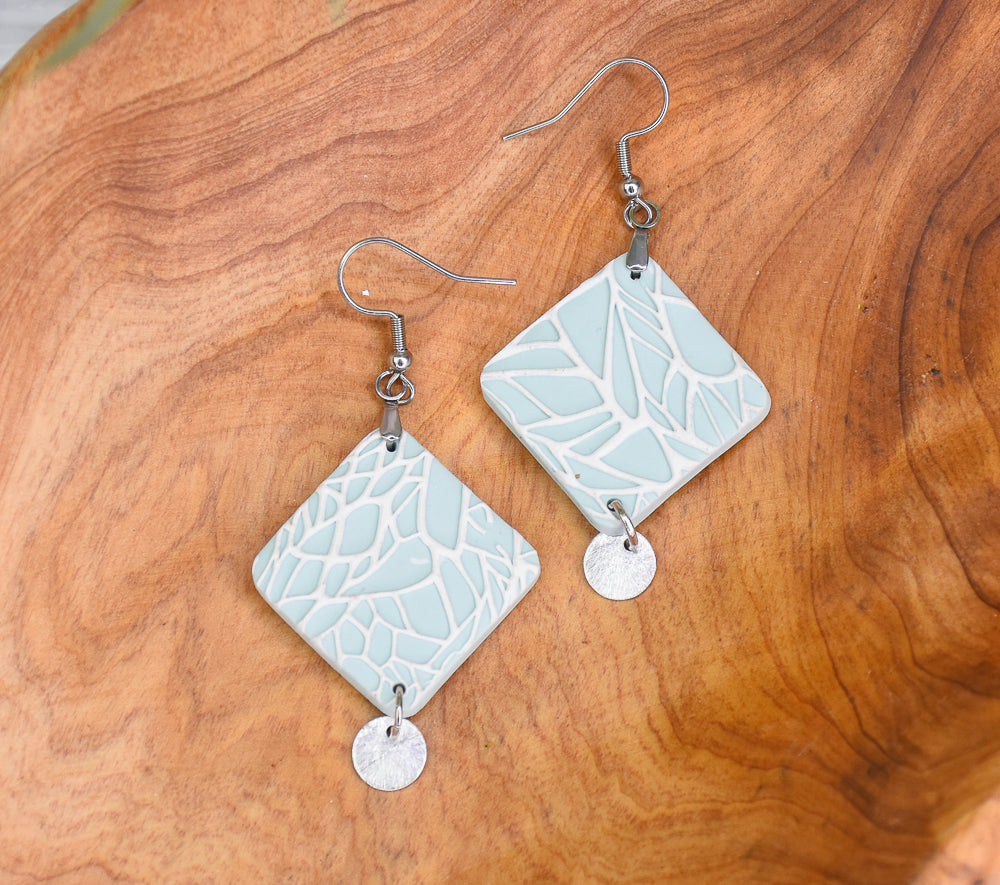


Sculpey Soufflé™ Sutton Slice Earrings
Sculpey Soufflé™ Sutton Slice Earrings
Designed by Amy Koranek
Read More
I’d like to give credit to Lisa Pavelka for introducing the polymer clay community to her technique called the “Sutton Slice”. It’s very innovative and quite simple, plus it turns out some really cool designs. Try it with any texture sheets or rubber stamps that you might have on hand. The technique can be done with as few as two colors and as many colors as you would like.
COMPLETION TIME:
60 Minutes to make, bake, and assemble
Read Less
ADDITIONAL SUPPLIES
- Rubber texture sheet of your choice
- 1” Rounded corner square cutter
- Silver toned ear wires with pinch bails (2)
- 6 mm Silver toned jump rings (2)
- Silver toned small dangle charms (2)
- Flat nose pliers

Project Instructions
Step 1
- Getting Started:
Start with clean hands, unwrap and knead clay until soft and smooth, or condition by running clay though a Pasta Machine. We recommend using a designated machine for clay purposes only. When working with multiple colors, clean hands with soap and water or baby wipes (we have found that baby wipes work best) before switching colors. Shape clay, pressing pieces firmly together. Wash hands after use.
- Baking (also called Curing):
Step 2
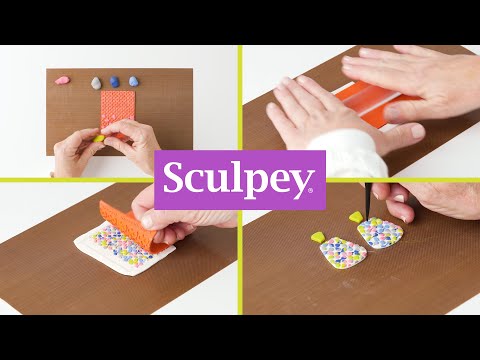
Lay the texture sheet, texture side up on your work surface. Condition and roll a sheet of Igloo as thinly as possible - at least 1/16” or thinner. Make sure there is enough of the Igloo sheet to make two of the earring shapes that you want. Lay the Igloo sheet across an area of the texture sheet that you would like to impress.
Step 3
Using heavy fingertip pressure, embed the Igloo clay into the crevices of the texture sheet. After using your fingertips, roll over the clay with the Acrylic Clay Roller to make sure the clay is in full contact with the texture sheet.
Step 4
Carefully use a Clay Blade to scrape away the excess clay leaving only Igloo clay in the crevices of the design.
Step 5
Condition and sheet a piece of Glacier clay to about 1/8” thick with the Acrylic Clay Roller and large enough to accommodate two of the earring shapes again. Lay the Glacier sheet on the work surface and flip the texture sheet face down on top of the Glacier. Use heavy pressure to push the texture sheet to the Glacier sheet.
Step 6
Carefully flip the texture sheet over so the Glacier is on top. Carefully peel the Glacier sheet away pulling the Igloo out of the texture sheet at the same time.
Step 7
Voila! What a beautiful design!
Step 8
Cut out two earring shapes.
Step 9
Lay out your earring design with the findings. Poke holes in the clay pieces as needed so that the earrings can be assembled after baking. I like to poke pilot holes for the pinch bails before baking to give the pinch bails something to grab onto. Bake the clay pieces following the baking instructions for Sculpey Soufflé™. Allow to cool completely before handling.
Step 10
Use flat nose pliers to assemble the earrings as shown.