

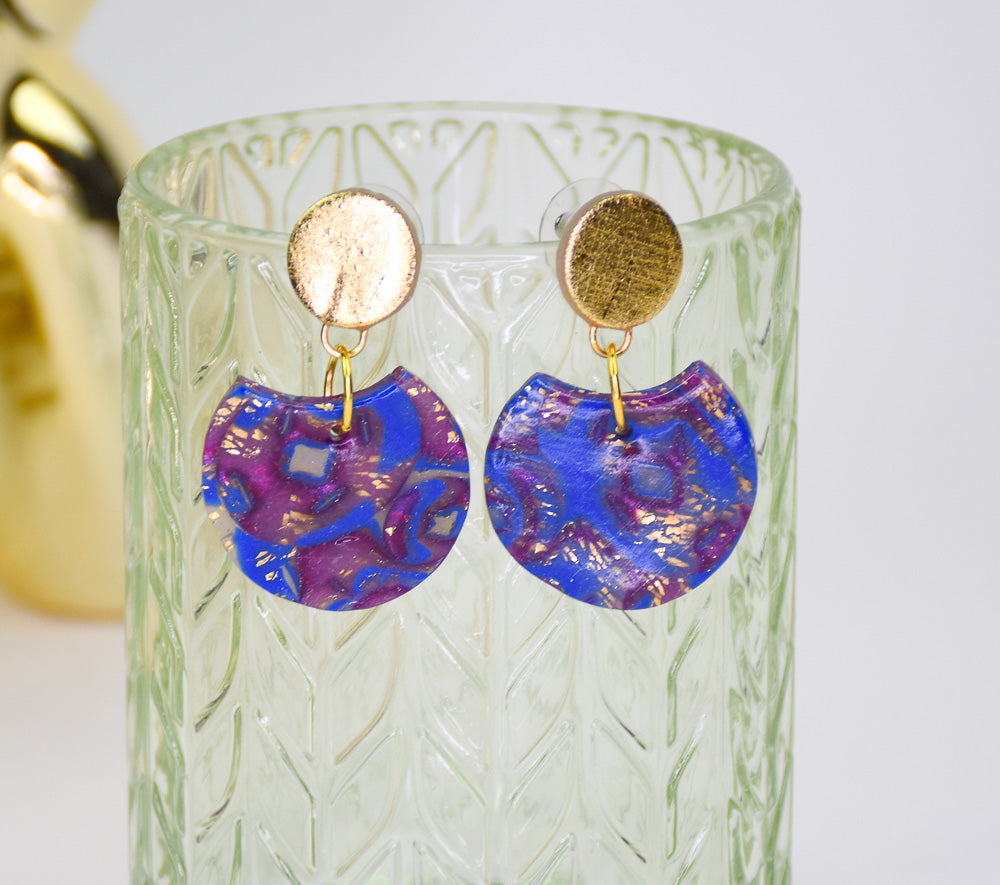
Sculpey Premo™ Sparkling Mokume Gane Earrings
Sculpey Premo™ Sparkling Mokume Gane Earrings
Designed by Teresa Pandora Salgado
Read More
Create these one-of-a-kind earrings that hint of translucency and sparkle using the classic Mokume Gane technique.
TIME TO COMPLETION:
30 minutes to make
30 minutes to bake
Read Less
30 minutes to bake
ADDITIONAL SUPPLIES
- Metal leaf
- 2 stud findings
- 2 jump rings
- 1-1/2” gold-toned 20-gauge wire
- Soft paint brush
- Nylon paint brush
- Emery board
- Screwdrivers
- Craft knife
Project Instructions
- Getting Started:
Start with clean hands, unwrap and knead clay until soft and smooth, or condition by running clay though a Pasta Machine. We recommend using a designated machine for clay purposes only. When working with multiple colors, clean hands with soap and water or baby wipes (we have found that baby wipes work best) before switching colors. Shape clay, pressing pieces firmly together. Wash hands after use.
- Baking:
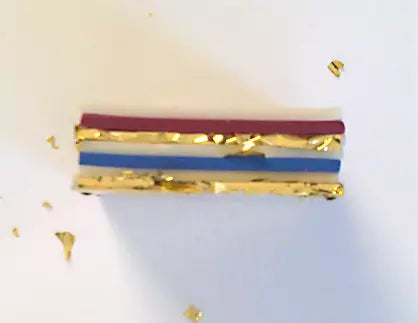
Condition 1/2 pack each of Sculpey Blackberry Pearl, Translucent and Navy.
Make two 2x2 inch squares of Navy and Blackberry and six of Translucent on the number two setting of your clay machine. Set aside.
Make a 1”x2” strip of Translucent on a number three setting and one more on a number four.
Lay the small number three strip of Translucent onto the gold leaf. Burnish lightly, then brush across the surface of the metal leaf with a nylon brush to create a brushed gold look. Cut out two circles for the top of the earrings.

Bend two 3/4” wires into a u shape. Apply a thin coat of Sculpey Clay Adhesive to the back. Place the stud findings onto the back of the earring top as shown, with the u-shaped link right underneath. Bake for 15 minutes.

While the tops are baking/cooling, start to build a square with your 2x2 color layers, using two Translucent for every colored square. Add one more square of Translucent on the top and bottom of the stack. As you stack the square you can add as much metal leaf as you like in between the layers.
Use your acrylic roller to flatten the stack, creating a thin area on one side. Run through the clay machine on a number one setting.

Cut the resulting strip into about 4 pieces. Stack it up and roll over it.

Make indentations completely through the stack. (If the clay gets stuck in the cutter, push it out with a brush or pencil eraser.) I use cutters and screwdrivers; but I’m sure you’ll come up with lots of ideas.

Compress the stack. Slice.

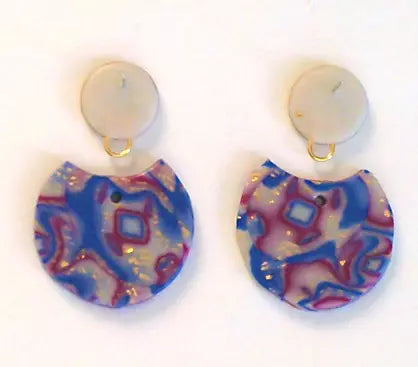
Cut out your earrings and cut a little crescent out of them. Smooth the edges and make a hole for connecting the top piece.

Cut two circles the same size as the post circle from the number 4 strip. Add Sculpey Bakeable Adhesive to the back of the earring and place the thin circles on the back. Smooth and trim. Bake all for 40 minutes.

Cool the earring parts and coat all sides in Sculpey Gloss Glaze. Allow to dry and connect with jump rings. You now have the only pair of earrings like this in the world.
- Choosing a selection results in a full page refresh.
- Opens in a new window.