

Sculpey Premo™ and Liquid Sculpey® Glass Bottom Bowl
Sculpey Premo™ and Liquid Sculpey® Glass Bottom Bowl
Designed by Amy Koranek
Read More
In this tutorial I give some suggestions regarding what colors of Premo™ to use for the rim of the bowl. But this is also a really great project if you have scraps of clay to use up. You can marble scraps together to create the beautiful and unique rim. COMPLETION TIME:
90 Minutes to make and bake (bakes twice)
Read Less
ADDITIONAL SUPPLIES
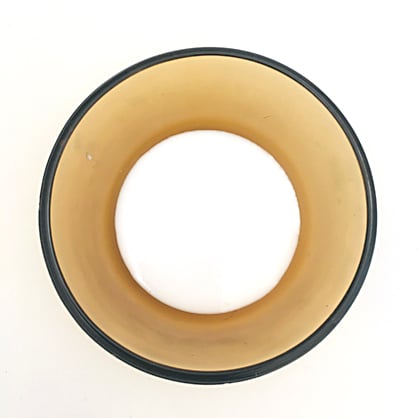
- Small flat bottom glass or Pyrex dish 2.5” - 3” diameter
- Gold glass filler micro chunks by Ashland
- Paper towel
- Heat gun
Project Instructions
GETTING STARTED WITH PREMO AND LIQUID CLAY:
Please make sure your work area is covered and you are not working on an unprotected surface. We recommend working on the Sculpey® Oven Safe Work Mat, wax paper, metal baking sheet, or disposable foil. Uncured Liquid Polymer Clay may damage unprotected furniture or finished surfaces. Be sure to cover your crafting area appropriately.
Getting Started with Premo Clay:
Start with clean hands, unwrap and knead clay until soft and smooth, or condition by running clay though a Pasta Machine. We recommend using a designated machine for clay purposes only. When working with multiple colors, clean hands with soap and water or baby wipes (we have found that baby wipes work best) before switching colors. Shape clay, pressing pieces firmly together. Wash hands after use.
Getting Started with Liquid Sculpey
Stir Liquid Sculpey® completely. Thin with Sculpey® Liquid Clay Softener as needed - Wash hands after use (we have found that baby wipes work best) .
Please make sure your work area is covered and you are not working on an unprotected surface. We recommend working on the Sculpey® Oven Safe Work Mat, wax paper, metal baking sheet, or disposable foil. Uncured Liquid Polymer Clay may damage unprotected furniture or finished surfaces. Be sure to cover your crafting area appropriately.
Getting Started with Premo Clay:
Start with clean hands, unwrap and knead clay until soft and smooth, or condition by running clay though a Pasta Machine. We recommend using a designated machine for clay purposes only. When working with multiple colors, clean hands with soap and water or baby wipes (we have found that baby wipes work best) before switching colors. Shape clay, pressing pieces firmly together. Wash hands after use.
- Baking:
Getting Started with Liquid Sculpey
Stir Liquid Sculpey® completely. Thin with Sculpey® Liquid Clay Softener as needed - Wash hands after use (we have found that baby wipes work best) .
- Baking:
In the bottom of a small clean glass or Pyrex dish, place a thin layer of Clear Liquid Sculpey® (LS).
Sprinkle a layer of the broken glass filler over the top of the Clear LS.

Sink the glass chips into the Clear LS with the tip of the Needle Tool. Wipe tools clean with paper towel.

If necessary, add a little more Clear LS to have a thin coating over the top of the chips as well.

Bake the little dish following the baking directions for Liquid Sculpey®. Allow the dish to cool completely.
Stick the tip of the Needle Tool in between the LS/glass disk and the side of the dish to break the seal between the two.
Gently use the tip of the Knife Tool to help loosen the LS/glass disk from the dish. Please be careful remembering that this is broken glass we are dealing with and it can be sharp.

Roll a rope of 1/2 bar of Twinkle Twinkle, 1/4 bar of Ultramarine Blue, and 1/8 bar of 18K Gold. Make the ropes equal in length so that they vary in thickness.

Bundle all three ropes together into one thick rope.

Roll the rope out long.

Now apply pressure to each end of the rope, one hand on each end, and then push toward the center using a rolling motion. This will make the rope shorter and thicker.
In this project we will spend some time rolling the rope thin and long and then rolling it back shorter and fatter. This will yield the sort of random galactic space pattern that we want.
In this project we will spend some time rolling the rope thin and long and then rolling it back shorter and fatter. This will yield the sort of random galactic space pattern that we want.

Roll the rope thin again. If the rope twists, untwist it because we aren’t going for stripes.

Roll the rope fat again.

Roll the rope thin and untwist the stripes. See how the stripes are starting to get blurry along the edges? This is what we want!

Roll the rope thick.

Roll the rope thin untwisting the stripes.

Roll the rope long one more time. Now, twist it just slightly to get the mottled look that you want.

This time the rope should be rolled long enough to go all the way around the LS/glass disk. Trim the ends of the rope as needed and smooth the seam with your fingers.

Push the rope of clay into the edge of the glass bottom.

Turn the bottom of the dish over. There will be a thick rim of clay along the bottom of the glass piece.

Push the bottom rim of clay flat to the glass piece.

Flip the bowl back over again. Pinch the edge of the clay upward thinning it and creating a nice rim.

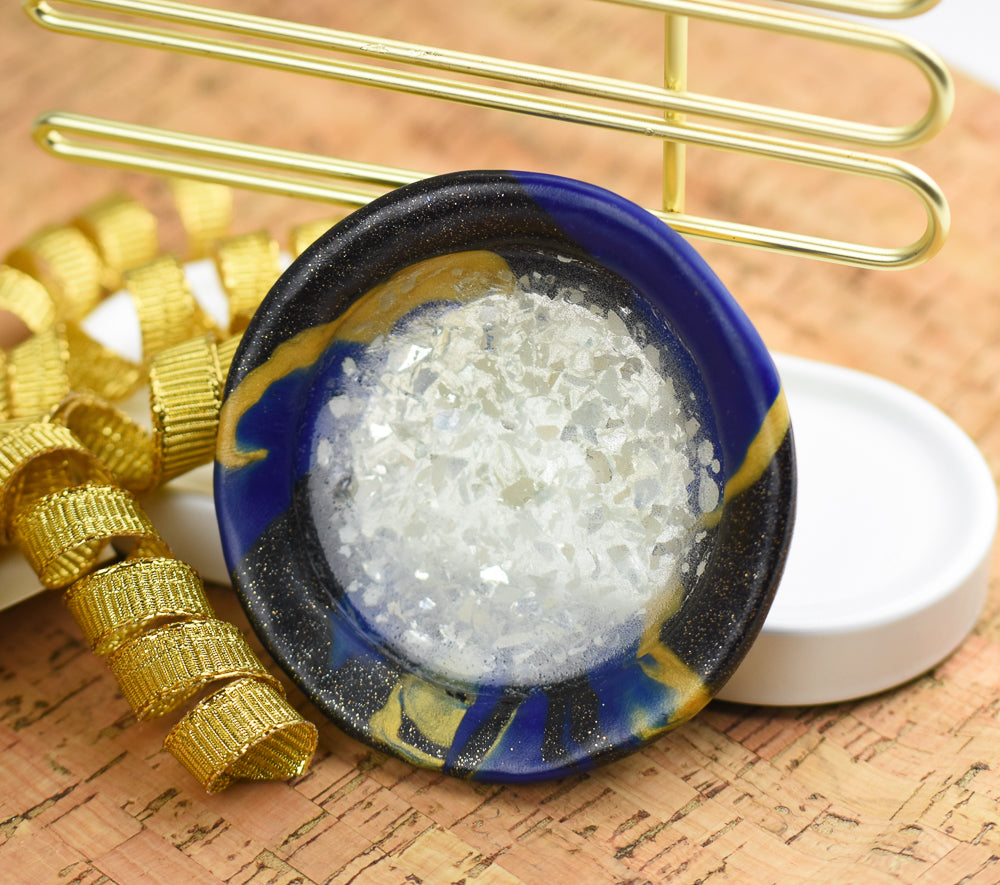
Bake the dish following the baking instructions for Premo™ Sculpey® and allow to cool completely before handling. Look how lovely and clear the glass bottom is!

To add even more shine, I added extra heat with a heat gun to both the Clear bottom and the Premo™ sides. Place the heat gun on high and move the heat back and forth across the piece until the clear bottom is shiny and the Premo™ has a nice sheen to it.

- Choosing a selection results in a full page refresh.
- Opens in a new window.