

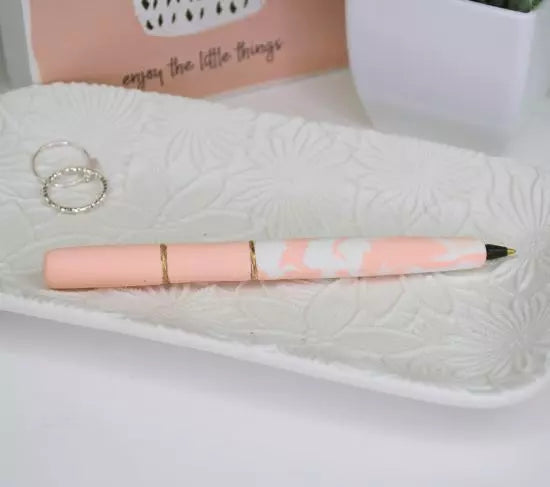
Sculpey III® Peach Ink Pen
Sculpey III® Peach Ink Pen
Designed by Amy Koranek
Read More
Read Less
BIC brand pens are easy and fun to cover with clay. The plastic of the BIC brand pen is heavy enough to bake in the oven without melting. You’ll wanna make a handful to have extras for gifts.COMPLETION TIME:35 Minutes to make, bake, and assemble
ADDITIONAL SUPPLIES
- Baking parchment, deli paper, or scrap paper for a barrier
- BIC Pen
- Gold tone jump rings, large enough to slide onto the BIC pen (2)
Project Instructions
Step 1
- Getting Started:
Start with clean hands, unwrap and knead clay until soft and smooth, or condition by running clay though a Pasta Machine. We recommend using a designated machine for clay purposes only. When working with multiple colors, clean hands with soap and water or baby wipes (we have found that baby wipes work best) before switching colors. Shape clay, pressing pieces firmly together. Wash hands after use.
- Baking (also called Curing):
Step 2
Place 1/8 block of Peach and 1/8 block White on the barrier paper. This will keep the bits created in the next step organized and keep them from sticking to the work surface.Chop 1/8 block Peach and 1/8 block White into bits with the Clay Blade.

Step 3
Form the bits into a square shaped patty with your hands.Roll the patty with the Clay Roller so all the bits are stuck together.
Flip the patty over and roll it from the back side too.

Step 4
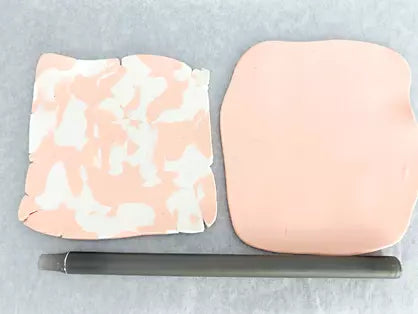
Roll the Peach/White sheet with the Clay roller to the same thickness as the jump rings.Roll 1/4 block Peach with the Clay Roller to the same thickness.
The two pieces together should be about the same length as the BIC pen.
Step 5
Slice the Peach sheet into 1” sections.
Step 6
Remove the ink stick from the pen and set aside for later. This may be easily done with fingertips or flat nose pliers.Wrap the marbled sheet around the half of the pen with the ink opening.
Trim straight edges so the clay butts to itself at the seam.
Slide a jump ring up to the clay sheet.

Step 7
Add a 1” strip of the Peach.Trim straight edges so the clay butts to itself at the seam.
Slide a jump ring up to the clay sheet.

Step 8
Roll the pen gently on the work surface to smooth the clay seams and to level the clay sheets to the jump rings.Add another jump ring and another strip of Peach clay. Trim straight edges so the clay butts to itself at the seam.

Step 9
Trim the open end of the pen barrel neatly with a Clay Blade. Make sure the open end is completely open for later replacing the ink stick.
Step 10
Smooth the Peach clay over the closed end of the pen barrel.
Step 11
Bake the pen following the baking instructions for Sculpey III.Allow to cool completely.
Push the ink stick back into the barrel.
