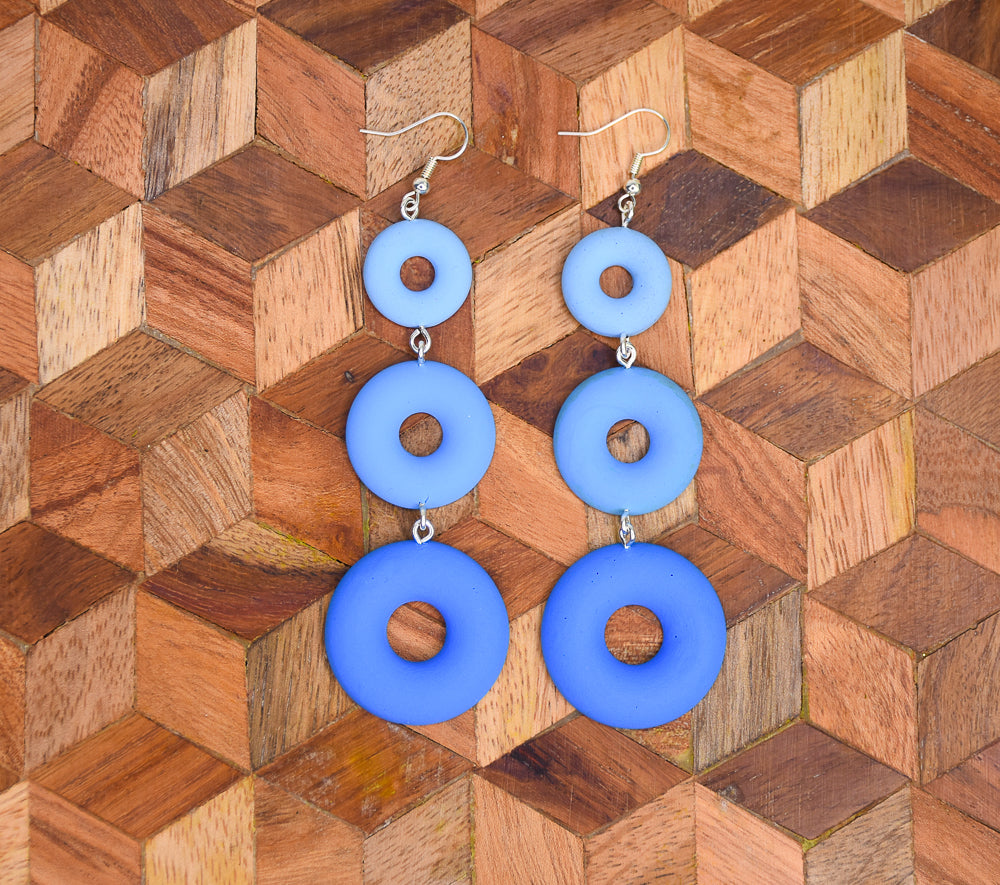

Liquid Sculpey® Mod Circle Dangle Earrings
Liquid Sculpey® Mod Circle Dangle Earrings
Read More
These swingy earrings are a nod to the pop art colors of the 60s. They are surprisingly light to wear as well!
TIME TO COMPLETION: 30 minutes to mix and fill the molds 1 hour to bake (2 batch bakings)
Read Less
ADDITIONAL SUPPLIES
- Popsicle sticks for stirring (NOTE: I’ve used my Sculpey metal Etch n’ Pearl so I can wipe off and use again!)
- 3 small Mini Silicone Pinch Bowls (mine are from Amazon)
- Silver-toned screw-in eye pins – 5 each earring
- Silver-toned ear wires
- Sharp largish needle to pierce for screw eye pin (I’ve used one of the bead needles from the Sculpey Tools™ Bead Baking Rack
- Small sharp scissors
- Small jewelry pliers (2 pair)

Project Instructions
Step 1
Step 2

Step 3

Step 4

Step 5

773-6

Step 7
