


Sculpey III® Moon Phases Dish
Sculpey III® Moon Phases Dish
Designed by Amy Koranek
Read More
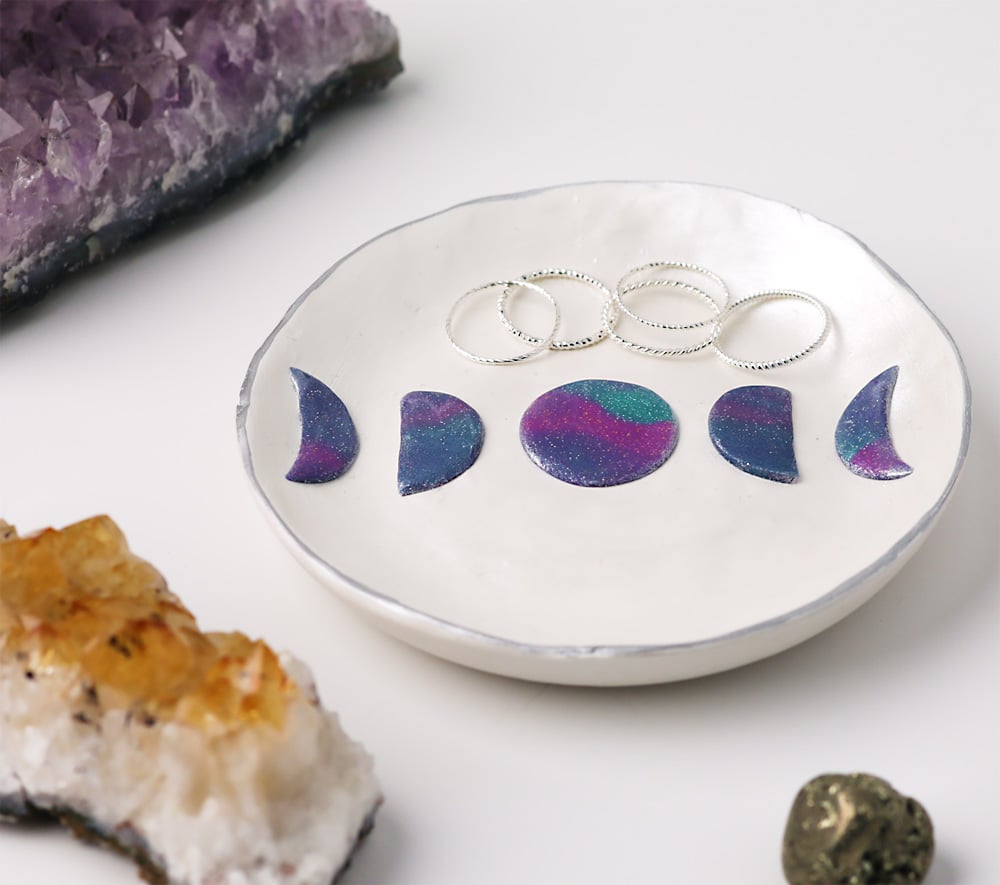
Create this terrific small dish for a gift or to hold your rings or favorite earrings in just an hour!
COMPLETION TIME:
60 Minutes to make and bake
Read Less
ADDITIONAL SUPPLIES
- Glass, ceramic, or metal bowl form that has a flat bottom interior
- Pearl white mica powder
- Paintbrush
- 400 Grit sandpaper
- Silver paint marker

Project Instructions
- Getting Started:
Start with clean hands, unwrap and knead clay until soft and smooth, or condition by running clay though a Pasta Machine. We recommend using a designated machine for clay purposes only. When working with multiple colors, clean hands with soap and water or baby wipes (we have found that baby wipes work best) before switching colors. Shape clay, pressing pieces firmly together. Wash hands after use.
- Baking:
Condition 2 bars of White Sculpey III® and form them into a thick patty about 4” in diameter.

Press the edges down with fingertips all the way around to bevel the edge and create a rim for the dish. After the outer edge is pressed down firmly to the work surface, roll over the top of the clay to make the center area flat. This is the bottom side of the dish. The dish should now be about 5” in diameter.

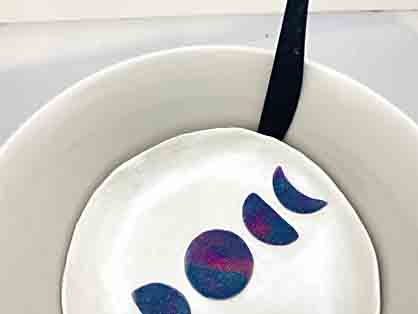
Flip the clay over so that the rim you created in Step 3 is now pointing upward. Carefully lay the clay in the bottom of a flat bottom bowl. Push the bottom down to touching the bowl form so that the clay remains flat on the bottom. Use fingertips to smooth the interior of your clay dish and to make sure the rim is pointing upward.

Start with an equal size strip of each Pink, Turquoise, and Violet Glitters, and Navy Pearl.

Bundle the colors together into a rope.

Now we are going to use a few different techniques for marbling the colors together so that we don’t create stripes. We want a very ethereal and random marbling like a cosmic sky.
Roll and twist the rope slightly.
Roll and twist the rope slightly.

Coil the rope up.

Roll the coil into a ball.

Gently knead the ball a few times to jumble the colors.

Flatten the ball into a patty with the Roller. Make the patty very thin - around 1/16”.

Cut out three 1” circles.
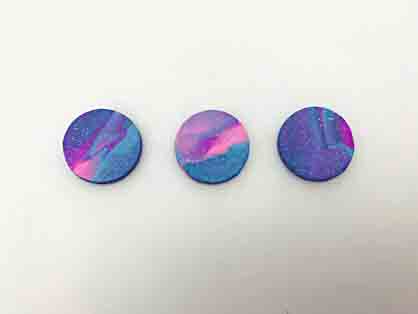
Leave one circle whole. Divide one circle in halves. Divide the last circle in halves then remove part with the 1-3/4” circle cutter to create crescents.
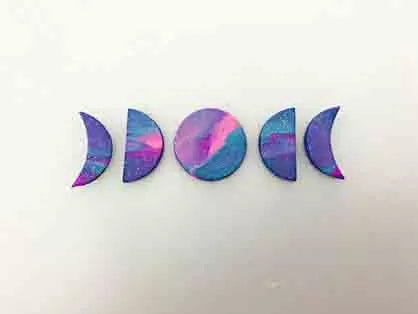
Lay the moon phases as shown across the middle of the dish.

Flatten the moon phases into the bottom of the dish. Check the rim for inconsistencies and smooth with fingers.

Cover the inside White areas of the dish with a thin layer of pearl white mica powder. You can spread the mica with your fingertips or use a small paintbrush to get in around the moon details. I did not spread mica powder over the moon phases because I didn’t want them to be dull.
Designer’s Note: I did not spread the mica powder onto the dish before adding the moons because I wanted the clay to stick to clay, not to mica powder.
Designer’s Note: I did not spread the mica powder onto the dish before adding the moons because I wanted the clay to stick to clay, not to mica powder.

Bake the dish following the baking instructions for Sculpey III®.

Allow the dish to cool in the bowl completely before handling. During baking, the Sculpey III® has pulled slightly away from the bowl form. Insert the tip of the plastic Knife Tool into the gap and pry the clay out carefully.
My dish looks cool, but a little wonky around the edges.

Carefully flip the dish rim side down onto a large piece of 400 grit sandpaper. Circle the dish around on the paper to remove uneven edges.

Use a silver paint marker to highlight the rim of the dish and allow the paint to dry completely.
