

Sculpey Soufflé™ 3-D Effect Graphic Earrings
Sculpey Soufflé™ 3-D Effect Graphic Earrings
Designed by syndee holt
Read More
Wow! Overlapping the same stencil with pinpoint placement provided by the Gelli Arts® Mini Placement Tool, created a dramatic 3-D effect on these earrings just by varying the color of each layer.
TIME TO COMPLETION: 30 minutes to make, 30 minutes to bake
Read Less
ADDITIONAL SUPPLIES
- Gelli Arts® Mini Placement Tool
- 3x5 or 5x5 Gelli Arts Sculpey Soufflé™ Printing Plate
- Stencil (mine is from Stencil Girl)
- Acrylic paints – 3 colors – I’m using Jacquard Lumiere – Metallic Gold, Citrine, Metallic Copper
- Small paint brush to apply paint to brayer
- Small brayer
- Baby wipes or dampened paper towels
- Gold-toned ear wires (2)
- Gold-toned jump rings (2)
- Jewelry or small pliers – I prefer to use two matching pliers
- Several sheets of clean white paper
Project Instructions
- Getting Started:
Start with clean hands, unwrap and knead clay until soft and smooth, or condition by running clay though a Pasta Machine. We recommend using a designated machine for clay purposes only. When working with multiple colors, clean hands with soap and water or baby wipes (we have found that baby wipes work best) before switching colors. Shape clay, pressing pieces firmly together. Wash hands after use.
- Baking (also called Curing):
Gently roll your clay out on a sheet of clean white paper so that you have a sheet of clay that is about 3x5 or 3x4. If you are using a clay rolling machine, mine is set on a medium setting.
Slide your Gelli Plate into the Mini Placement Tool and align your stencil. The Mini Placement Tool really helps you keep the stencil nice and flat while you apply the paint to it!
Slide your Gelli Plate into the Mini Placement Tool and align your stencil. The Mini Placement Tool really helps you keep the stencil nice and flat while you apply the paint to it!

Prepare a sheet of clay in your desired background color (I chose Sculpey Soufflé™ Latte on a medium setting on my clay machine).
Apply a small amount of your darkest color to your roller and roll across the stencil and plate as shown. Remove the stencil.
Apply a small amount of your darkest color to your roller and roll across the stencil and plate as shown. Remove the stencil.

Immediately apply your sheet of clay to the stenciled Gelli plate. I used my brayer to gently roll the back of the clay to help make sure that I got a full stenciled image. (Again, the Mini Placement Tool really helps alignment between the sheet of clay and the plate!)
Gently remove your sheet of clay from the plate and admire your stenciled clay! You can clean your plate with a baby wipe or dampened paper towel. You can also clean your stencil if you wish!
NOTE: I allow my printed clay to dry a couple of moments on my silicone baking sheet
Gently remove your sheet of clay from the plate and admire your stenciled clay! You can clean your plate with a baby wipe or dampened paper towel. You can also clean your stencil if you wish!
NOTE: I allow my printed clay to dry a couple of moments on my silicone baking sheet
Immediately apply your sheet of clay to the stenciled Gelli plate. I used my brayer to gently roll the back of the clay to help make sure that I got a full stenciled image. (Again, the Mini Placement Tool really helps alignment between the sheet of clay and the plate!)
Gently remove your sheet of clay from the plate and admire your stenciled clay! You can clean your plate with a baby wipe or dampened paper towel. You can also clean your stencil if you wish! Notice that there are no marks or imprints from the stencil on the clay because we used the paint on the gelli plate instead!
NOTE: I allow my printed clay to dry a couple of moments on my silicone baking sheet

I rotated my stencil to the left and stenciled my second layer of paint to the Gelli plate. Then repeat step 4, then let the stenciled layer dry a few moments.

Okay! Final layer of paint – using the lightest color your selected. You can either rotate your stencil or flip it over! Again, I am using the brayer to gently roll my sheet of clay against the stenciled Gelli plate. Bonus points for having a cool looking back of your earrings as well!

Here is a look at my final printed clay as I’m removing it from the Gelli plate. All the layers add a 3D effect to the surface of the clay!
Allow the layers too dry a couple of moments, while you clean your plate and guide.
Allow the layers too dry a couple of moments, while you clean your plate and guide.

Okay, for me, this is the hardest part! Trying to pick what is my most favorite area to cut out my first earring! Everywhere I placed my cutter looked fantastic!
Cut out two pieces with the largest of the Sculpey Tear Drop Cutters. You can cut other pieces from the remnants of the sheet and I’m going to show you my favorite way to use the scraps!
Cut out two pieces with the largest of the Sculpey Tear Drop Cutters. You can cut other pieces from the remnants of the sheet and I’m going to show you my favorite way to use the scraps!

Use your needle tool to place holes at the top center of your teardrops (or wherever you wish to add them).
Place the pieces on your Sculpey Baking Sheet and bake/cure as directed in Step 1 above. (The Baking Sheet will protect the layers of paints that we brayed onto the back surface of the clay sheet, so that they won’t stick while baking.)
Place the pieces on your Sculpey Baking Sheet and bake/cure as directed in Step 1 above. (The Baking Sheet will protect the layers of paints that we brayed onto the back surface of the clay sheet, so that they won’t stick while baking.)

Once the clay has baked and cooled, you can assemble your earrings.
NOTE: I often have to “turn” my loop at the bottom of the ear wire so that the earrings hang correctly. Again, TWO pairs of pliers will aid this quick process. One pair grasps the loop and the other pair grasps across the two pieces of wire of above the loop. Then just gently turn the loop 90 degrees.
NOTE: I often have to “turn” my loop at the bottom of the ear wire so that the earrings hang correctly. Again, TWO pairs of pliers will aid this quick process. One pair grasps the loop and the other pair grasps across the two pieces of wire of above the loop. Then just gently turn the loop 90 degrees.

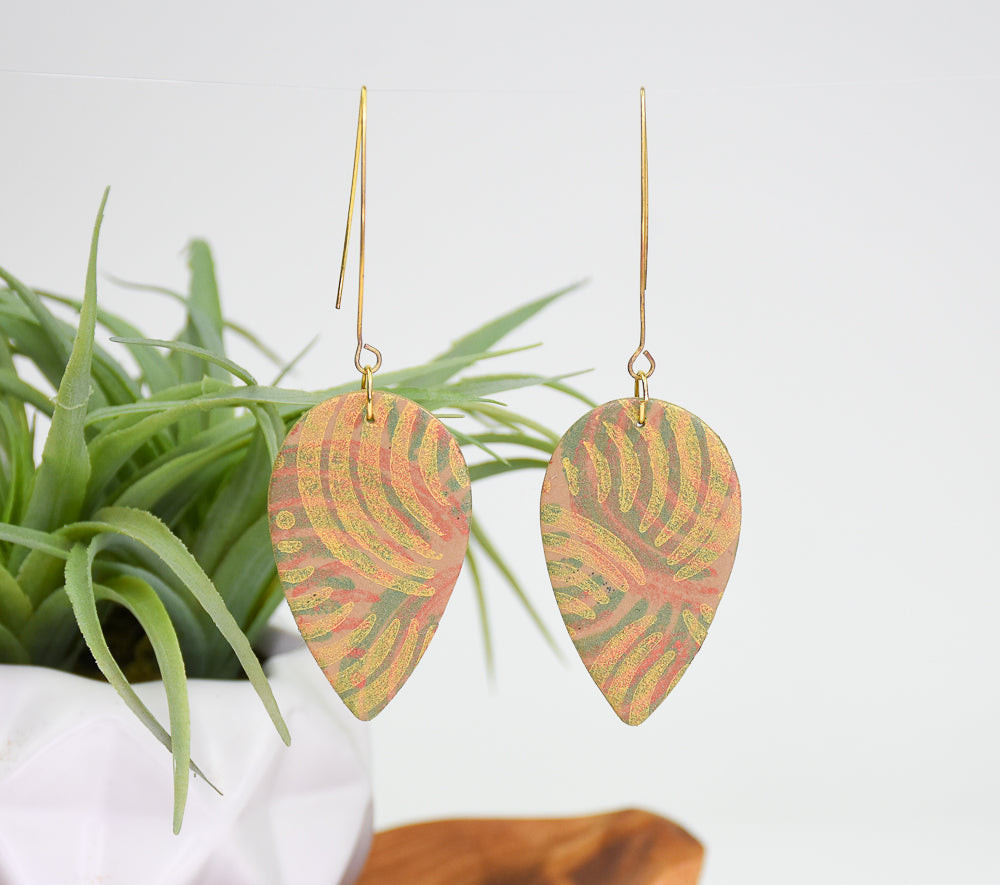
Here is a look at my finished earrings!

Got some leftover stenciled clay pieces? This is my favorite way to use them up. First, I select a coordinating clay color and roll it out. Then I cut pieces of the stenciled clay and randomly place them on the sheet. Make sure to leave space between the pieces.

Place the sheet of clay between two pieces of paper and use a smooth solid surface to press straight DOWN on the clay. (I’m using a coffee tamper, but a flat-bottomed water glass or jar works great!)

Press across the entire sheet of clay. You can gently peel the paper up in the corner to check your progress. Pay attention to the edges – you can see my pieces on the bottom edge need a little more pressing.

Now just cut out your NEW earring shapes or fill a channel bracelet like I love to do!

- Choosing a selection results in a full page refresh.
- Opens in a new window.