

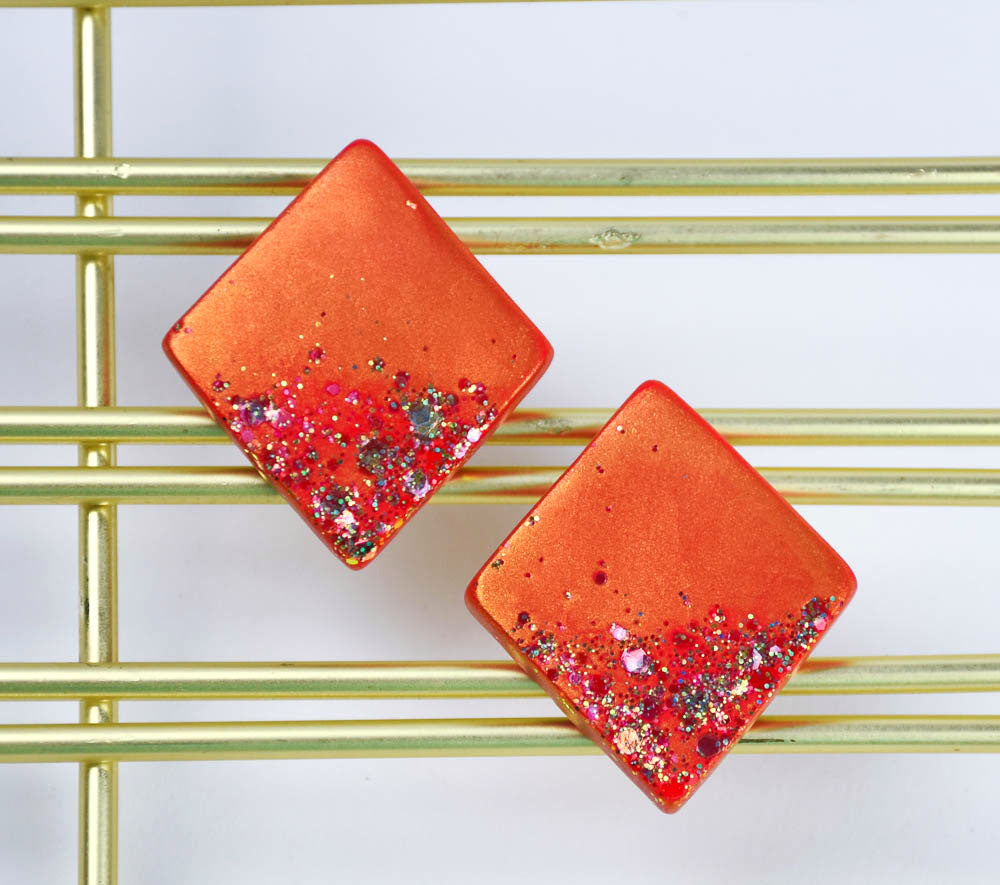
Sculpey Premo™ Sparkling Rhombus Post Earrings
Sculpey Premo™ Sparkling Rhombus Post Earrings
Designed by Amy Koranek
Read More
Create these eye-catching post earrings in a quick afternoon project to give to a friend or wear yourself!
COMPLETION TIME:
90 Minutes to make, bake, and assemble
Read Less
ADDITIONAL SUPPLIES
- Aztec gold mica powder
- Paintbrush
- Gold chunky glitter
- Gold ear posts and backs (2)
- Silicone or instant drying glue
Project Instructions
- Getting Started:
Start with clean hands, unwrap and knead clay until soft and smooth, or condition by running clay though a Pasta Machine. We recommend using a designated machine for clay purposes only. When working with multiple colors, clean hands with soap and water or baby wipes (we have found that baby wipes work best) before switching colors. Shape clay, pressing pieces firmly together. Wash hands after use.
- Baking (also called Curing):
Use a paintbrush to dust the top half of the rhombus shape with gold mica powder.

Drop chunky gold glitter into the bottom half of the rhombus shape.
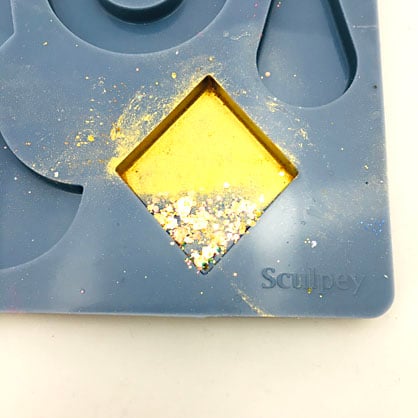
Condition 1/8 bar of Cadmium Red Premo to a soft consistency and press it into the rhombus shape filling the cavity completely.

Shave off excess clay level with the back of the mold using the Clay Blade.

If you like you can bake the mold with the clay in place. When the mold is completely cool, remove the piece by gently flexing it. Then repeat Steps 2-6 to make a second earring.

OR - you can very carefully de-mold the raw clay from the mold, make another matching piece, and bake the pieces together alone without the mold.

When both pieces are baked, use a paper towel to buff away excess mica powder.

Here is the layout for assembling the earrings.
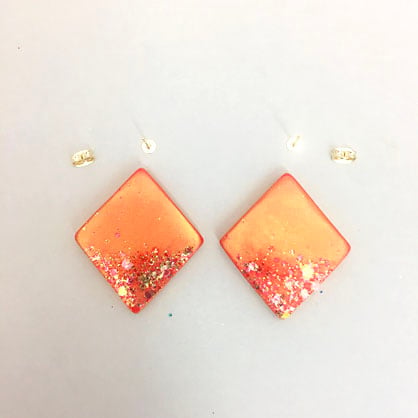
Glue the posts to the backs and allow the glue to dry completely before handling.

- Choosing a selection results in a full page refresh.
- Opens in a new window.