

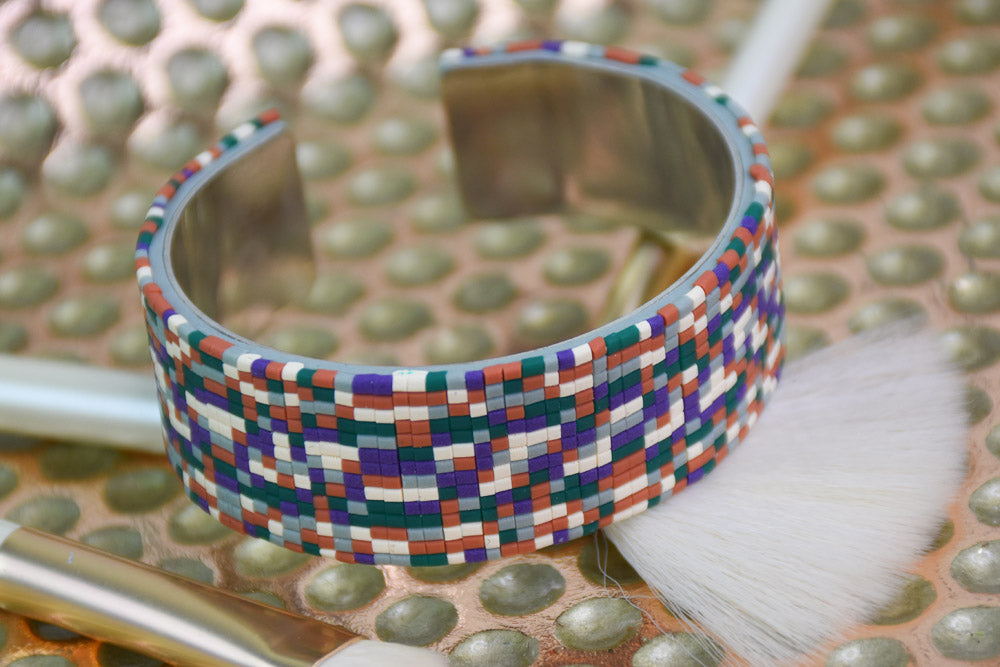
Sculpey Soufflé™ Faux Seed Bead Bangle Cuff
Sculpey Soufflé™ Faux Seed Bead Bangle Cuff
Read More
Learn how to craft an eye-catching bangle cuff that mimics the intricate look of seed beads using Sculpey’s Soufflé Succulent clay. Explore this creative technique to design a stylish and unique bracelet that adds a chic touch to any outfit!
TIME TO COMPLETION: apx 1 hour
Read Less
ADDITIONAL SUPPLIES
- Ruler
- Cuff bracelet
- Clay extruder
Project Instructions
Step 1
Step 2

Step 3

Step 4

Step 5

Step 6

Step 7

Step 8

Step 9
