If you’re wondering how to create multiple identical pieces of your polymer clay creations, you’ve come to the right place! This guide explores how to make molds of your creations to simplify and improve your claying process.
Learn how to make silicone molds that you can use with polymer clay to make duplicates and add detail to designs. Let’s get started!
Purpose of Making Molds with Silicone
With the use of a mold, you can make copies of an object to:
- Add raised details to another project.
- Cast duplicates — perfect for jewelry, ornaments and repeated patterns on picture frames.
- Save time because you only need to make a detailed object once!
Types of Molds
Every mold making process includes three basic parts:
- Master object (positive): The original clay creation or object you are making a mold of to reproduce it.
- Mold box (negative): The mold with the negative space left behind from the original piece, used to replicate the master.
- Reproduction (new positive): The cast duplicate, made by filling the space in the mold to become a positive form.
You can make molds from plaster, silicone or a variety of other materials, and the mold itself can be as simple as one piece or far more complex, requiring two or more separate parts. Polymer clay artists love silicone one-piece box molds because they are easy to make, flexible, oven-safe and naturally non-stick.

How to Make a Mold With Silicone
Follow these steps to make custom silicone molds of your baked polymer clay pieces or other solid objects, like buttons and carvings, to add details to more complex projects.
1. Gather the Mold Making Products
Compile everything you need to create simple molds of your polymer clay projects:
- Plastic drink cups
- Pencil
- Ruler
- Rigid foam core board
- Masking tape
- Hot glue gun and glue sticks
- Super glue, also called cyanoacrylate adhesive
- Utility knife
- Mold release agent
- Nitrile or vinyl gloves
- Plastic containers
- Wooden stir sticks or chopsticks
- Silicone casting materials
- Digital gram scale
2. Use a Plastic Cup or Build a Box Mold
You need a mold box — a container, not necessarily a literal box shape — that fits your master clay object, in which you’ll pour the silicone materials.
A plastic cup works as a mold box for small, flat-bottom clay pieces. Round cups require less silicone material than square containers. Make sure the cup has a flat bottom and is larger than your master by half an inch to three-quarters of an inch around, so the mold is thick enough to self-support. Use a dab of super glue to secure your piece to the cup bottom or hot glue for easier removal.
For larger pieces and objects with limited undercuts, assemble a custom box mold:
- Create the base: Place the master on foam core board and draw a perimeter with a half inch to three-quarters of an inch between the object and the intended box edge. Many molds are rectangular, but any straight-lined shape will do. Protect your work surface with a self-healing cutting mat and cut out the base using a utility knife.
- Affix the master: Attach the master to the base — the bottom of the box — with hot glue or super glue, which provides a tighter connection.
- Attach mold walls: Create foam core walls at least 3/4-inch higher than the master for every side of the box. Connect walls to the base and each other using hot glue.
- Make it watertight: Use hot glue to make seams as sealed as possible. After the glue cools, tape exterior edges and corners to prevent silicone spillage.
3. Add Silicone Mold Release
Professional mold makers know the importance of using a quality release agent. Without it, the mold making materials could fuse to the master and box, resulting in damage and difficult clean-up.For effortless removal, use a silicone-compatible aerosol spray mold release like Mann Ease Release 200. Hold the can 6 to 8 inches from the surface and spray a light, even coating on the object and box interior. Allow the spray to dry for 5 minutes, then repeat the process for full coverage. Be sure to follow package instructions for any mold release you use.
4. Read the Mold Making Material Instructions
While the mold release dries, read the instructions carefully. Reviewing instructions makes the whole process easier and significantly improves your chance of success. Pay attention to these essential details:
- Mixture requirements: Some materials are mixed by volume while others are mixed by weight.
- Pot life: The pot life is the limited length of time you can work with the material before it starts to set up.
- Cure time: Once poured, the cure time is the amount of time required for the material to set fully before demolding.
5. Mix and Pour Silicone Into the Cup or Box
Before working with liquid silicone rubber, take proper precautions to avoid skin contact by wearing latex-free gloves. Use nitrile or vinyl gloves because latex causes cure inhibition with silicone, meaning the material won’t set properly.
The easiest mold-making systems are two-part (A + B) platinum-based silicone rubbers. Smooth-On makes several beginner-friendly silicone kits, including their mix-and-pour Rebound and Mold Star series. These materials have a simple one-to-one ratio — if part A is 200 grams, then part B is 200 grams.
For products measured by weight, use a digital gram scale to measure mix ratios accurately:
- Container: Place an empty plastic container onto the scale.
- Tare: Press the tare button to zero out the weight.
- Part A: Pour material A into the container and note the weight.
- Tare again: Zero out the weight a second time.
- Part B: Pour material B into the container until it reaches the correct ratio per instructions. For a 1:1 ratio, add B until it equals the weight of A.
- Mix: Thoroughly mix parts A and B with a stir stick or chopstick before the pot life ends. Scrape the bottom and the sides of the container, taking care not to add too many air bubbles.
- Pour: Pour the mixed silicone into the lowest spot of the mold, usually a corner, from about 2 feet above to create a ribbon pour to reduce air bubbles. Let it rise naturally until the master is covered.
6. Demold the Master Sculpt and Clean Your Finished Mold
Once the cure time is complete, it’s time to remove the mold from its container! It’s OK to rip the plastic cup or foam core box in the process. With the mold freed from its container, slowly peel the flexible silicone mold away from the edges of the master. Once it’s loose, pull out the object so you’re left with a beautiful new mold to cast reproductions of the original.
As a final step, use sharp scissors or a blade to clean up thin pieces around the mold opening, then turn the mold over to trim raised edges along the sides and corners. Now the bottom of the mold will lay perfectly flat!
Use Your New Mold for Future Products
Cast pieces in your new mold with Liquid Sculpey®! This liquid polymer clay comes in a squeeze bottle and easily pours into silicone molds to make jewelry, embellishments, home décor projects and more. The best part is, silicone is oven-safe, so you can bake your creations right in the mold.
You can also use silicone molds with Sculpey® clay. Condition the clay and press it into the mold to make individual details to add to a more complex project. To get the clay out of the mold without distortion, place the mold in the freezer for a few minutes. Remove the mold from the freezer, and the clay will pop out with details intact! Let the piece return to room temperature before you continue to shape the clay.
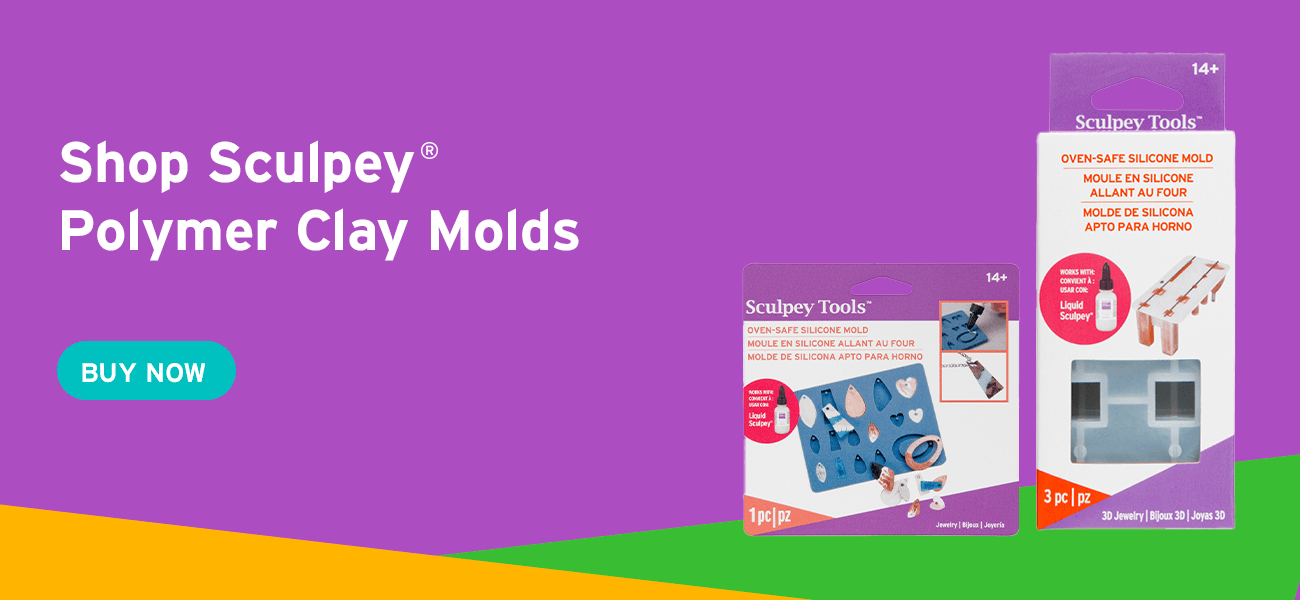
Shop Sculpey® Polymer Clay Molds
Make even more designs with our innovative Sculpey® bakeable silicone molds:
- Jewelry: Perfect for earrings and pendants, our Sculpey Tools™: Jewelry and 3D Jewelry molds contain unique shapes with posts included, so there’s no need to drill holes after creation!
- Nature: Add ocean animals, butterflies, blossoms and leaves to projects using our Sculpey Tools™ Oven-Safe Molds: Sea Life, Butterfly and Flowers molds.
- Shapes: Quickly make a variety of shapes using our Sculpey Tools™ Oven-Safe Molds: Cabochon and Bezel molds.
We supply the tools, you supply the creativity! Shop our wide selection of Sculpey Tools™ Oven-Safe Molds today to get started making detailed, consistent shapes for your next clay project.