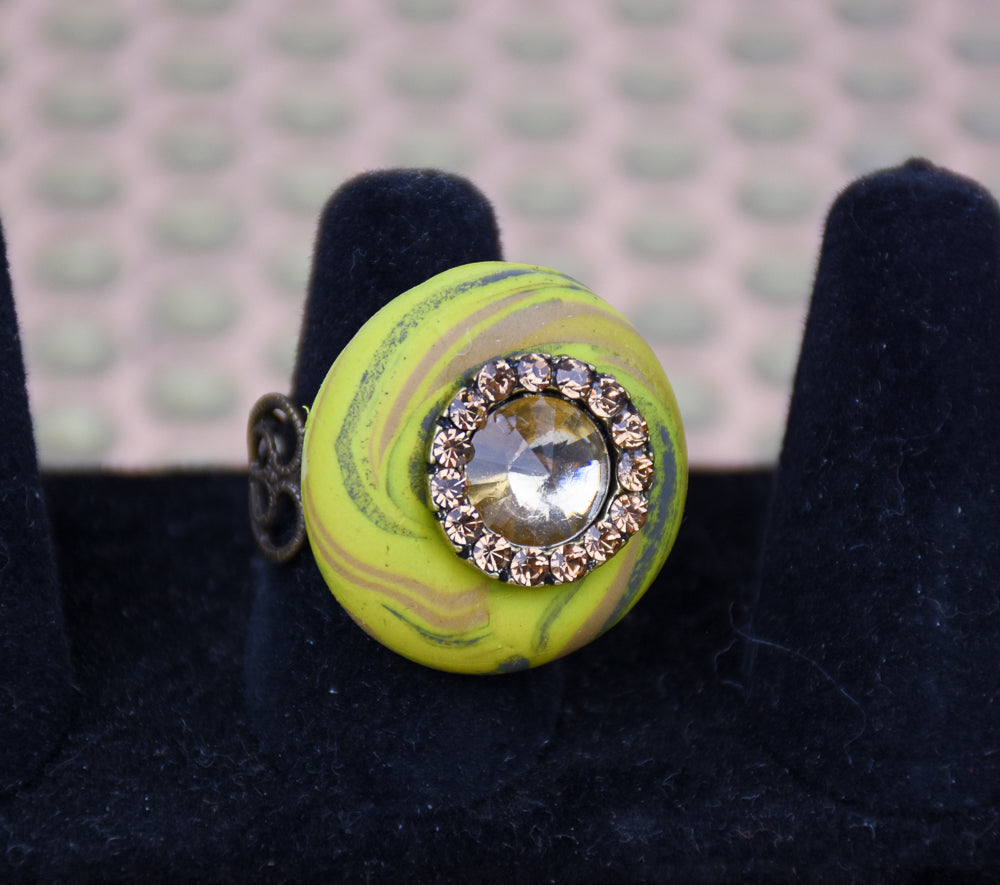
Sculpey Soufflé™ Citron Sparkling Cocktail Ring
Sculpey Soufflé™ Citron Sparkling Cocktail Ring
Read More
Soufflé Citron teams up with Soufflé Latte, a little acrylic paint and a sparkling button to create this one-of-kind cocktail ring!
TIME TO COMPLETION: 30 minutes to make, 30 minutes to bake
Designed by syndee holt
Read Less
ADDITIONAL SUPPLIES
- Dark gray chalk paint and small brush
- Metal ring finding (I chose this filigree finding from Fire Mountain Gems so that the clay and Liquid Clay could have holes to “grab” through the metal)
- Fancy post button (I have a collection of these!)
- Small spray bottle of water
- Glue of your choice to attach the button

Project Instructions
Step 1
Step 2

Step 3

Step 4

Step 5

Step 6

Step 7

Step 8

Step 9

Step 10

Step 11

Step 12
