Skip to product information
1 of 1

Sculpey Bake Shop® Monster Erasers

Sculpey Bake Shop® Monster Erasers

Designed by Precious Nunez
Read More
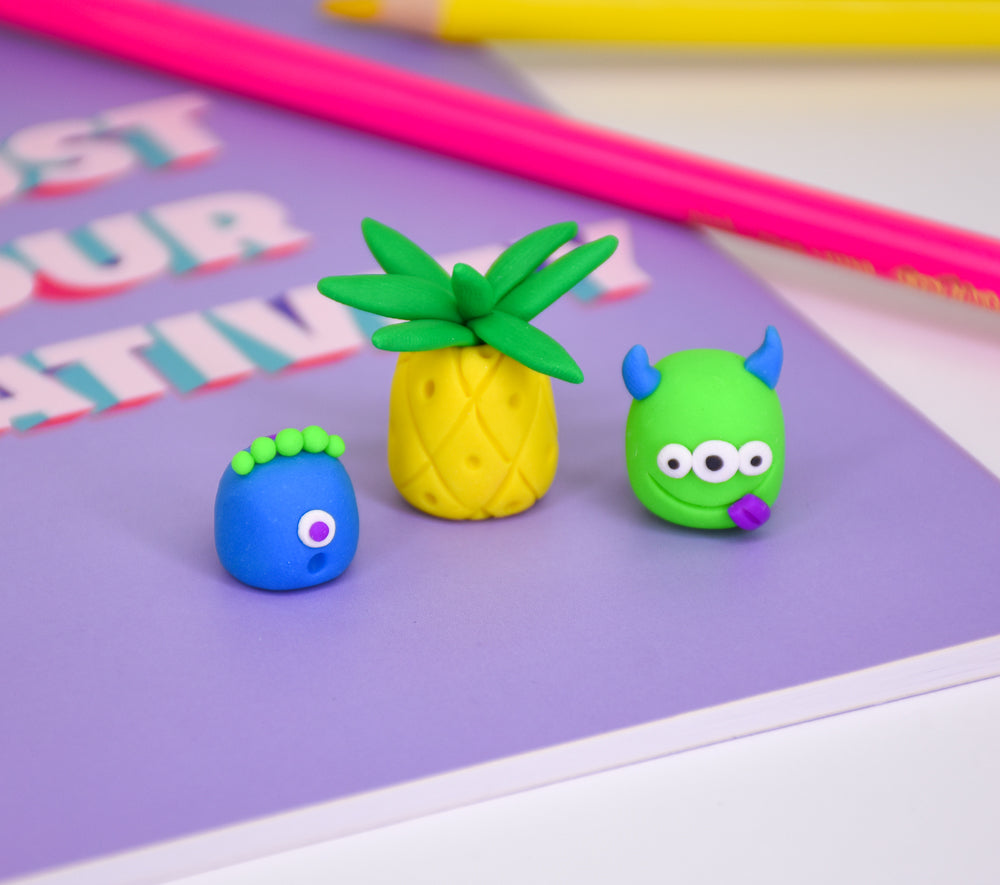
These mini Monster Erasers make the perfect addition to your pencil box! Enjoy making these silly little monsters that are happy to help you clean up pencil mistakes! Customize them to your liking for you and your best friend! • Time to complete – Sculpting time approximately 30 minutes 30 minutes to bake
Read Less
View full details
Project Instructions

Step 1

Please make sure your work area is covered and you are not working on an unprotected surface.  We recommend working on the Sculpey Tools™ Oven-Safe Work Mat, wax paper, metal baking sheet, or disposable foil.  Uncured clay may damage unprotect furniture or finished surfaces.  Be sure to cover your crafting area appropriately.

Bake at 250°F (121°C), 20 minutes per ¼ inch (6 mm) thickness.  DO NOT MICROWAVE. DO NOT EXCEED THE ABOVE TERMPEARTUE OR RECOMMENDED BAKING TME.

Step 2

Roll blue clay into a gumdrop shape and slightly flatten the bottom so your monster can sit up.

Step 3

Take three small bits of white clay and make one of them slightly larger, these will be the eyes. Place them on the center of the face with the larger eye in the middle and the smaller eyes beside it then slightly flatten them. Next, take three smaller bits
of black clay and add them to the center of each eye then flatten.

Step 4

Gently, make a curved smile below the eyes with the needle tool to your liking.

Step 5

Take a small piece of purple clay and shape into a flattened oval. Cut off one end of the oval and make a line indent in the middle, this will be the tongue. Attach on either side on the smile.

Make tiny blue shaped raindrops with the pointed end curled inward to mimic horns. Cut off the bottom rounded end at an angle and attach the horns to both sides of the head .

Step 6

Take three small balls of purple clay and slightly flatten them on the back of the monster to give him spots.

Step 7

For the second monster, form a small ball out of blue clay into a gumdrop shape and slightly flatten the bottom.

Step 8

Form and even smaller ball of white clay for the eye, place on the center of the face and flatten. Take a mini ball of purple clay and add it to the center of the eye.

Step 9

Roll five mini balls of green clay and add to the head of the monster to give him hair. Take the needle tool and make an indent for his mouth.

Step 10

To make the tail, roll out a piece of blue clay and roll it into a thin log. Cut it to your
desired length and attach to the back side. Make a flattened tear drop shape in
purple clay and make indents in the middle to make a textured tail.