Sculpey Soufflé™ Sedona Rustic Floral Trinket Dish
Sculpey Soufflé™ Sedona Rustic Floral Trinket Dish
Designed by syndee holt
Read More
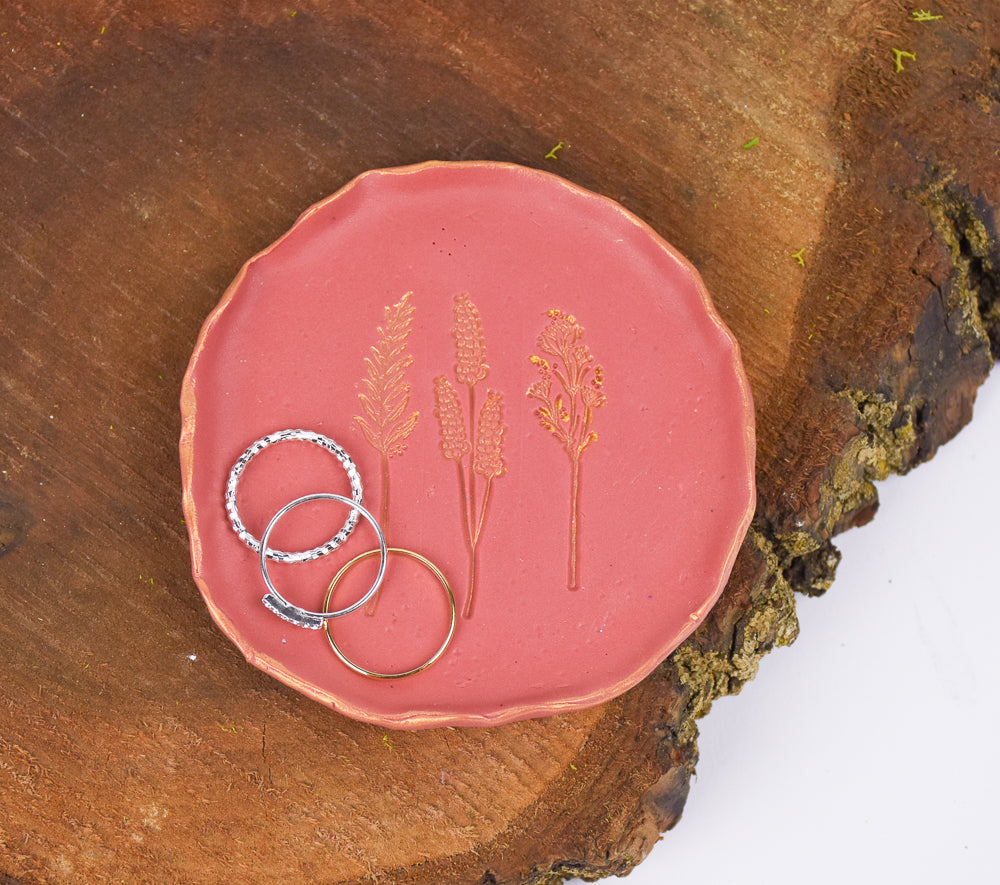
The rich red tones of the Soufflé™ Sedona is perfect to create a rustic trinket dish that looks like pottery, but won’t break if dropped!
TIME TO COMPLETION: 30 minutes to make, 30 minutes to bake
Read Less
ADDITIONAL SUPPLIES
- Brilliant Gold Pearl Ex
- 5 inch circle cutter OR a bowl/plate about the same size
- Small floral stamps to fit bowl (mine are from Amazon-search “small floral stamps”
- Scotch tape
- Small brush to use for glaze around the edge

Project Instructions
- Getting Started:
Start with clean hands, unwrap and knead clay until soft and smooth, or condition by running clay though a Pasta Machine. We recommend using a designated machine for clay purposes only. When working with multiple colors, clean hands with soap and water or baby wipes (we have found that baby wipes work best) before switching colors. Shape clay, pressing pieces firmly together. Wash hands after use.
- Baking:
Condition and roll out each block of Sedona one the widest setting on the Clay Conditioning Machine (Pasta machine) or roll out to about 1/4 inch thickness. Make sure that it is wide enough to fit your cutter (or small dish inverted to use rim).
Cut out your circle. I like to put a small board over my cutter and then press firmly down on the board to get a clean, even cut.
Cut out your circle. I like to put a small board over my cutter and then press firmly down on the board to get a clean, even cut.

Touch your finger into the LID of the Pearl Ex jar and wipe across the stamp. Repeat until you have built a nice layer of Pearl Ex on the stamp.
Repeat this with the other two stamps.
Repeat this with the other two stamps.

I put my three stamps together and gently placed them onto the clay.
NOTE: If you stamps are too long for your circle, you can tear an uneven line across a piece of paper and put that between the stamp and the clay so that it doesn’t impress the entire length of the stem for you.
Once more, I placed my small block of wood on top of the stamps and GENTLY pressed down to emboss the images into the clay.

Use a small piece of tape to help remove any excess Pearl Ex from areas you don’t want it. I also used it to lightly rub out any lines that showed from the edges of my stamps.

Use the small ball tool from the Dual Ended Tools to lightly texture across the surface. I even used my fingernails and a piece of rough sandpaper in some areas!

Pinch the edges of the clay and gently roll them up using your fingers as shown. The goal is to have a “rustic” look to the edge and not a perfect edge.
NOTE: See that strip of clay in the background? I decided that I need to cut some clay from one edge to help even out my stamp in the center, so I used one edge of the round cutter to do so!

Once again, dip your finger into the lid of the Pearl Ex jar and build a lovely golden edge along the rim of your dish.
Bake the bowl according to the directions above in Step 1.
Bake the bowl according to the directions above in Step 1.
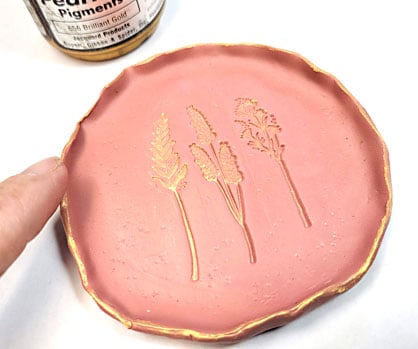
Here is a look at my final dish. I put a little bit of the Sculpey Satin Glaze on my fingertip and gently rubbed it along that Pearl Ex edge of the bowl to help seal the Pearl Ex in that area. You can also opt to apply a light coat to the entire dish with a small soft brush.

- Choosing a selection results in a full page refresh.
- Opens in a new window.