
Premo! Striped Beads
Premo! Striped Beads
Read More
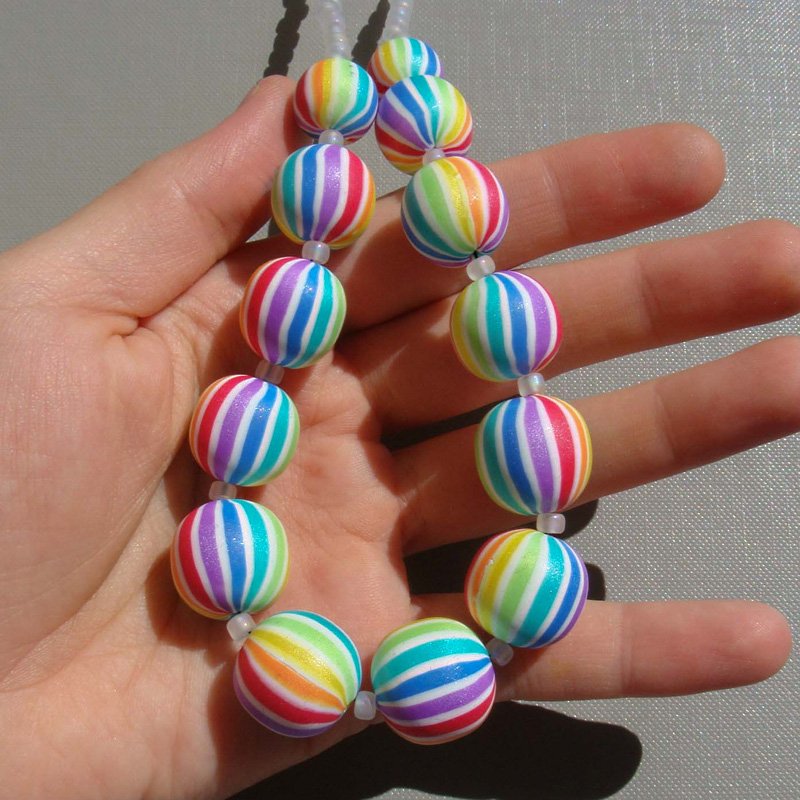
These cheerfully striped beads capture the essence of Spring and Summer colors, but change the colors up to classic Black and White for an all-season version!
Design by Jana Honnerova
Read Less
ADDITIONAL SUPPLIES
about a 1-1/2 to 2 inch square cutter, smooth gloves|about a 1-1/2 to 2 inch square cutter, smooth gloves
Project Instructions
Before you startGetting Started Polymer clay may stain. Clay may damage unprotecteed furniture or finished surfaces. Do not use polymer clay on unprotected surfaces. We recommend working on the Sculpey clay mat, wax paper, metal baking sheet, or disposable foil. Start with clean hands and work surface area. Knead clay until soft and smooth. For best results, clean your hands in between colors. Bake on oven-proof glass or metal surface at 275°F (130 °C) for 30 minutes per ¼" (6 mm) thickness. For best baking results, use an oven thermometer. DO NOT USE MICROWAVE OVEN. DO NOT EXCEED THE ABOVE TEMPERATURE OR RECOMMENDED BAKING TIME. Wash hands after use. Baking should be completed by an adult. Begin by preheating oven to 275 °F (130 °C). Test temperature with oven thermometer for perfectly cured clay. For best results, condition all clay by running it through the Clay Conditioning Machine for several passes on the widest setting. Fold the clay in half after each pass and insert the fold side into the rollers first to avoid the air bubbles.
Sheet your selected clay colors out on a medium setting on your pasta machine. Take any square or rectangle cutter and cut out few pieces from both sheets. TIP: here you can vary in colors, number of rectangles, thickness of sheets….. Play with the colors yourself! The striped beads shown have white layers in between each color. Stack the rectangles to make a block, alternate colors. NOTE: The artist is using only black and white clay in these photos, but you can substitute any colors you wish!

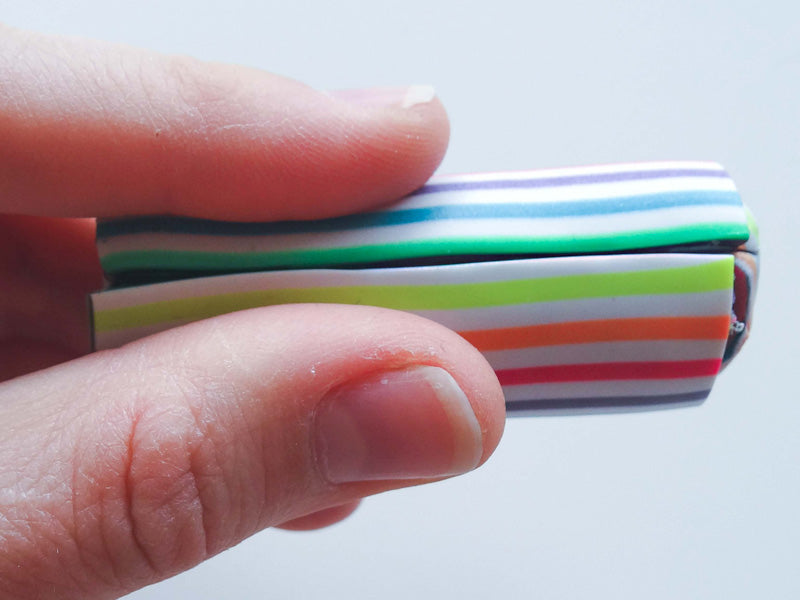
Press slightly on each new layer to press out the air bubbles. Do not use your fingertips, but your whole palm. Try to stack rectangles exactly, so the sides are flat.

Cut the block in a half (measure if not sure) by using your knife and both hands. Important is nice slow vertical cutting – use rigid knife and cut down slowly but securely.

Stack the two halves on top of each other; be mindful to alternate the colors. Repeat this step if needed to achieve the required thickness of final slices, which is about 3 - 5 mm (0.1 – 0.2 in). Again – cut slowly but securely!

Cut a piece of scrap, approx. the same thickness as the final slice. Attach the scrap anchor to the end of the created slice so the surface stay plain. The total slice can´t be longer than your pasta machine rollers

If necessary, roll the striped slice with an acrylic roller and use your blade to remove it from the worksurface. Clean the rollers of your pasta machine before you continue to next step! Roll the sheet through your pasta machine as shown. Roll it on the thickest settings first, then on medium. Make sure to roll it all together!


TIP: You can underlay the striped sheet with a sheet of scrap clay (1:1) to extend the striped veener. Do not use too dark clay because scrap´s colour may shine through the striped sheet, and that’s undesirable. Roll in your pasta machine, on the thickest settings first, then on medium. Roll it in the direction of the stripes. Again - clean the rollers of your pasta machine before this step!
Trim up the sheet of clay and save the scraps for the center core of the beads. Make a roll out of the scrap clay. Wrap the striped sheet around the scrap roll, the nice striped side goes down when rolling.

Wrap it slowly and try to press out as many air bubbles as you can. Connect both ends exactly, if the roll is thicker, cut a wedge into the scrap clay roll, and press ends together. If the roll is thinner, cut the striped sheet.
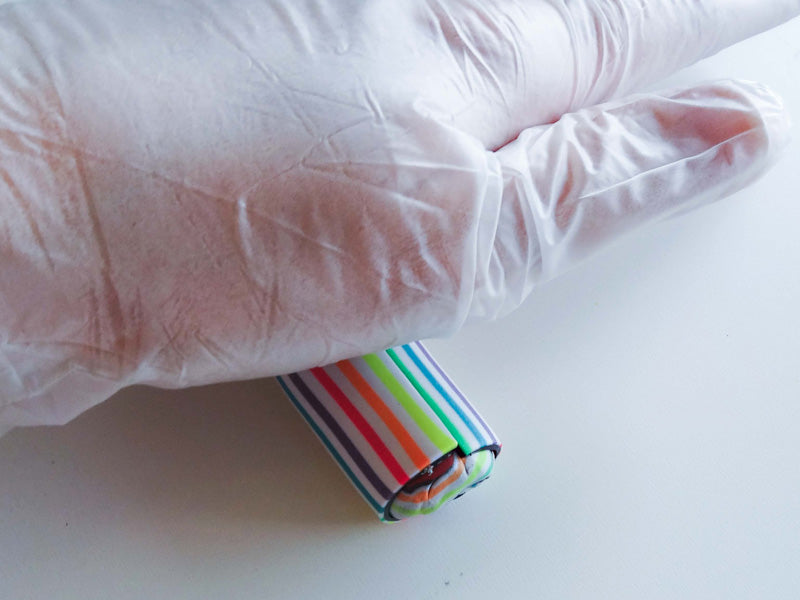
For next steps, it is better to work with gloves, but do not use gloves with textured fingertips. Roll the striped roll to connect and smooth the join. Make sure to have your surface clean!
Cut the roll into pieces, the length of each piece is approx. equal to the width of the roll. For gradually decreasing size of beads, roll thinner on one side

Take each piece and press both ends slowly to close them. Then roll the bead in your hands to make it round, this step might be harder than you think. Don´t press too much! Let the bead rest for a while to let the clay cool before making a hole.


Use a bead needle from the Sculpey Bead Baking Rack and start making a hole at the top of the bead. Pierce it through. Pierce it straight or by twisting the needle. Place the needles with the flat part of the triangle on the end down to keep the beads off the baking tray. Place the needle end into one of the slots on the bead baking rack. Bake as directed above.