
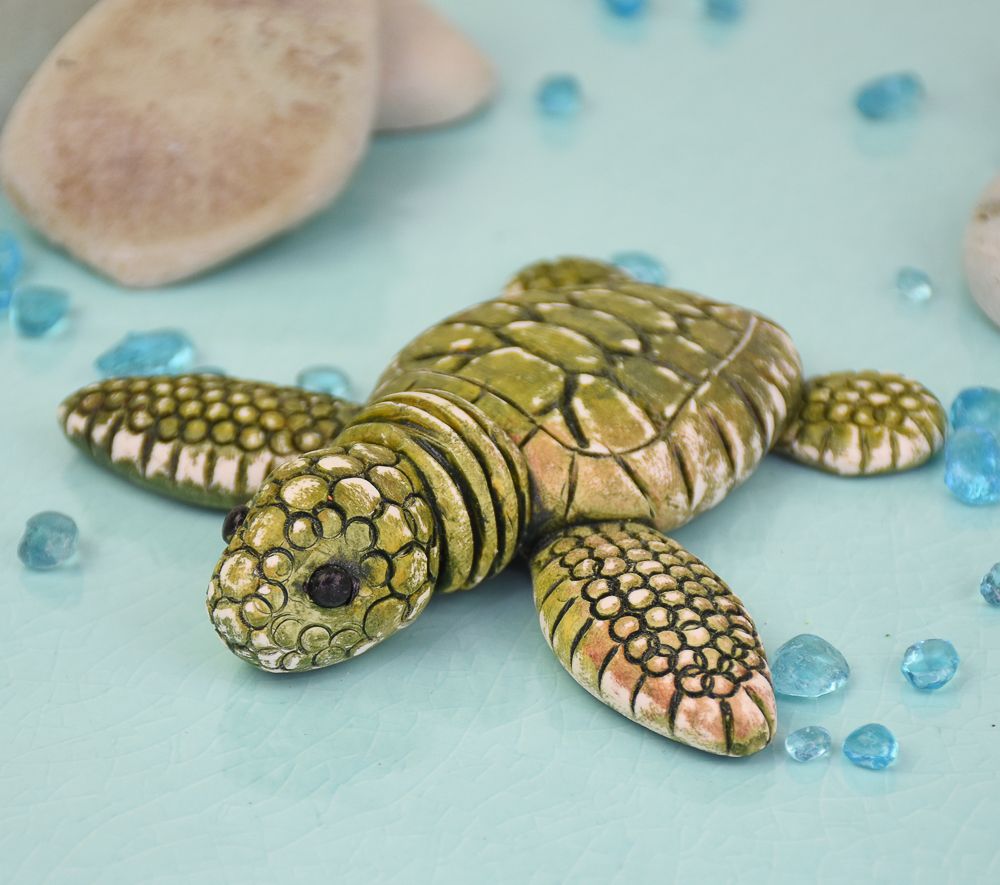
Original Sculpey® Sea Turtle
Original Sculpey® Sea Turtle
Designed by Amy Koranek
Read More
Read Less
Wouldn’t this great little turtle look great next to your favorite houseplant? Or how about to keep papers in place on your desk? COMPLETION TIME:60 Minutes to make and bake
ADDITIONAL SUPPLIES
- Acrylic paint in brown, dark green, yellow, and black
- Paintbrush
- Optional - 400 grit sandpaper
Project Instructions
Step 1
- Getting Started:
Start with clean hands, unwrap and knead clay until soft and smooth, or condition by running clay though a Pasta Machine. We recommend using a designated machine for clay purposes only. When working with multiple colors, clean hands with soap and water or baby wipes (we have found that baby wipes work best) before switching colors. Shape clay, pressing pieces firmly together. Wash hands after use.
- Baking (also called Curing):
Step 2
Start with 1/4 bar of Original White Sculpey®. You can make the size of your sea turtle as large or as small as you like using more or less clay. Just be sure to make the shapes proportionate to each other.Make the following pieces:
a large flat teardrop for the shell
two small teardrops for the back fins
two long flat tapered elipses for the front fins
a short cylinder neck
and a thick oval for the head.

Step 3
Press the neck onto the shell.
Step 4
Pinch a taper on one end of the head. Use the Round End tool to press a deep divot into the neck.
Step 5
Push the tapered end of the head into the neck.Use your thumb and pointer finger to push the head so that two flattened areas appear on the head creating flat plains for the eyes.

Step 6
Carefully lift the turtle up.Place the fins under the body.
When you lay the turtle back down, apply pressure so that the shell joins with the fins.

Step 7
Use the back side of the knife tool to score rings around the neck.
Step 8
Use the small and medium Etch n Pearls to impress little rows of circles into the skin.
Step 9
Use the Blunt Point Tool to poke in eye sockets.Fill each eye socket with little bits of clay creating eyes.

Step 10
Use the Knife Tool to score markings in the shell.
Step 11
Use the Knife Tool to score lines around the edges of the shell and fins.
Step 12
Bake the sea turtle following the baking instructions for Original Sculpey®. Allow to cool completely before handling.Apply layers of watered down green, brown, and yellow acrylic paint to achieve the look that you want.
Paint the eyes black.
Allow the paint to dry completely.
Remove as much dried paint as you want from the raised areas with fine sandpaper creating an old weathered look.
