
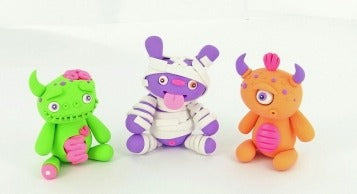
Sculpey® III Little Lazies Monster Trio: Mummy, Cyclops and Zombie
Sculpey® III Little Lazies Monster Trio: Mummy, Cyclops and Zombie
Read More
"
"
Read Less
Little Lazies, the cutest little monster are a great Halloween decoration - however these are sooooo cute you'll want them on display all year long.
ADDITIONAL SUPPLIES
"• White Tempera Paint
• Paint brush|• White Tempera Paint
• Paint brush"
Project Instructions
Your workspace:
Please make sure your work area is covered and you are not working on an unprotected surface. We recommend working on the Sculpey® Work ‘n Bake Clay Mat, wax paper, metal baking sheet, or disposable foil. Uncured clay may damage unprotected furniture or finished surfaces. Be sure to cover your crafting area appropriately.
Getting Started:
Start with clean hands, unwrap and knead clay until soft and smooth, or condition by running clay though a Pasta Machine. We recommend using a designated machine for clay purposes only. When working with multiple colors, clean hands with soap and water or baby wipes (we have found that baby wipes work best) before switching colors. Shape clay, pressing pieces firmly together. Wash hands after use.
Baking:
Begin by preheating oven to 275 °F (130 °C). After you are done creating; for best results bake clay on an oven-proof surface such metal, aluminum foil, an index card or the Sculpey® Clay Mat at 275°F (130 °C) for 15 minutes per ¼" (6 mm) thickness according to package directions. Oven safe glass or ceramic surfaces are also acceptable for baking; however please note that the baking times may take longer as the glass or ceramic surfaces take longer to heat up. For best baking results, use an oven thermometer. DO NOT USE MICROWAVE OVEN. DO NOT EXCEED THE ABOVE TEMPERATURE OR RECOMMENDED BAKING TIME.
To make the Mummy:
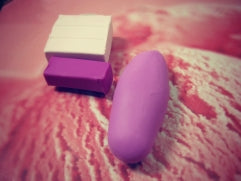
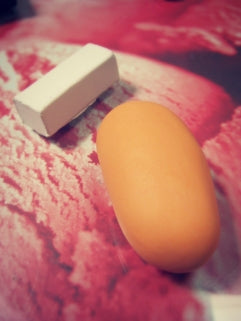
Mix together Purple and White by kneading with your hands until both colors are thoroughly mixed. If you prefer the Purple the original color remember to knead it so that it becomes pliable.
Mix together Purple and White by kneading with your hands until both colors are thoroughly mixed. If you prefer the Purple the original color remember to knead it so that it becomes pliable.
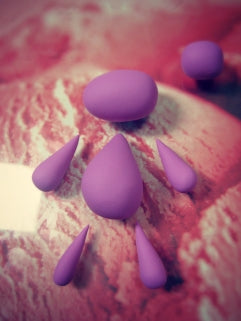
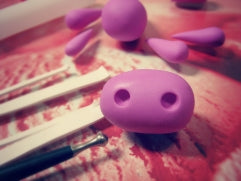
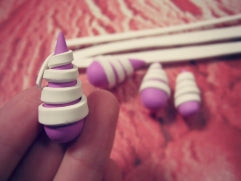
With your hands roll out 4 long teardrop shapes, 1 ¼†long, taped on one end and 3/8†in diameter at the wide end. Create the head which is approximately 1 ½†across and ¾†high and 5/8†wide. Create the body, a large teardrop that is about 1 ½†long. Set all the pieces aside.
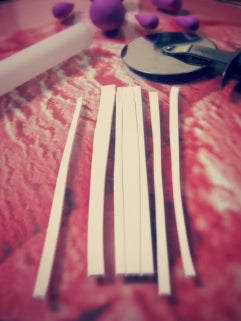
Take a piece of White clay, knead it, and then roll it out thin using the acrylic roller.
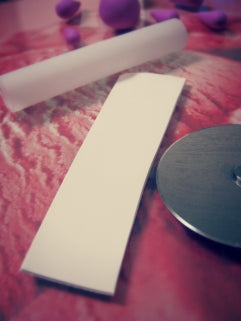
With the Super Slicer, cut several strips of White clay. Set those aside.
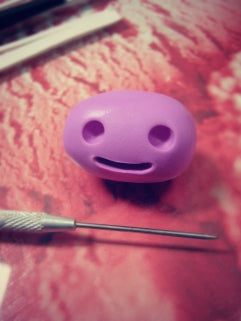
Take the head of the Mummy in your hand and use Sculpey Style and Detail Tool to press into the clay to make two round indents for the eyes.
Using the Needle Tool, push into clay and make a mouth-shaped indention.
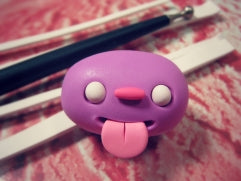
Mix the White and Pink clay to make a Light Pink color and form it into a tongue shape, a flattened circle with one end cut off. Push the tongue inside the indention for the mouth and add a small line on top of the tongue using the needle tool.

Form 2 small balls of White clay and insert into the eye sockets. Using Pink clay add a small, oval nose between the eyes. Using small flattened balls of Orange and Black clay add an iris and pupil on the eyes. Now set the Mummy head aside.
Grab your White stripes you cut earlier, as well as the arms and legs. Start wrapping each limb with the White "bandages" any way you wish - covering as much of each limb as you want! Put those aside.
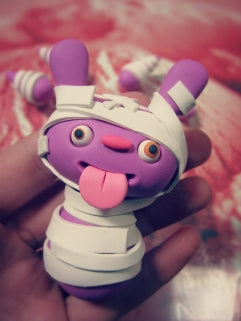
Take the Mummy body and the Mummy head and attach to each other by pushing them together and smoothing gently. Also take the White clay stripes and start wrapping up the body.

Add bunny-like ears by making tear-drop shaped clay and pressing into holes made with a Pointed tool on top of the head.

Continue wrapping up the Mummy - do this randomly and have fun with it, doesn't have to be perfect.
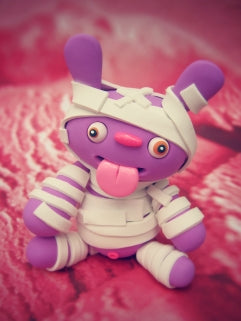
Add the Mummy arms and legs to the body - gently smooth them onto the body. Add small details, like a little Pink belly button on the stomach. The belly button is a tiny ball of clay pushed on the tummy with the needle tool. Bake as directed above in Step 1. Once cool, add Sculpey Glaze anywhere you would like (2 coats), also using White Tempera paint and a small paint-brush, add a white dot on the eyes - this gives it life. Now you're done with the Mummy!
To make the Cyclops:
Mix the Orange and White clay by kneading with your hands until both colors are thoroughly mixed. If you would like to keep the Orange the original color remember to knead it so that it becomes pliable.
Mix the Orange and White clay by kneading with your hands until both colors are thoroughly mixed. If you would like to keep the Orange the original color remember to knead it so that it becomes pliable.
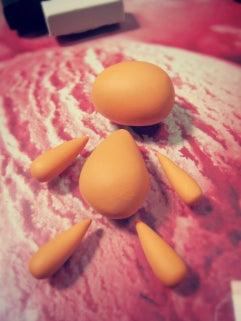
With your hands roll out 4 long teardrop shapes, 1 ¼†long, taped on one end and 3/8†in diameter at the wide end. Create the head which is approximately 1 ½†across and ¾†high and 5/8†wide. Create the body, a large teardrop that is about 1 ½†long. Set all the pieces aside.
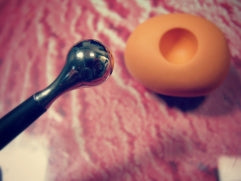
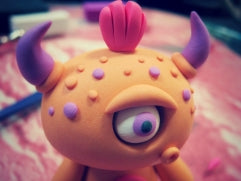
Take the Cyclops head and using the largest Style and Detail tool press a large indent for the one big eye!
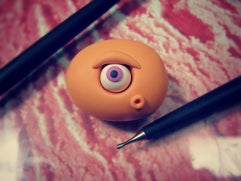
Add a White eyeball. Using small flattened ball of Orange and one of Black clay add an iris and pupil to the eyeball. With Orange clay, make an eyelid over the eye, this can be altered to make him look happy, sad, angry, confused - any expression you wish! Start with a thin Orange half moon. Add a mouth by making a small round ball placing it on the head and pressing on with the smallest Style and Detail tool.
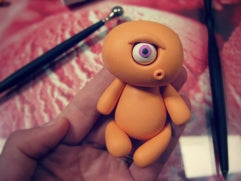
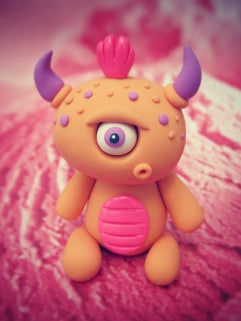
Take the head, body, and all 4 limbs and gently press and smooth to attach them all together.
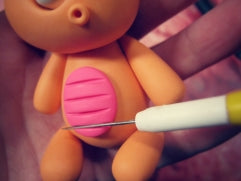
Take Pink clay and make a thin oval shape for the belly - place on the body of the Cyclops.
Using a thin wire or clay knife, make indents on the belly to look like stripes.
Add the horns by taking Orange clay in a small circle pressed onto the head, then making a hole with a Pointed Tool.

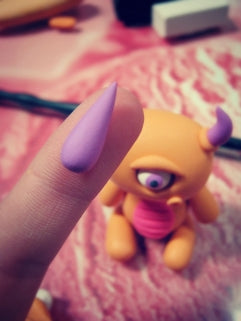
Make horn shapes out of the Purple clay and insert those into the holes you just made.
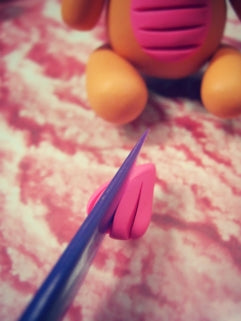
Using Pink clay make a "tuft of hair" for the top of the Cyclops head - make a tear drop shape then cut lines into it with a clay knife. Make a hole on top of the head and push the Pink "hair" into the hole.
Add small details like polka-dots on the Cyclops in any colors and where ever you wish to place them! Have fun.
Bake as directed above in Step 1. Once cool, add Sculpey Glaze anywhere you would like, also using White Tempera paint and a small paint-brush, add a white dot on the eye - this gives it life. Now you're done with the Cyclops.
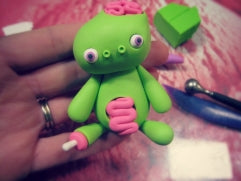
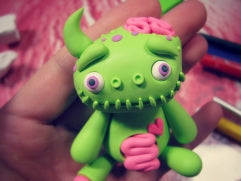
To make the Zombie:
Mix together Granny Smith and White by kneading with your hands until both colors are thoroughly mixed. OR keep the Granny Smith clay the original color, but remember to knead it so that it becomes pliable.
Mix together Granny Smith and White by kneading with your hands until both colors are thoroughly mixed. OR keep the Granny Smith clay the original color, but remember to knead it so that it becomes pliable.
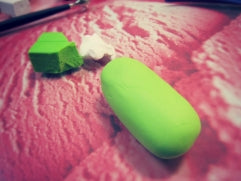
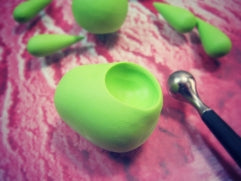
With your hands roll out 4 long teardrop shapes, 1 ¼†long, taped on one end and 3/8†in diameter at the wide end. Create the head which is approximately 1 ½†across and ¾†high and 5/8†wide. Create the body, a large teardrop that is about 1 ½†long. Set all the pieces aside.
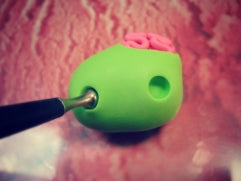
Take the Zombie head and with a large Ball Tool form a hole (or cavity) for the brain. Then set that aside.
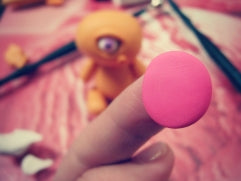
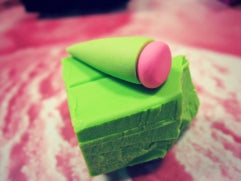
Take Pink clay and form a peanut shape for the first part of the brain.

Take Pink clay and roll out into a long coil.
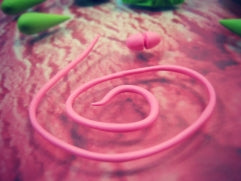
Grab the peanut shaped brain and the coil - take the coil and in a zig-zag motion place it on the brain until the peanut-shape is covered. Cut off any extra coil.
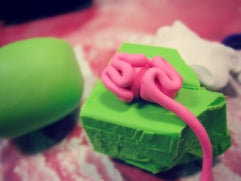
The brain is finished, so take the Zombie head and place the brain into the cavity.
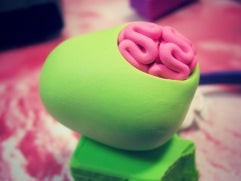
With a small Ball Tool, push into head to make 2 eye indents.
Add White clay eyes with Purple iris and Black pupil, then attach the head and body. While you have that in yourhand, take the large Ball Tool and press into the body to make a large hole.
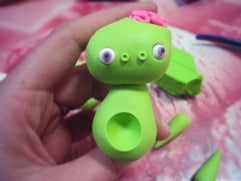
The hole you just made is for the guts! Make these almost the same way as the brain, but just on a flat, round piece of Pink clay.

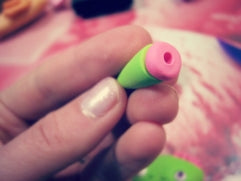
Take one of the legs, cut off the end of it with the Super Slicer, then add a piece of Pink clay to the end.
Make a hole on the end of the pink part of the leg. Take White rolled clay, cut it, and add a "bone" to the end of the leg by pressing it into the hole.
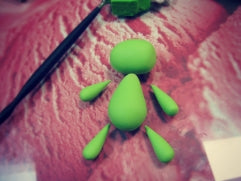
Take the Zombie head, body, arms, and legs and gently attach them all together by smoothing together.
Lastly, using a Pointed tool, indent a line for the mouth and add small pieces of Green clay for "stitches". Add last little details to make it even cuter - a horn/ear, eye brows, dots, and a heart.
Bake as directed above in Step 1. Once cool, add Sculpey Glaze anywhere you would like, also using White Tempera paint and a small paint-brush, add a white dot on the eyes - this gives it life. Now you're done with the Zombie.
