
Faux Cloisonne Beads
Faux Cloisonne Beads
Read More
Faux Cloisonne Beads Cloisonne beads are elegant, regal, and simply stunning in so many ways. This tutorial will show you how to make your own easy and cute replicas of cloisonne beads using tools you likely already have in your polymer clay workshop.
Premo polymer clay:
• 1/2 bar Ultramarine blue clay
Sculpey Souffle polymer clay
• 1/4 bar Poppy Seed
• Polymer Clay “Mud”
Read Less
ADDITIONAL SUPPLIES
Your choice of deep set stamp
Round or Kemper Cutters- various sizes
Craft grade acrylic paints that match your polymer clay chosen colors to detail you pieces after baking
Fine Liner paint brush
Perfect Pearls- Perfect Gold
Fluffy Brush
Packing Tape
Optional Supplies:
Baby Wipes
Varnish to seal pieces
Instant Hand Sanitizer or Rubbing Alcohol

Project Instructions
This is a basic sculpting tutorial appropriate for beginners, intermediate, & seasoned clayers. This tutorial can also be used for sugar paste, gumpaste, & other sculpting disciplines. This tutorial is copyright protected by KatersAcres; including but not limited to text, photographs, & the tutorial itself. Expressed written permission must be obtained before distributing. This tutorial is protected by KatersAcres. Do not distribute without written consent of author. Getting Started: Polymer clay may stain. CLAY MAY DAMAGE UNPROTECTED FURNITURE OR FINISHED SURFACES. DO NOT USE polymer clay on unprotected surfaces. We recommend working on the Sculpey® Work ‘n Bake Clay Mat, wax paper, metal baking sheet, or disposable foil. Start with clean hands and work surface area. Knead clay until soft and smooth. For best results, clean your hands in between colors. Shape clay, pressing pieces together firmly. Bake on oven-proof glass or metal surface at 275°F (130 °C) for 30 minutes per ¼" (6 mm) thickness. For best baking results, use an oven thermometer. DO NOT USE MICROWAVE OVEN. DO NOT EXCEED THE ABOVE TEMPERATURE OR RECOMMENDED BAKING TIME. Wash hands after use. Baking should be completed by an adult. Begin by preheating oven to 275 °F (130 °C). Test temperature with oven thermometer for perfectly cured clay. For best results, condition all clay by running it through the Clay Conditioning Machine for several passes on the widest setting. Fold the clay in half after each pass and insert the fold side into the rollers first
Let’s make some Navy Blue Clay! I need this clay to be flexible and light. Mix 1/2 bar of Ultramarine Blue Premo with 1/4 bar Sculpey Soufflé Poppy Seed. Fully condition using your pasta machine. NOTE: If your clay isn’t “blue” enough for you, add more blue. If it isn’t black enough, add more black. Roll this clay out on the 3rd largest setting of your pasta machine.


Roll out & fully condition some mud clay.

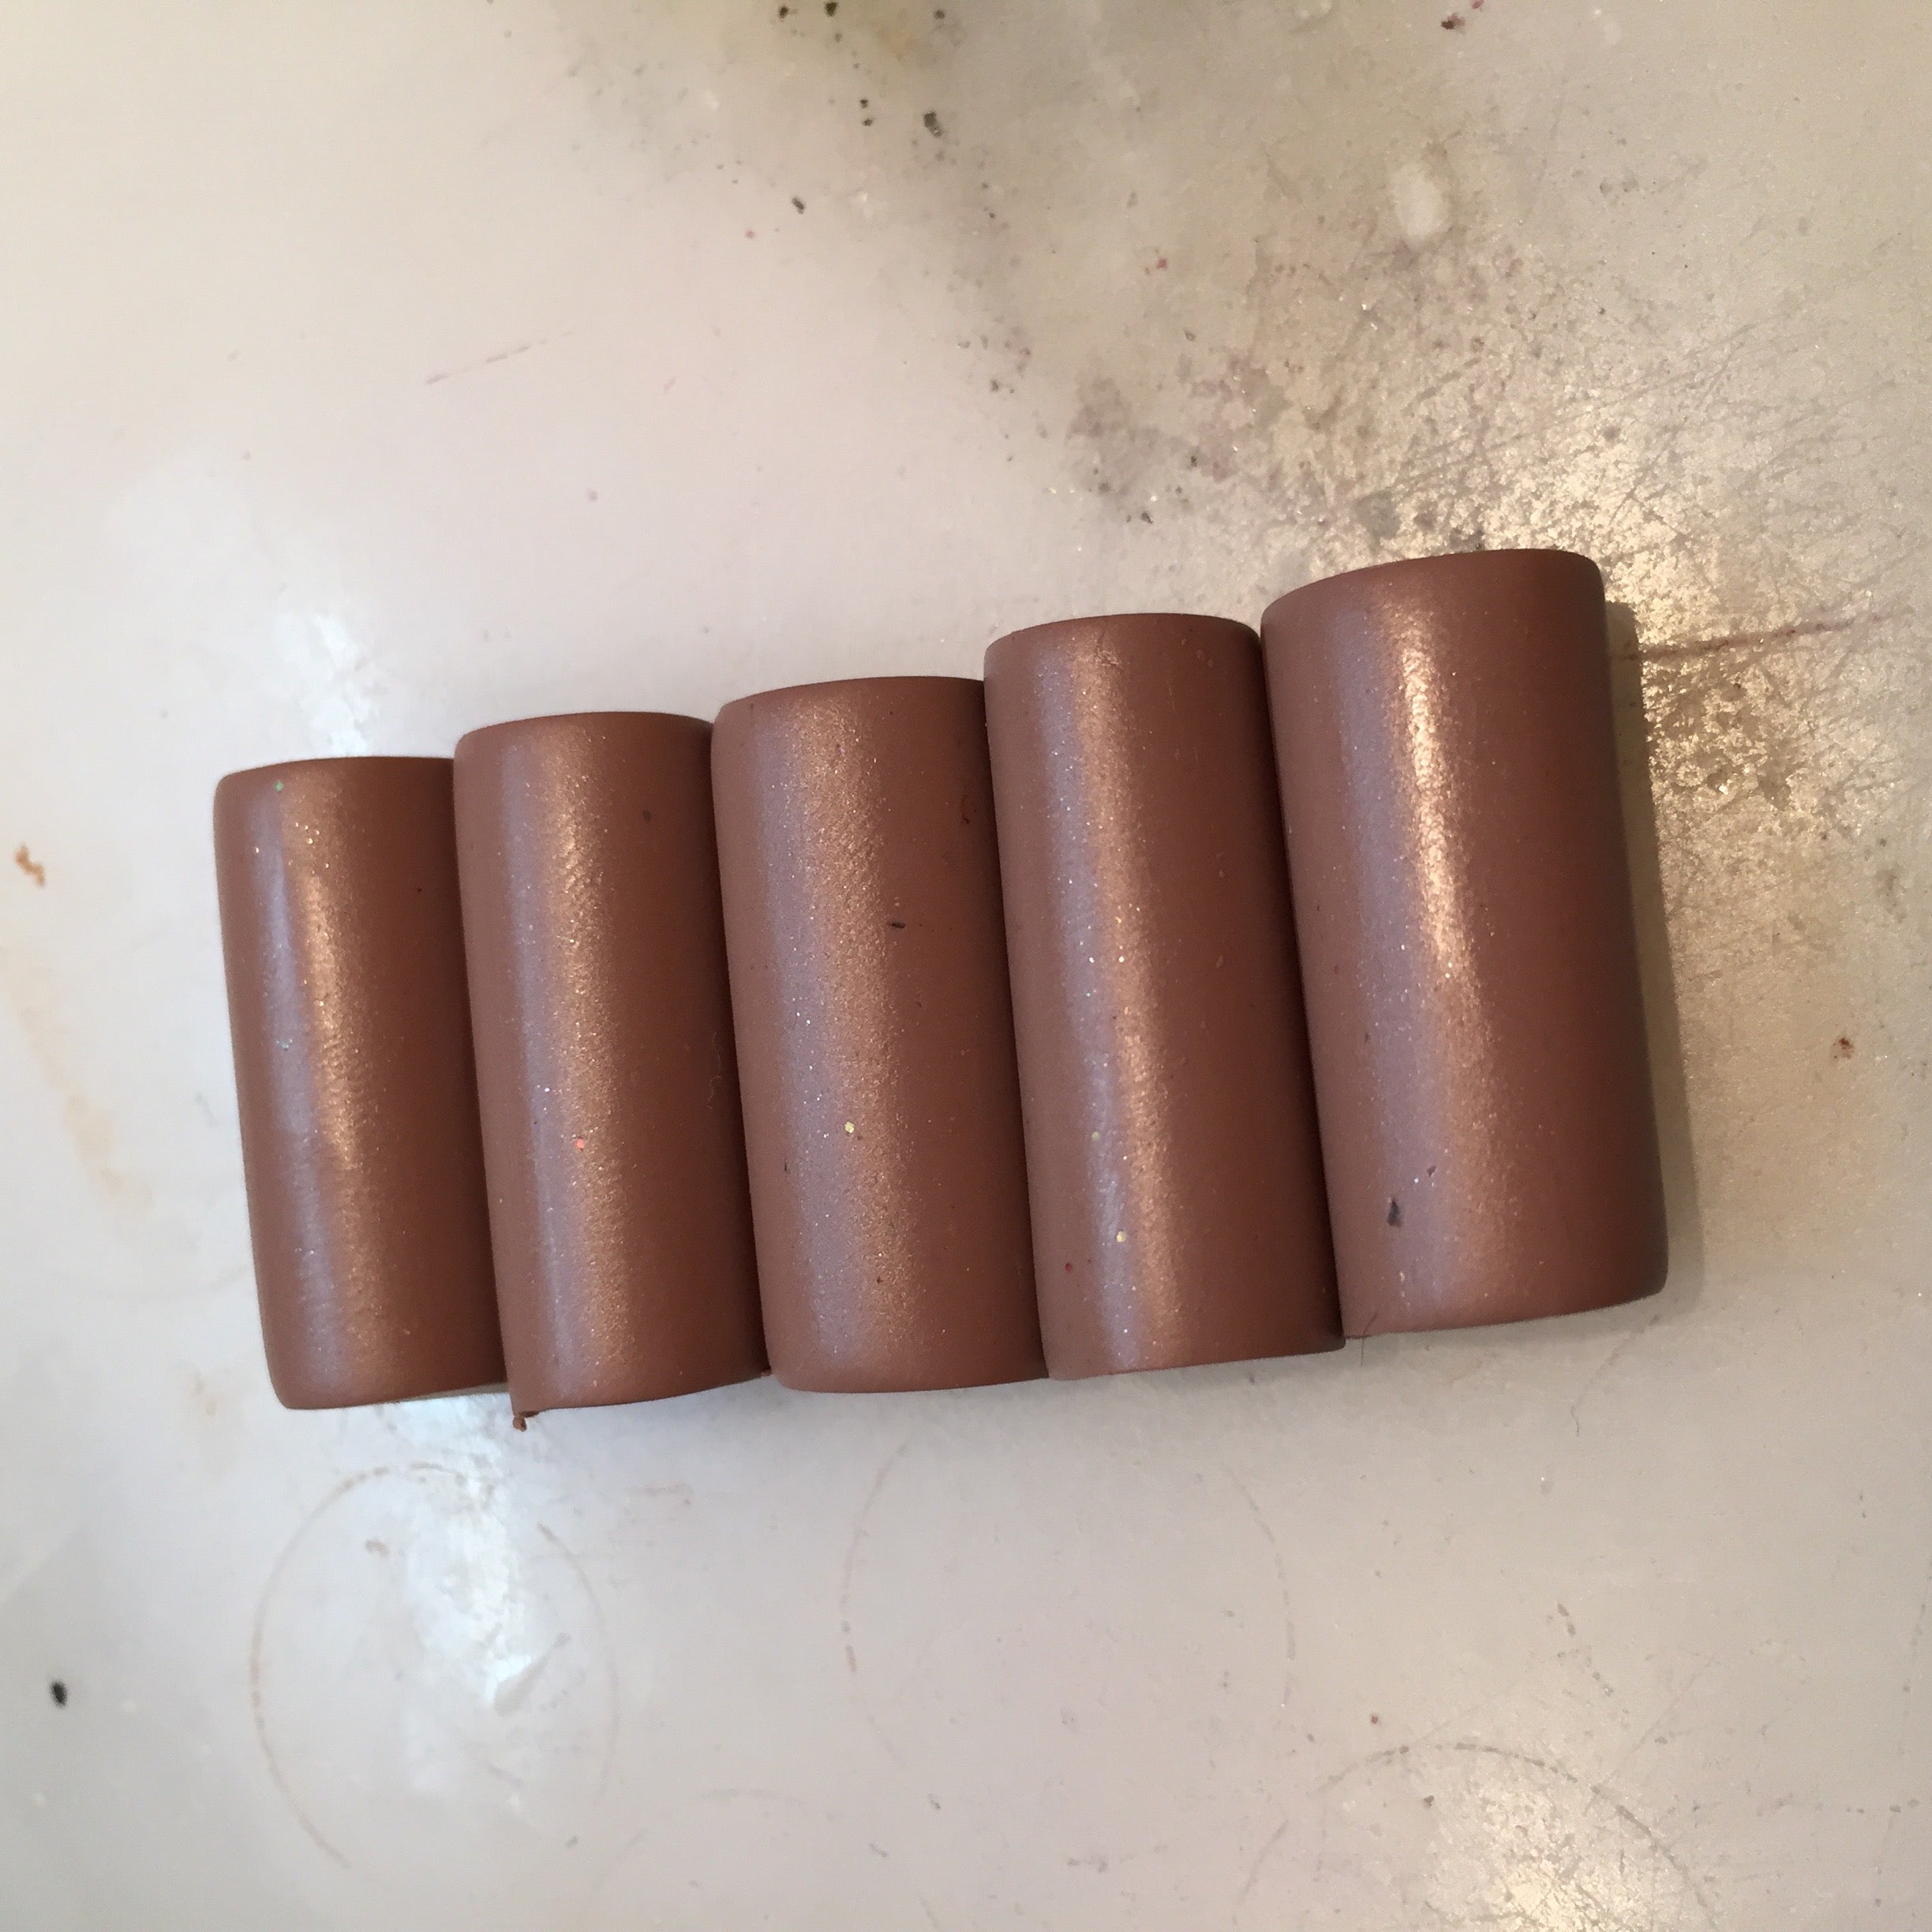
Roll your mud clay into a long snake that is equal in thickness.

Cut this snake into sections that you will cover to make cloisonné tube beads. Cut as many beads and sections as you would like to make.
Choose the stamp you will use for your project. Here I have chosen the “Cherry Blossom” stamp from Christi Friesen.

Using ONLY your hands, deeply impress the rubber stamp down into your clay.

Lift the CORNER of your stamp and check the depth occasionally. Once you are satisfied with the depth of your stamp, remove the stamp completely from your clay sheet. Trim all the edges off your sheet so only the stamped impression remains.

Use a gold mica powder to enhance the stamped design.

Place mica powder on a brush and dust over all the embossed areas of the clay. Do NOT worry about getting mica powder on the raised portions of the clay. Be sure that ALL embossed areas have mica in their recesses.

Once your recessed areas have mica powder, press packing tape over the sheet of clay. Gently burnish over the top of the tape (not so hard to distort the design).
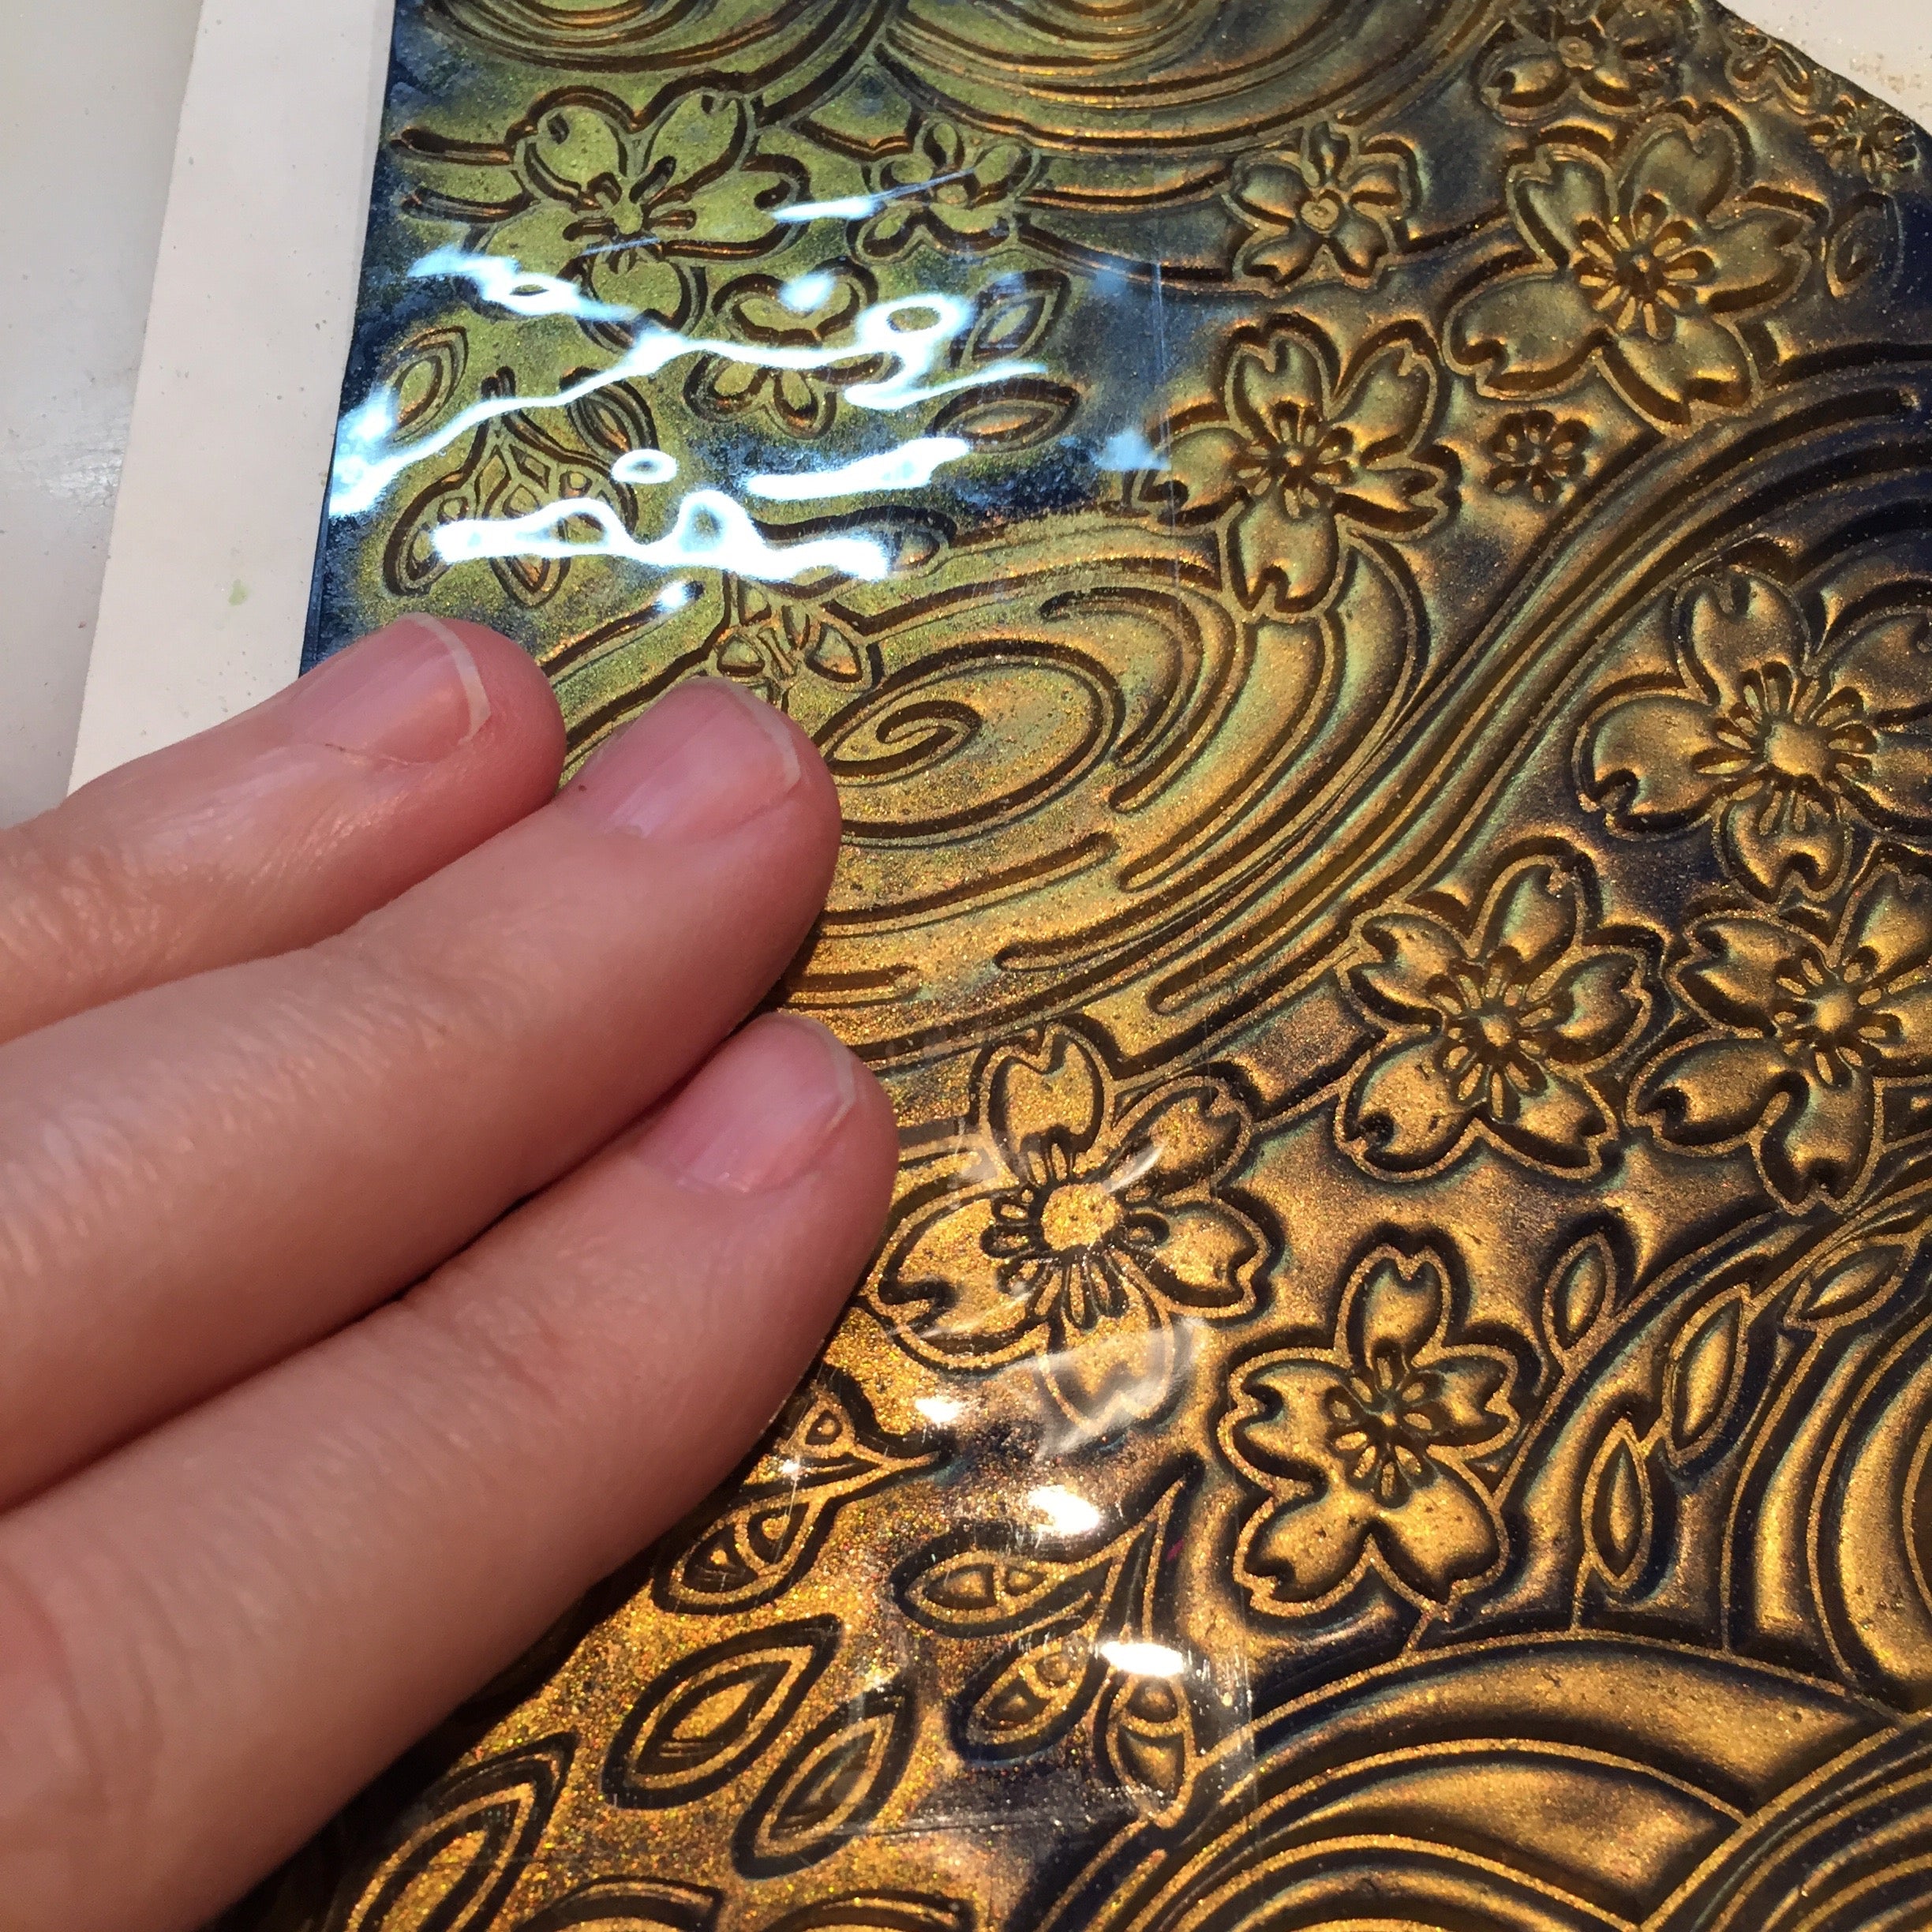
Remove the tape. Notice how the surface mica powder is removed, but the mica is left in the recesses. You may need to do this several times.
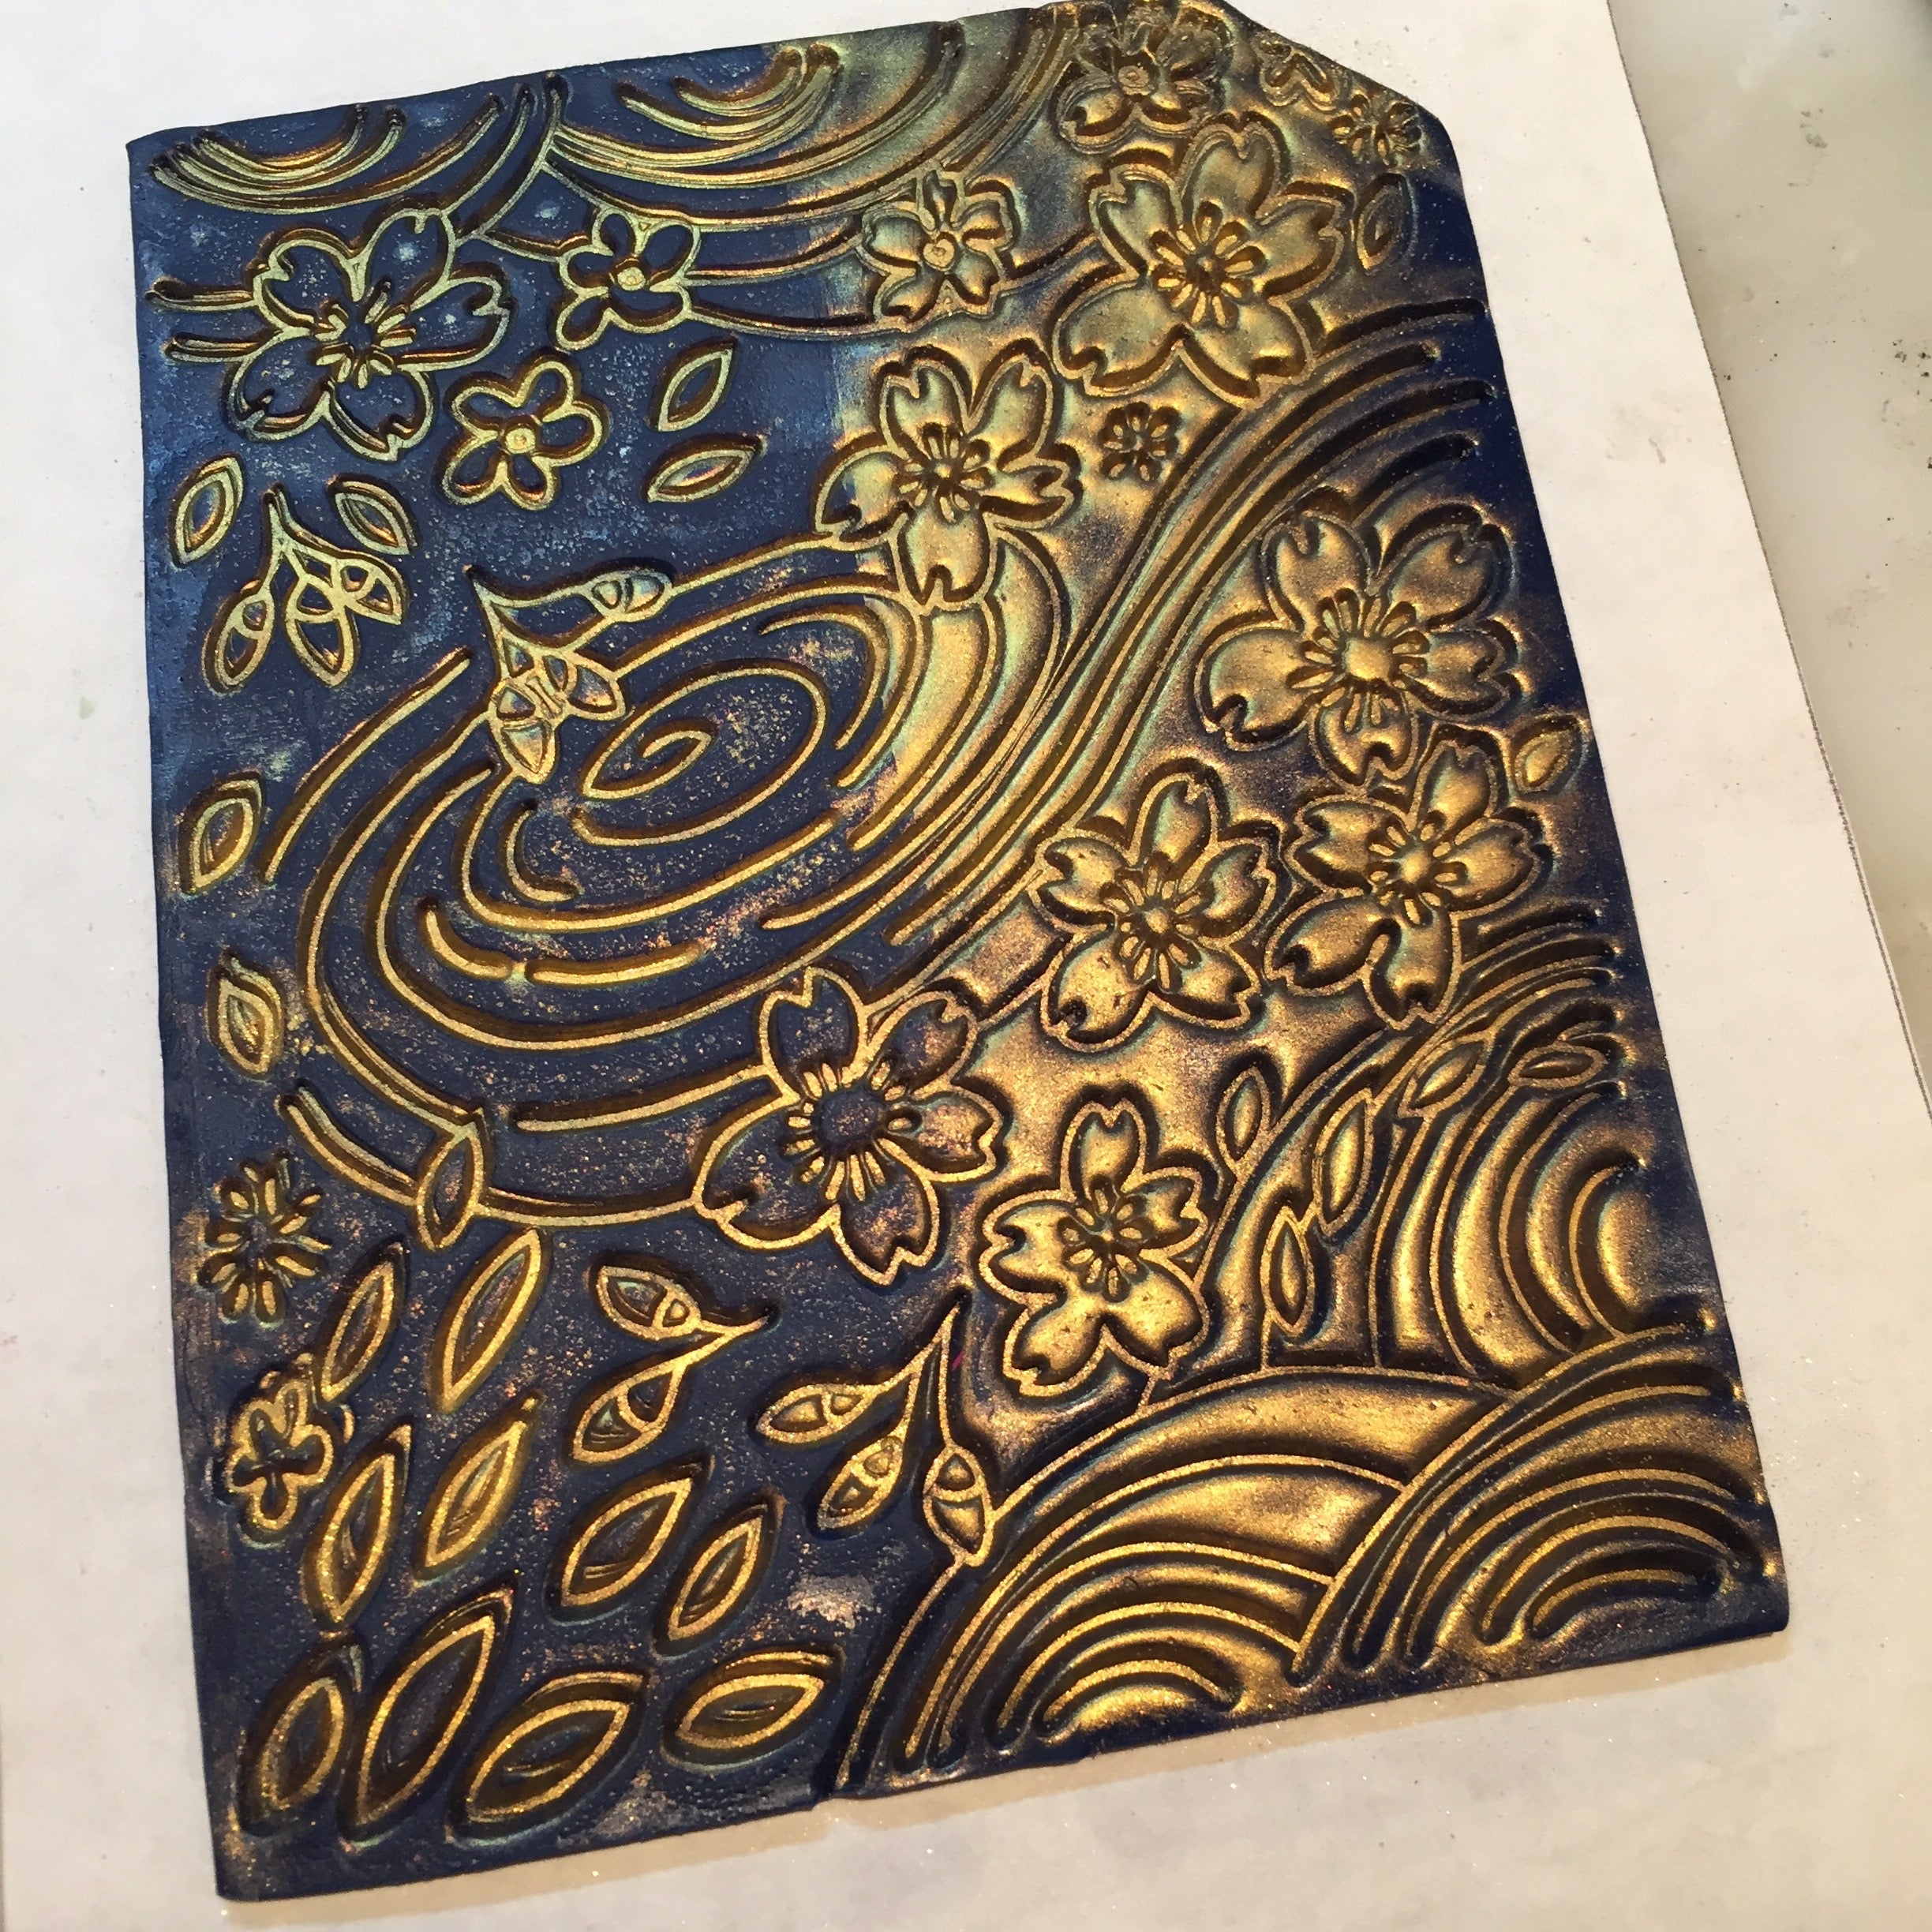
Do this for your entire sheet. It should look something like this when you are finished.

You will need several colors of crafter’s grade acrylic paint for this next portion. Pick out one color paint for each section of your stamp. For the one shown above I need one color for flower centers, flower petals, and leaves. You will also need a fine line paint brush.
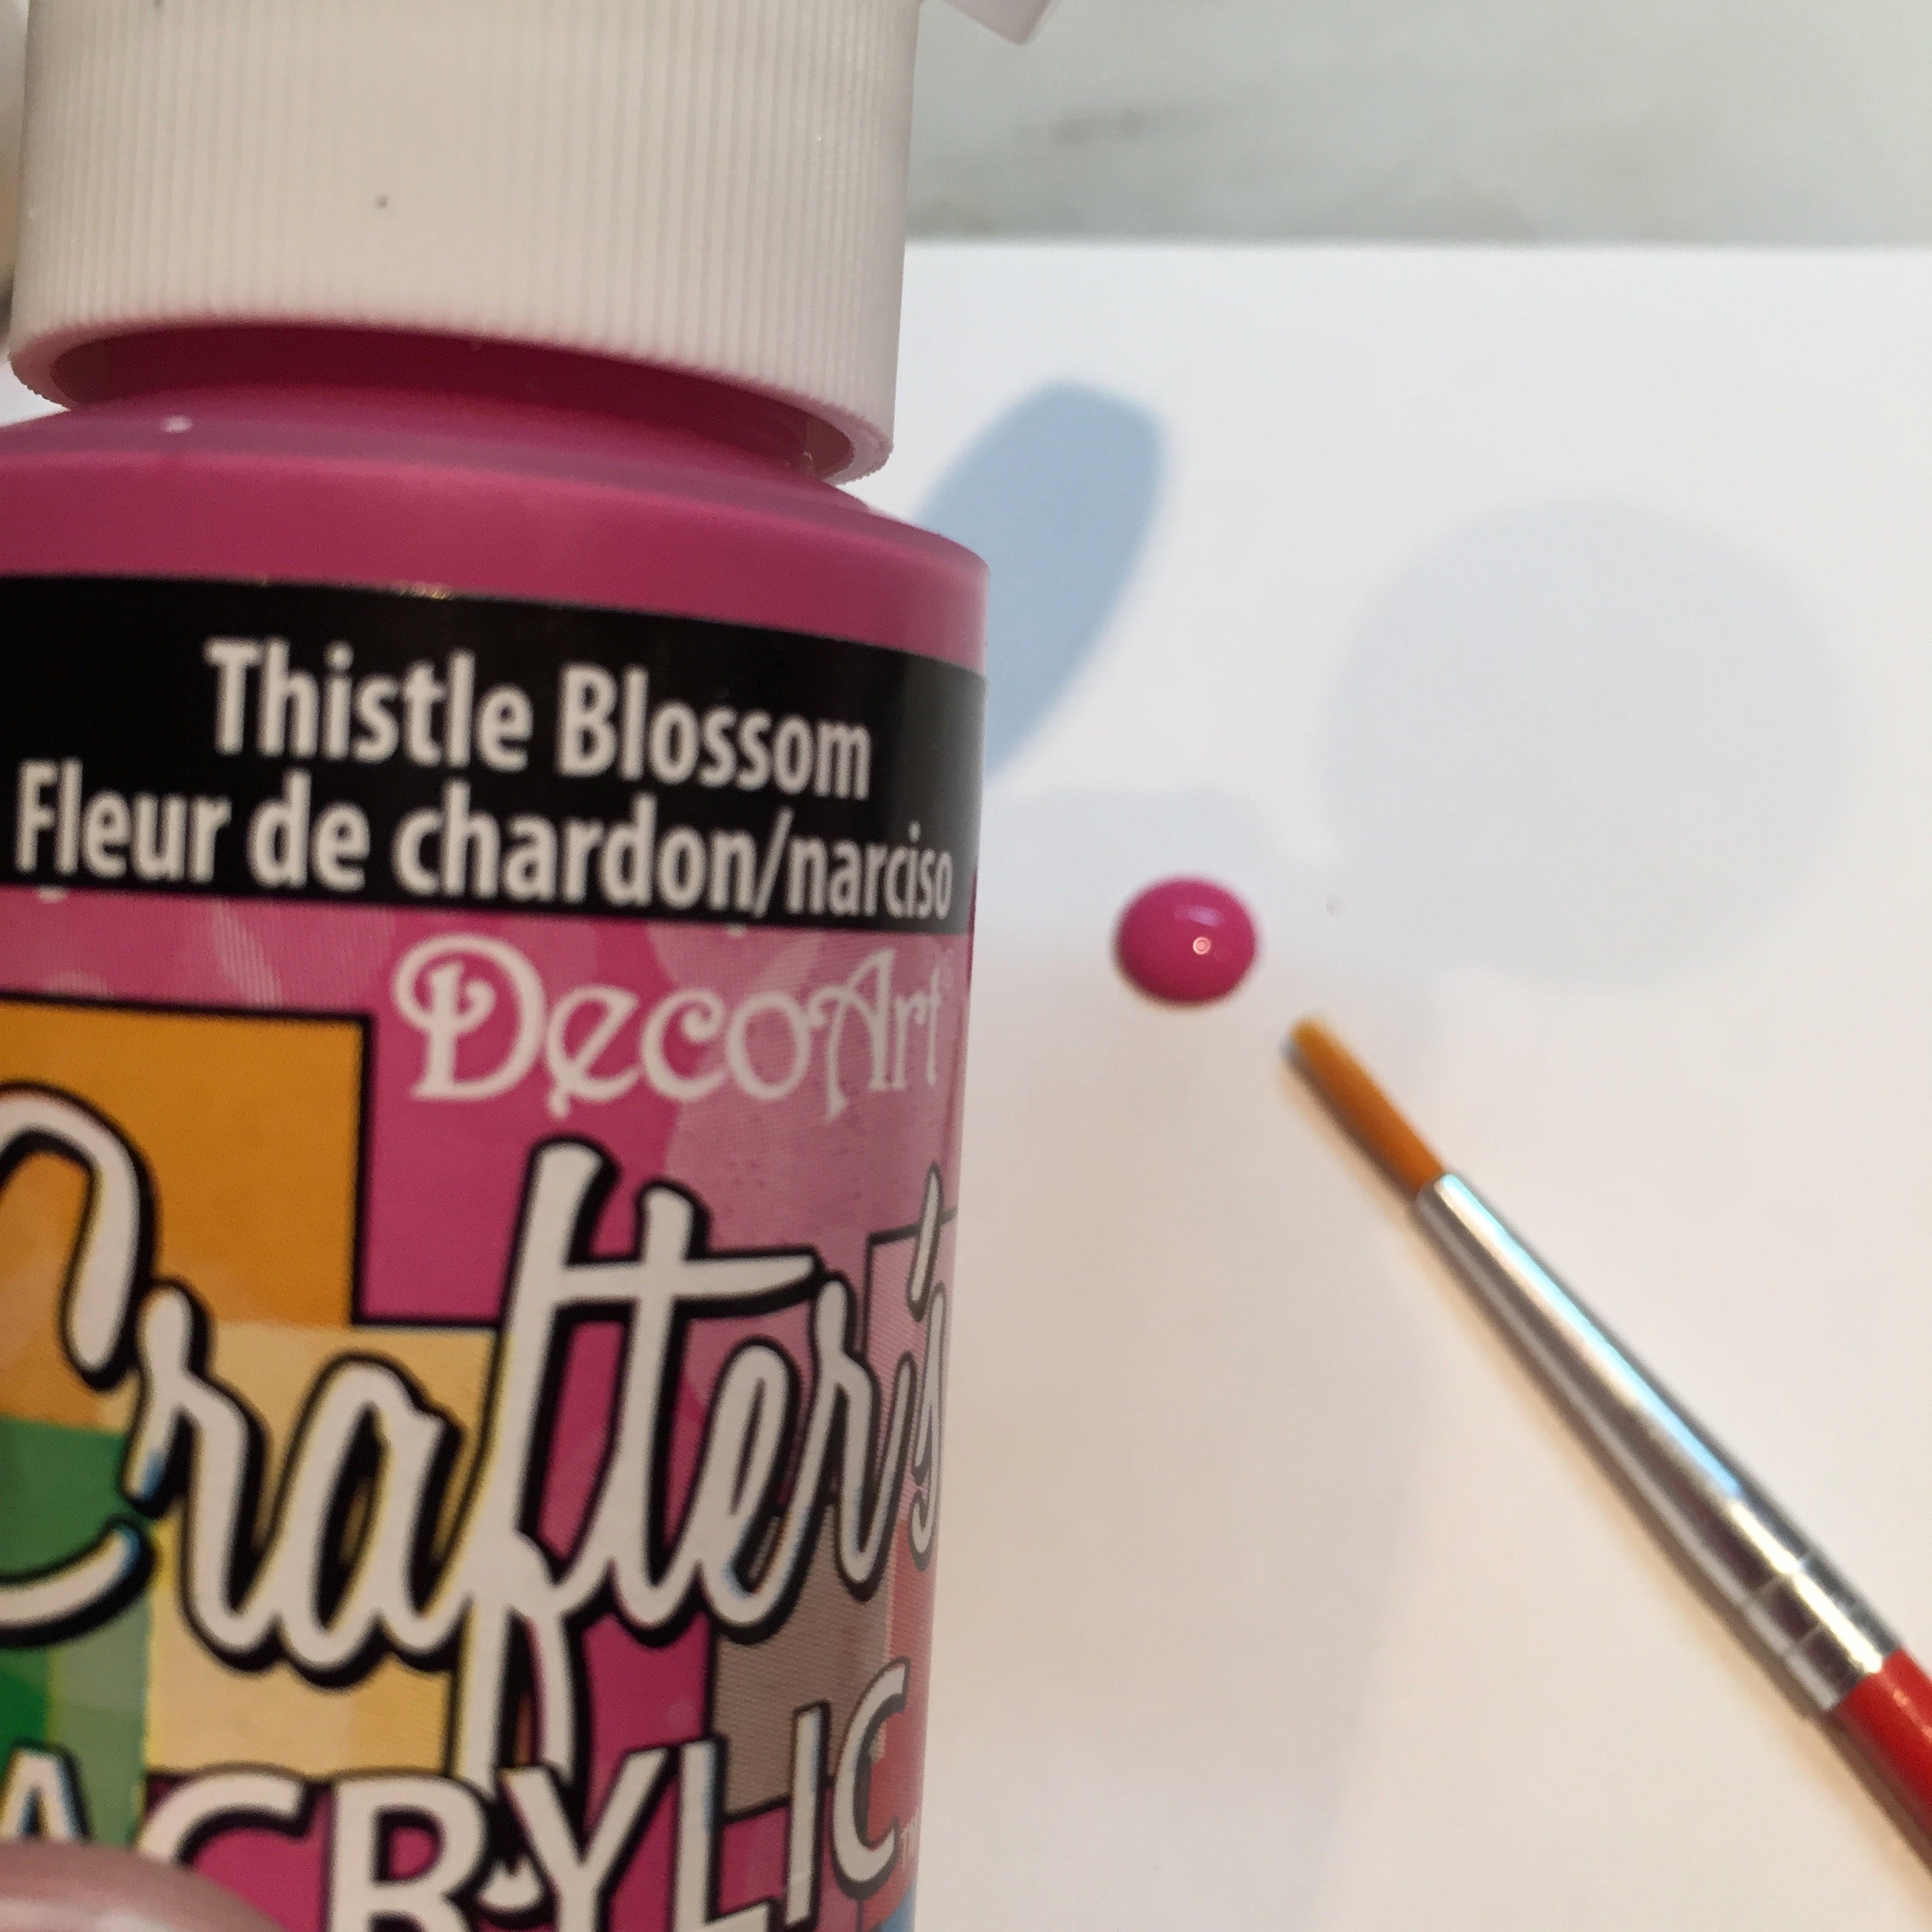
Use your fine liner brush and the paints you’ve chosen to literally PAINT directly onto the clay. NOTE: This will dry fairly quickly. Do NOT use a heat gun to speed up the process.

Continue painting and adding your layers of color one step at a time. Be patient. This will take some time.

Continue “painting” your sheet until all your design on the sheet is painted. VERY IMPORTANT: Let all the paint dry completely. If you would like add a Japanese language stamp design on TOP of this sheet (shown below).

Set one of your tube beads onto the clay sheet forsize.Trim the sheet to match the size of your beads.

Wrap the clay sheet around the bead core.Trim off the excess.Gently press the seam closed.

Depending on how you will string your beads, pierce them through the center with bead piercing pins, a needle tool, or a toothpick for leather (shown). Cut small rounds to add as bead caps on the ends of the beads.

Repeat this step for all your beads. Place your beads on a piece of card stock folded like an accordion.

BAKE YOUR CREATIONS:Bake your item in your polymer clay dedicated oven for 60 minutes at 275 degreescovered in foil and propped as shown while baking.Let figurine air dry if using air dry clay, fondant, gum paste, sugar paste, etc.
- Choosing a selection results in a full page refresh.
- Opens in a new window.