

- What Is Polymer Clay?
- Where to Start With Polymer Clay
- 1. Buy the Right Polymer Clay and Tools
- 2. Set up Your Polymer Craft Work Area
- 3. Learn How to Bake Polymer Clay
- Ready to Start? Gain Inspiration by Visiting Sculpey®’s How-To Page
Are you interested in crafting with polymer clay? How exciting! More and more artists are experimenting with polymer clay, and they all have the same question — where do I start?
Polymer clay is an extremely versatile medium. You can do and create so much with it, including jewelry, bookmarks, science fair projects and much more. It makes sense why almost all beginners find themselves asking where to start with polymer clay.
In this post, we’ll walk you through the basics, including which tools you need for success and how to set up your polymer clay workstation for amazing projects. Without further ado, let’s get crafting.
What Is Polymer Clay?
Before we start adding things to your to-do list, let’s discuss a little more about polymer clay. Polymer clay is modeling clay made of polyvinyl chloride (PVC), a non-toxic plastic. Companies add other properties to polymer clay to make it easier to work with. Some companies, like Sculpey®, even have liquid polymer clay!
Because polymer clay is so versatile, you will surely find one that works well for you.
Where to Start With Polymer Clay
To start crafting with polymer clay, you’ll need to:
1. Buy the Right Polymer Clay and Tools
Now is the time to break out your shopping list. One of the best things about polymer clay is you don’t need to buy an elaborate crafting setup. All you need to purchase is:
- Polymer clay: Of course, to craft with polymer clay, you’ll need to get some. As we mentioned before, you can choose from many types. For beginners, we recommend starting with Sculpey Bake Shop®, Sculpey III®, Original Sculpey® or Liquid Sculpey®. Feel free to experiment!
- Tools: In addition to your clay, look for polymer clay-specific tools that can enhance your crafting experience. You’ll likely want stamps, an oven-safe work mat, toothpicks, a rolling pin, bakeable molds and a clay conditioning machine. Some crafters prefer using gloves, too, to prevent their fingerprints from transferring onto the clay.
- Household objects: Next, some tools you will need and likely already have around your house are a smooth work surface, a household oven, wax paper, a baking sheet, cornstarch and a tightly sealable plastic bag.
Polymer clay companies embrace new crafters. That’s why our crafters at Sculpey® created two beginner-friendly sets, as you’ll see below.
Polymer Clay Starter Set
Sculpey® teamed up with world-renowned sculptor Ace of Clay to create the Ultimate Sculpting Starter Set, a beginner-friendly sculpting kit. In this kit, you’ll find:
- Super Sculpey Firm™ polymer clay
- Super Sculpey® polymer clay
- Super Sculpey Medium™ polymer clay
- Super Sculpey Ultralight™ polymer clay
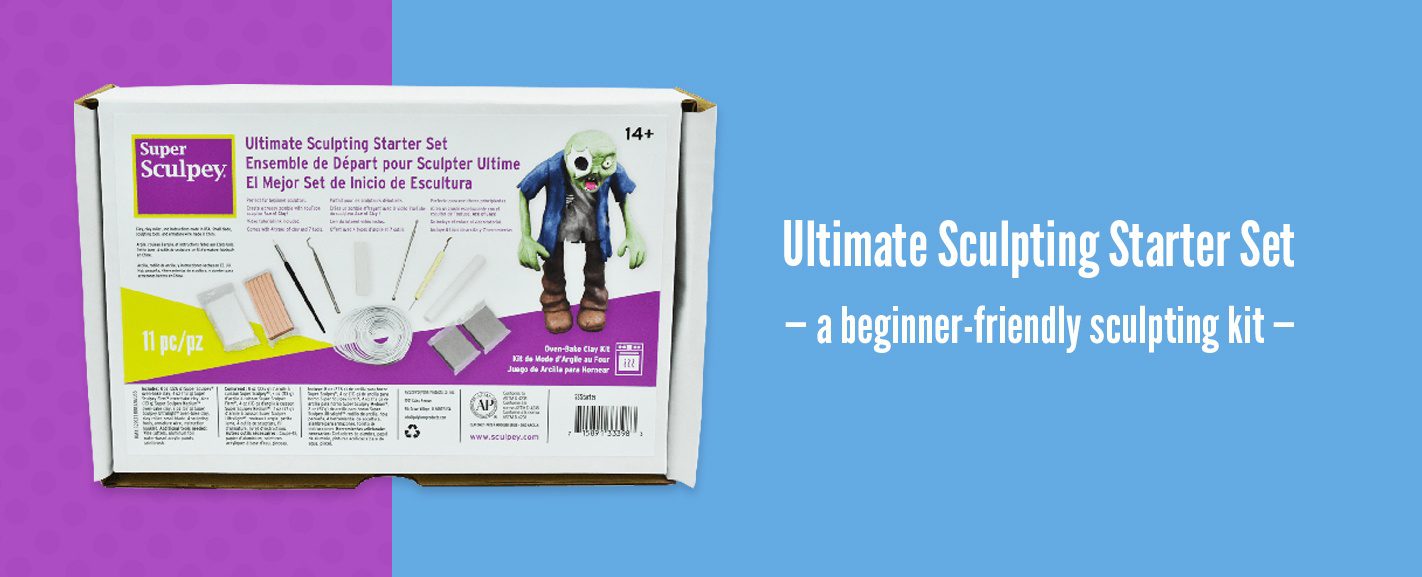
Each polymer clay formula has different properties to benefit your craft. As you experiment, you’ll find some formulas are great at smoothing, and others are phenomenal at capturing little details. This beginner-friendly kit will help you explore and find a polymer clay that works with your crafting style.
Along with this kit, you’ll receive a handful of carving and sculpting tools. It’s okay if you aren’t sure how to use them because this kit also includes a video with step-by-step sculpting instructions.
Starter Polymer Clay Tool Set
Another beginner-friendly option is our Sculpey Tools™ Clay Tool Starter Set. In this kit, you’ll find three must-have tools:
- A polymer clay knife tool: This dull knife allows you to create lines and patterns on your polymer clay craft. On the other end, the knife has a blending tip to help you smooth any harsh lines.
- A blunt-point tool: This tool has many uses, including smoothing and shaping clay. It’s ideal when working with smaller works of art because it can achieve intricate details.
- A needle-end pointer tool: Sometimes, you’ll need to punch a hole into your craft, especially when making jewelry. This needle-end pointer tool is great at smoothing and shaping clay, as well as punching holes when the need arises.
You don’t need to buy too many tools at first. It’s best to gain experience with the must-have ones and then experiment from there. This Sculpey Tools™ Clay Tool Starter Set has just the right amount of tools to set you up for success.
2. Set up Your Polymer Craft Work Area
Next, you’ll want to set up your crafting area. It’s best to work on a smooth surface, like on your kitchen counter or a marble slab. Laminate countertops make a great option for working with polymer clay. Laminate is absolutely worry-free when it comes to polymer. Laminate can be wiped down with paper towels, wipes, or even stronger cleaners like 409 to keep them looking new. Polymer clay has no effect on them whatsoever. Plasticizers don’t change the surfaces at all. Even acrylic paints, permanent marker, mica powders, rubbing alcohol, and Liquid Sculpey do not damage these countertops. If you would like to try a piece of laminate but don’t have room for a whole countertop, you can often times find a small piece at one of the DIY stores. If you do not have laminate countertops or a marble slab using other surfaces like silicone mats, deli sheets or glass surfaces may be the right option for you.
Silicone Mats
Silicone mats are also extremely handy. They come rolled up and you just unroll them and lay them into place. our silicone mat has a non-skid backing that keeps them from sliding around as you work on it. The silicone is unaffected by plasticizers so you can work on them over and over. These mats can be placed on any level surface and you have an instant workplace. When the project is finished, you can also use them to line your baking pan to protect your pans. Sometimes when you have lots of different projects going, you can use silicone mats to stay organized.
Deli Sheets
Deli sheets are another great option for your workspace. Deli sheets are thin papers that you can buy in large quantities at your local store. If you have a clay project that you need to turn frequently using a deli sheet underneath will make the piece easy to turn.
Deli sheets can be used for burnishing veneers together too. Just lay a deli sheet over the clay and use your favorite burnishing tool to smooth the seams together. Even finger buffing over a deli sheet will remove a lot of fingerprints and inconsistencies in the surface of the clay.
If you are doing a terrazzo project that involves chopping clay up into tiny bits; doing the chopping on top of a deli sheet keeps the pieces all together and organized.
In the case of a large piece of clay that you don’t want sticking to your work surface, a deli sheet can be used as a barrier. When you are ready to reposition the clay piece, just lift it up and the deli sheet peals easily from the back.
Glass Surfaces
Lots of artists like to use glass work surfaces. They are easy to clean, easy to find and work well with oven-bake polymer clays.
Glass is very handy for tracing Liquid Sculpey projects. In fact, if you are making window clings with Liquid Sculpey you will want to make them on glass so that they will be smooth enough to stick to windows when they are done.
Another glass-like surface is a large ceramic tile. These too are easy to get and not too bulky to move around. Some artists prefer glass or tile as a work surface because they can help keep clay cooler if the artist has rather hot hands. They can also go directly into the oven with your project. In fact, at lots of retreats, small tiles are used as baking surfaces, because several can be placed in the oven at one time.
Preparing Your Workspace
Ensure your work area is clean before crafting. Polymer clay picks up any tiny particles it makes contact with, like bits of crumbs or sparkles. Most crafters prefer putting a clean sheet of wax paper over their work surface. Tape your wax paper down so it doesn’t fold over or move around as you craft.
Before you start crafting, make sure you preheat your oven and wash your hands. You’ll want to wash your hands intermediately when working, too, especially when handling different colored clays.
3. Learn How to Bake Polymer Clay
Polymer clay hardens when baked. You want to cure your work of art so it doesn’t reshape or collect dust. If you have any leftover clay, put it in a ziplock baggy for future use. One of the best things about polymer clay is that it’s oil-based, so it won’t dry out when left out for long periods.
You’ll want to heat your polymer clay in the oven and never in the microwave. The microwave unevenly heats your polymer clay, resulting in some sections that bubble and burn and other portions that aren’t heated at all.
Baking times vary depending on the type of clay you use. Always check the instructions before baking.
Baking Surfaces
There are lots of things you can bake your polymer projects on. keep your baking pans lined with oven-safe work mats. This protects pans from wet Liquid Sculpey® and other things like paint, powders, glitters, and alcohol inks.
You can bake on index cards. Index cards work well if you are in an environment where lots of people are going to be baking pieces together in shared ovens. The cards are easy to write names on making baked pieces identifiable. They are also very small which means many people can bake at once.
If you have pieces that are curved, you can bake on a piece of batting like the one that comes in the Sculpey Bead Making Kit. The batting will keep your piece off of the pan and allow the curves to stay curved and not flatten out like they would if they were laying directly on the hot pan.
For bead making, the Bead Baking Rack is very important. It keeps beads suspended on skewers during the baking process. Inconsistent shiny spots can be seen on beads that have been baked directly on a flat baking pan, glass, or tile.
Metal, glass, and even wood can be used as forms for baking clay on. It’s especially important to have these types of forms if you want to make curved pieces like bowls.
Also, consider placing a tester piece of polymer clay of the same thickness as your craft with your creation. That way, you can use the tester to accurately determine when your craft is done baking.
Ready to Start? Gain Inspiration by Visiting Sculpey®’s How-To Page
Are you ready to start crafting? The only thing you need now is inspiration! On our website, you’ll find a how-to page with hundreds of polymer clay tutorials. Learn how to make bookmarks, earrings, necklaces, pins and so much more. For exclusive projects, consider signing up for our newsletter!

