
Stitching polymer clay is such a wonderful technique and a great way to add detail and texture to your polymer clay pieces. The fact that polymer can be cured many times over allows this technique to be incorporated in various ways!

| The basic materials needed to stitch on polymer clay include: Cured polymer clay, threads (see below), Super glue, masking tape, small scissors and a needle (I like to use a size 24 tapestry needle) |

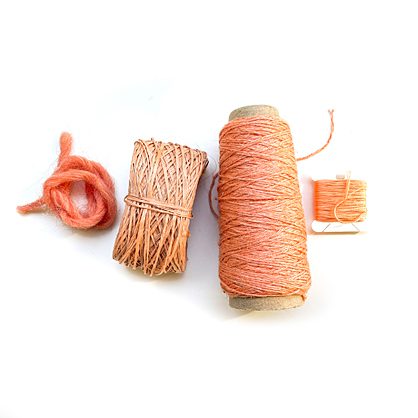
The kinds of threads you can use:
Pretty much any type of non-stretch thread (that isn’t purely plastic like fishing line etc) . Polymer clay is cured at about 130 degrees (celsius) and an iron gets to about 200 degrees, so most fabrics/threads can easily withstand the low heat. I have successfully stitched paper-based threads in polymer too!
Prepping the clay and making the holes:
Create and cure your Sculpey as you normally would, the components can be any thickness. Make sure that you finish and sand them before stitching (you don’t want to get the components wet with sanding after you have stitched them!) I like to mark with a pencil where I am going to drill my holes (rubs right off with an eraser!). Then I drill my holes with a 1 mm drill bit.

Basic steps and finishing:
Secure your thread onto the back of you piece with a small piece of sticky tape. Allow a decent amount of thread to overhang here.

Bring your thread up through the clay and when you have finished your stitching…

…bring the thread back to the back and dot a tiny amount of super glue onto the threads on the back.

When dry, add a teeny tiny ball of polymer clay over the threads and press. Smooth down the clay with a tool or your fingers. Trim the thread and cure the piece again.


Here are examples of some of the earrings, pendants, dishes and wall hangings I have made over the years that feature stitched details in polymer.

