
The right techniques, tools and practices can help you make beautiful clay creations. There are various helpful materials that can simplify your claying process, such as when you’re protecting your work surface, baking your creations and storing unused clay for your next project. Many people wonder whether parchment paper, plastic wrap or deli paper is the best for these steps. In this article, we’ll discuss these three options to help you determine which will meet your needs as you work with polymer clay.
What’s the Difference?
Certain varieties of parchment paper, plastic wrap and deli paper may look and feel similar. The materials’ uses may even vary from clayer to clayer. So, what’s the difference between deli paper and parchment paper? Can you bake polymer clay on wax parchment paper? Each material type offers advantages for certain parts of your claying experience:
What Is Parchment Paper?
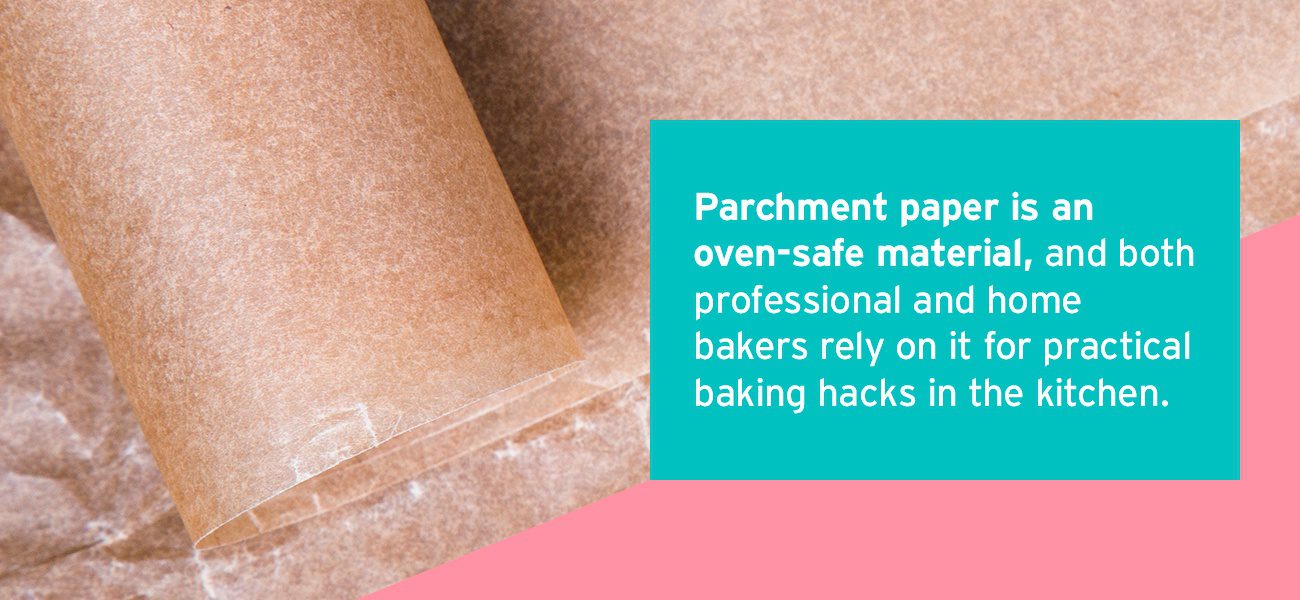
Parchment paper is an item you can find at your local grocery store. It is a baking essential, helping people make their favorite treats without burning the bottom or causing them to stick to the baking surface. Parchment paper is an oven-safe material, and both professional and home bakers rely on it for practical baking hacks in the kitchen. Polymer clay enthusiasts can find many uses for this material, too.
Parchment paper comes in long rolls of various widths. You can also buy it in sheets if that matches your application better. It is available in bleached and unbleached versions, and both types have a translucent white color. It’s smooth to the touch and feels glossier than regular arts-and-crafts paper or printer sheets. That’s because most parchment paper has a silicone coating to make it nonstick.
Parchment paper may run the risk of leaching your polymer clay. Leaching is the process of a piece of paper absorbing liquid from your clay, drying it out. This liquid is a combination of oils and plasticizers, which help the clay stay strong and durable after curing in the oven. Be careful when using paper on your unbaked clay for long periods of time. This can lead to a brittle final product.
It’s easy to confuse regular parchment paper with wax paper. The two products have one major difference — wax paper is coated in a wax solution instead of silicone. If you’re unsure which paper type you’re using, remember that wax paper is more slippery to the touch than parchment paper. Also keep in mind that wax paper is unsafe for use in ovens. The waxy coating will melt and smoke under high heat, so make sure to use regular parchment paper when baking.
What Is Plastic Wrap?
Plastic wrap is a familiar kitchen item used for covering leftovers to keep them fresher during their time in the fridge. It comes in rolls, many of which have a convenient cutting mechanism to separate the perfect size sheet from the rest of the roll. Plastic wrap is see-through, and it is notorious for folding in on itself and sticking together — sometimes making it difficult to handle.
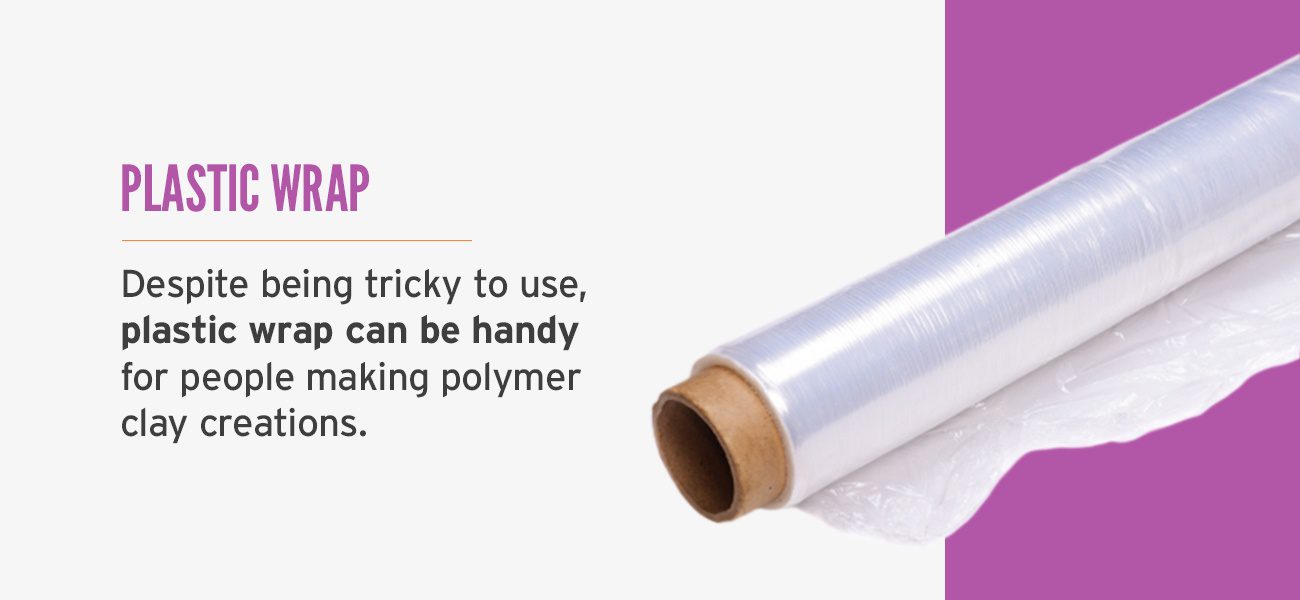
Despite being tricky to use, plastic wrap can be handy for people making polymer clay creations. Later, we’ll cover how you can use the clinginess of plastic wrap to your advantage and what you should check for when purchasing this material.
What Is Deli Paper?
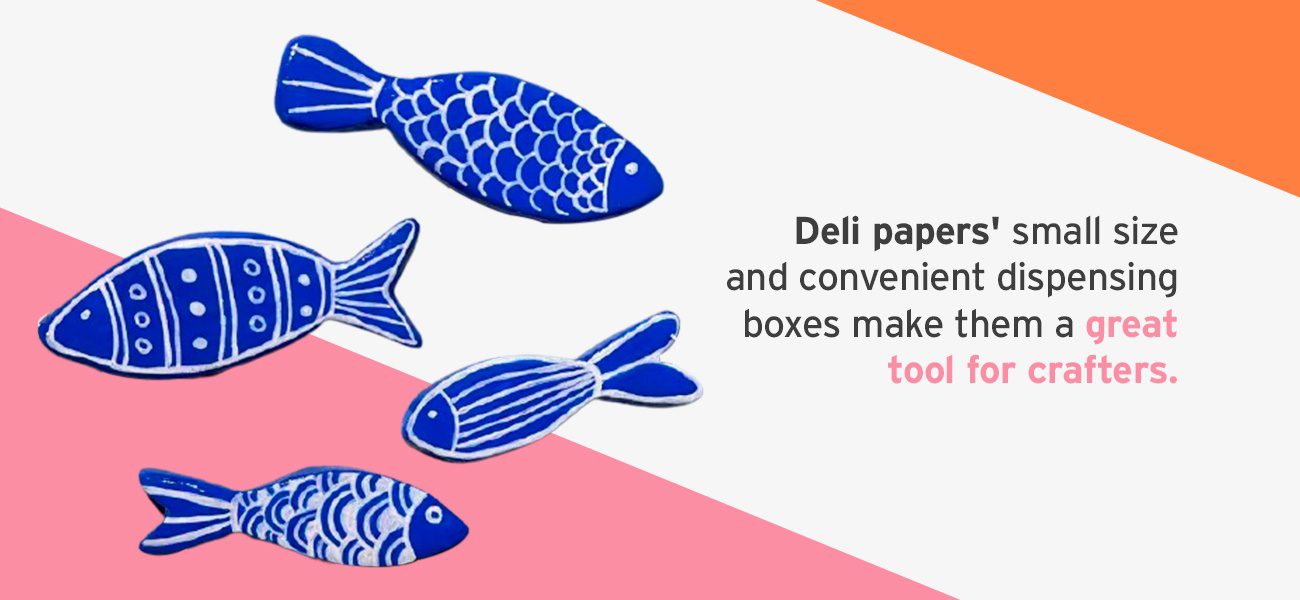
Deli paper, also known as deli sheets, are the small sheets that grocery store deli workers use to handle your cold cuts. You may also find a box of them by baked goods so customers can grab the items they want in a sanitary fashion. It provides a layer between hands and food. Deli papers’ small size and convenient dispensing boxes make them a great tool for crafters.
The term “deli sheets” can get confusing since people use the same name to refer to sheets of different materials. You may have access to true paper deli sheets, which are like small sheets of parchment paper. These may not be the best option for claying, since they can leach the plasticizers from your polymer clay. Still, you could find some good uses for parchment paper deli sheets as long as you keep their long-term exposure with the clay to a minimum.
The other type of deli sheets is made of plastic. This variety is good for prolonged contact with your polymer clay, opening up possibilities for cool uses that could take your creation and storage to the next level. Make sure you know which type of deli paper you’re using to ensure you get the results you’re looking for.
Using Parchment Paper With Polymer Clay
Here are a few of the ways you can use parchment paper during your next polymer clay project:
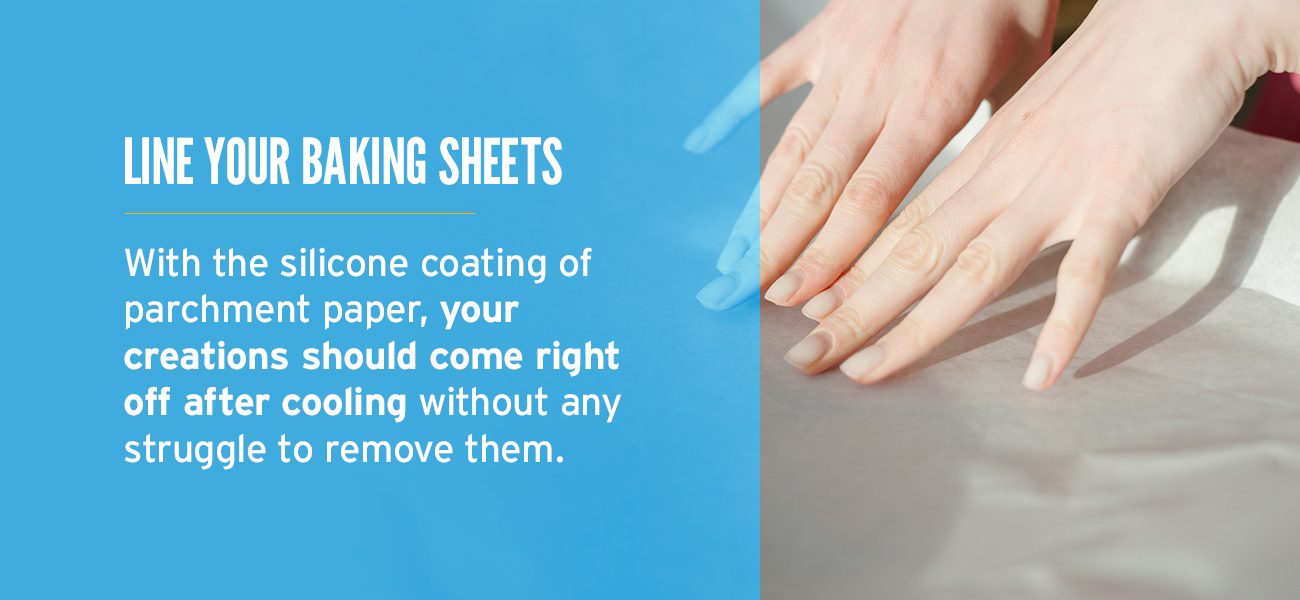
1. Line Your Baking Sheets
Baking your polymer clay creations is an important step in making sure they last for years to come. The nature of polymer clay causes it to stick to glossy surfaces. This puts you at risk of damaging your creations while trying to remove them from the baking sheet
You can avoid this issue by lining your baking sheets with parchment paper. This will provide a protective layer for your polymer clay. With the silicone coating, your creations should come right off after cooling without any struggle to remove them. Since parchment paper is oven-safe, you can use it without fear of burning or smoking like with wax paper.
Lining your baking sheets with parchment paper also helps resolve another issue common with baking polymer clay, shiny surfaces. When you bake polymer clay on a baking sheet, the bottom changes during the curing process and becomes shiny. If you want to avoid this, be sure to line your baking sheets with parchment paper. This can ensure the bottoms of your creations keep the same sheen from top to bottom.
2. Create a Nonstick Working Surface
One thing you have to consider when working with polymer clay is your working surface. Work surfaces can be anything from a dining room table to a workbench or even the floor — wherever you’re comfortable. But the plasticizers in polymer clay can harm wooden tables and other furniture, so you’ll want to make sure you have a protective layer between your clay and the surfaces you’ll be working on.
A good solution for this situation is parchment paper. Spread out parchment paper to cover your working surface, and you’ll have free reign over the entire area. Instead of worrying about your polymer clay coming in contact with a vulnerable surface, you can simply focus on your creation. You’ll know you’re safe since the parchment paper will prevent anything from seeping through into the surface below.
With parchment paper, cleanup can be a breeze. All you have to do is pick up the parchment paper and save it for next time or toss it in the wastebasket if it’s too soiled to save. Either way, with parchment paper, your surfaces will stay clean and you’ll be able to spend less time cleaning up after your next polymer clay project.

3. Burnish Clay Seams
Burnishing is the act of making the surface of an object more appealing and uniform. You can burnish your clay creations for an intentional and aesthetically pleasing look. This is most important in areas with seams. If you’re joining two sections of clay together, you may have a visible line where the two sides meet. Since this might take away from your vision for the creation, you’ll need to burnish the seam to make it look like one continuous piece.
Use parchment paper the next time you want to burnish a seam. Take a piece of parchment paper and lay it on the clay’s surface over the seam. Rub back and forth with your finger or the underside of a spoon. This will burnish the seam without disrupting the surface of the clay. This is especially useful when making designs on your creation’s surface around seams. Remember to limit your polymer clay’s contact with the parchment paper, as this could cause leaching over time.
4. Smooth Textures
Unless you wear gloves every time you use polymer clay, your creations will have your fingerprints on them. Some players find this element appealing, but others may want their clay to have a uniform texture without any “imperfections.” Pressing a sponge or a piece of sandpaper into the surface of your clay can make it uniform, but this won’t give you the smooth look you may be searching for.
Next time you want to smooth the surface of your polymer clay creation, you can count on parchment paper to help you achieve that goal. Use the same technique used to burnish seams to remove fingerprints and other unwanted textures. This is a gentle way to achieve a smooth look while keeping your fingers clean.
How to Use Deli Paper for Your Clay Projects
Using paper and plastic deli sheets can be helpful in your polymer clay creation process. The following will detail some interesting ways you can take your polymer clay sessions to the next level by using these small sheets of paper or plastic:

1. Store Your Polymer Clay Sheets, Canes, and More
Plastic deli sheets are ideal for storing small pieces of polymer clay that you want to keep separate from the rest of your batch. If you spend time creating an intricate cane, sheet, or another miscellaneous piece of polymer clay, you’ll want to protect it and keep it from sticking to other clay pieces while in storage. This is where plastic deli sheets are handy.
Wrapping these pieces in plastic deli sheets will protect them from lint and dust while keeping them separated from other pieces of clay. They’re also easy to work with, since deli sheets resist sticking to one another. If a sheet is too big, you can cut it to the correct size with a pair of scissors. With the plastic variety of deli sheets, your polymer clay will keep its oils and plasticizers to itself. Avoid leaching and store your beautiful canes until your next session with plastic deli sheets.
2. Burnish Seams Without Leaching
Plastic deli sheets give you the opportunity to burnish seams much like you would with parchment paper. The major difference is that parchment paper could leach your polymer clay with prolonged contact, but plastic deli sheets avoid this problem. Take a deli sheet and cut it to a smaller size if you wish. Lay it over the seam and run your finger back and forth until the seam fades away.
Plastic deli sheets are thin enough that you can get a bit more intentional with this step. You can press your polymer clay without creating fingerprints or other distortions to the surface of your creation. Remember to be gentle, since deli sheets are thinner than parchment paper. Burnishing with deli sheets is a delicate process, but it does afford you more control than burnishing with parchment paper.
3. Line Your Clay Extruder for Easy Cleaning
Extruders are a fun and useful tool for making shapes with your polymer clay. You put your clay into the tube and press the handle down, forcing the clay through a shaped opening at the end. Removable disks determine the shape your clay will take, allowing your creativity to flow when making canes or other formations with polymer clay. You’ll have to clean your extruder between uses to keep residual clay from mixing with the next creation. This can get tedious, but deli sheets can make this process easier.
Wrap a deli sheet around your clay before placing it in the extruder, making sure to leave the end open to allow the clay to pass through the shaped disk. Plastic deli sheets are best for this because of their flexibility and resistance to leaching. The extruder will push the polymer clay out, leaving behind a wadded-up deli sheet and a clean tube. All you’ll have to clean is the shaped disk, which is much easier than cleaning the entire inside of your extruder.

4. Create Rounded or Domed Cutouts
Crafting with polymer clay can incorporate plenty of creative techniques — like when you use cookie cutters to make unique shapes for a project. While this is an enjoyable part of creating with polymer clay, you may wish you had more control over the outcome. Cookie cutters leave the top of the clay untouched. The way the top of the clay looks after flattening is how it’s going to stay. With deli sheets, you can achieve a more desirable outcome.
Place a plastic over your flattened polymer clay. Then press your cookie cutter into the clay. The plastic wrap is flexible enough to accept the shape while stretching over the surface of the clay. This will create a smooth and rounded look. Instead of sharp, defined edges, you’ll create soft edges and a domed top. When you want this look, try this trick the next time you’re using cookie cutters with your polymer clay.
Crafting With Plastic Wrap
Plastic wrap can be useful for crafting. Here are some tips and tricks when using plastic wrap for your polymer clay creations:
1. Use Plastic Wrap Like Deli Paper
You can do many of the same actions with plastic wrap as you can with plastic deli sheets. The main difference is that plastic wrap comes in longer rolls, so it may be more cost-effective to buy plastic wrap instead of deli sheets. Plus, deli sheets can be hard to find outside of restaurant supply stores, and they usually come in large and expensive multi-packs.
For this reason, you may find it easier to buy and use plastic wrap. You’ll have enough to last you a long time and you can save money in the process. Though deli sheets are convenient, plastic wrap can do a lot of the same things for your creative process, making them both a great choice when working with polymer clay.

2. Check What Your Plastic Wrap Is Made Of
When working with polymer clay, you should always check what your tools and supplementary materials are made of. The same is true of any plastic wrap you decide to use for your polymer clay projects. Some people find their plastic wrap reacts to clay by becoming gummy after prolonged exposure. This may be because the plastic wrap is made from polyvinyl chloride (PVC). This material is the same as the plasticizers in your polymer clay, causing the plastic wrap to deteriorate and blend with the clay.
Only use plastic wrap made from low-density polyethylene (LDPE) with your polymer clay to ensure it stays intact. You should be able to find this information on a plastic wrap box. Once you’ve determined the wrap is made of the right material, you can proceed with your new creative tricks with confidence that the plastic wrap and your clay won’t interfere with one another.
3. Use Certain Types to Store Your Clay
Anyone who has used plastic wrap knows it can be a bit difficult to control. Without proper care, plastic wrap will cling to itself and become a crumpled ball of plastic. You may be able to save yourself time by selecting certain types of plastic wrap. Check your local grocery store for the variety with a coating on one side. It may say something about being self-sealing to better preserve your food.
This type of plastic wrap will only stick to itself on one side, which can come in handy when storing your polymer clay. Cut off the size you need, place your polymer clay on the side with the coating and fold the plastic wrap over your clay. This can create an airtight seal that will preserve your polymer clay without leaching. It’s a great trick for keeping your canes and uncured creations safe and moist before it’s their time to cure in the oven.
Find the Polymer Clay Colors You Need From Sculpey®
Sculpey® is the industry leader in polymer clay. Our online store carries a large selection of clay of all shades and colors. We also sell various clay tools and polymer clay cutters to help you achieve the designs you envision. Whether you love making clay jewelry or some other type of creation, Sculpey® has what you need. And we’re here to offer exceptional customer service every step of the way.
Make sure to check out our blog for the latest tips and information on all things polymer clay. In the meantime, contact us today for more information.
