Once you’ve finished detailing your polymer clay masterpiece, you’re ready to cure it in the oven for use! After all the time and creative energy you put into your work, the last thing you want to find is burnt clay or breakage after baking.
How to bake polymer clay successfully is one of the top conversations we see in claying forums online — and for good reason! Different clays and project thicknesses require different baking times and temperatures.
At Sculpey®, we understand the baking process can feel tricky, even for seasoned clayers. Let’s demystify the baking process, avoid common baking errors and learn how to fix clay problems even after your project is baked!
How to Bake Polymer Clay Correctly
Before baking, always condition polymer clay to avert clay weakness, air bubbles and other imperfections during the baking process. Follow these steps for every project you bake:
- Bake safely: Adult supervision is required when baking polymer clay projects with kids. Use heat-safe mitts to transfer projects to and from the oven.
- Use an oven thermometer: Oven temps often vary from the heat setting by several degrees. Use an oven thermometer for temperature accuracy.
- Choose the right appliance: Only use a conventional or toaster oven for baking clay, and turn off convection settings. Never use a microwave.
- Preheat the oven: Allow the oven to preheat completely before placing your project inside to bake.
- Make a test piece: Run a pre-baking test with a scrap piece of clay in the same clay type and thickness as your project.
- Bake on a compatible surface: The best baking surfaces are ceramic tile, glass and our silicone Sculpey Tools™ Oven-Safe Work Mat. Place the project on the middle shelf of the oven so it’s not too close to the heating elements.
- Place paper under the project: Prevent darkened clay on the bottom of your project by placing card stock or parchment paper under it.
- Protect clay with a tent: For thin projects and small beads, protect the highest points of the clay from scorching with a paper or cardboard tent.
- Follow package instructions: Bake at the recommended time and temperature listed on the package according to clay thickness. If you combine two clay types in one project, bake at the mid-point temperature.
- Work in a well-ventilated area: Use good ventilation while baking clay. Open up windows if needed.
- Let the project cool: Clay is still fragile when warm. After baking, remove it carefully from the oven and let it cool completely before handling it.
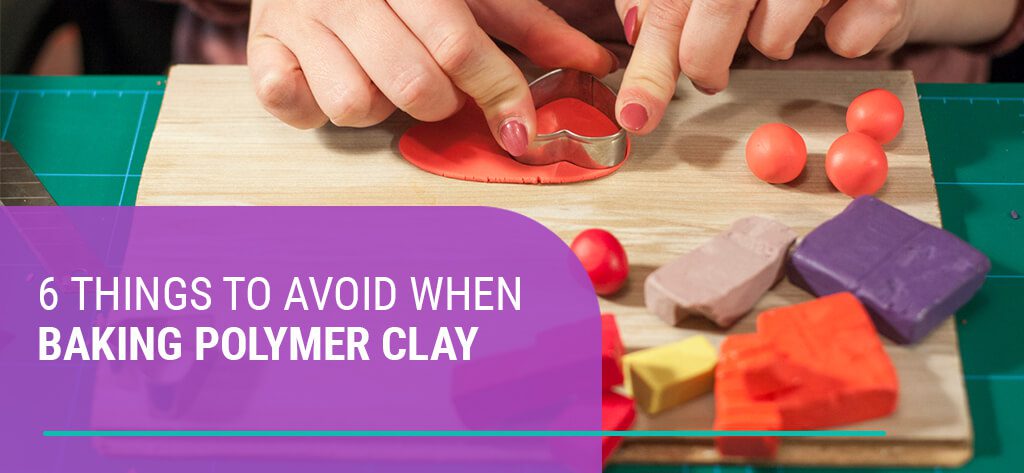
6 Baking Clay Mistakes to Avoid
Learn how to identify and prevent some of the most common clay mistakes while baking.
1. Darkened or Burnt Clay
If your project has darkened spots or comes out of the oven bubbling, you’ve accidentally burned your clay. White, translucent and light-colored clays are more susceptible to heat discoloration. Burnt clay is a sign your oven is too hot due to one or more temperature issues:
- An inaccurate oven temperature setting
- Using an improper baking surface
- Close proximity to the heating element
- Forgetting to place a paper liner under your project
2. Underbaked Clay
Underbaked polymer clay is softer and more fragile than fully cured clay. Underbaking is caused by curing at a too-low temperature or not baking the project long enough.
How can you tell if your clay project is fully baked? Try a hardness test in a hidden spot with a surface pressure experiment. If a pressed fingernail leaves a permanent indent or if thumb pressure leaves a fingerprint, the clay has not yet cured.
3. Brittle or Inflexible Clay
Because polymer clay is a plastic formula, it’s made to be flexible after baking. Fully baked clay should “give” a little and bend without breaking. The thinner the clay, the more flexible it will be.
Inflexible clay is usually caused by underbaking. Brittleness can also be caused by baking too long or a lack of plasticizers. Add a few drops of Sculpey® Liquid Clay Thinner & Softener to the raw clay for a supple project outcome.
4. Dust or Lint Embedded in Clay
Raw clay easily picks up dirt, dust, lint, pet hair and other particulates. To keep clay contaminate-free:
- Work in a clean environment — wait at least two hours after vacuuming to let airborne dust settle, then wipe surfaces with a dust cloth.
- Always wash hands and under the nails before handling clay.
- Avoid touching clothing while clay-shaping, which can leave fibers on your hands.
- Keep a ball of scrap translucent clay to roll between hands before you begin and between color changes.
5. Bumps and Air Bubbles
Bumps or holes that appear after baking your project indicate hidden air pockets. Trapped air is the bane of every polymer clay crafter, messing up once-smooth creations in the oven. Fragile bubble domes break along the clay surface, leaving holes and rounded divets.
Prevent air bubbles by thoroughly conditioning polymer clay by kneading and running it through the Sculpey Tools™ Clay Conditioning Machine several times. Check shaped projects for bubbles — if you spot any, slice them open to release air and smooth clay before baking.

6. Clay Cracks and Breakage
Clay cracks, big and small, are usually caused by a lack of conditioning or using older clay with depleted plasticizers. Even fresh-out-of-the-package clay can break if it isn’t conditioned thoroughly and baked correctly.
Tiny surface fractures can also be caused by moisture interference. If any water becomes embedded in the raw clay, it can steam in the oven and produce cracks. Prevent moisture-related breakage by working in low humidity and ensuring hands are 100% dry while shaping the clay.
How to Fix Polymer Clay Baking Mistakes
Finding flaws in clay after baking can be frustrating, but never fear — projects can usually be salvaged! Use these tried-and-true solutions to fix the most common baking mistakes:
- Color-correct burnt clay: It is possible to save scorched projects, even burnt white clay! Use the 1000-grit sandpaper from our Sculpey Tools™ Sandpaper Variety Pack to gently sand away burned spots and expose the original color underneath. Or soak your discolored creation in bleach overnight to return white clay to its original color and brighten other darkened hues without washing them out.
- Fix underbaked clay: Underbaking usually happens because the temperature setting was too low or the project wasn’t baked long enough. The good news is that it’s safe to rebake polymer clay! Many pro clayers recommend a lengthier baking time than package instructions, at least an hour for all projects. As long as the temperature is correct, longer baking won’t burn the clay and you’ll have a stronger project.
- Remove dust and imperfections: Fingerprints tend to pop up on baked projects — after all, we use our hands to shape the clay! The process of sanding and buffing removes fingerprints, dust and dirt. Starting with 400-grit sandpaper, sand the clay and work your way up to 1000 grit or higher. Then vigorously buff with a soft cloth to produce heat and friction for a polished finish.
- Smooth bubbles and bumps: If you discover air bubbles after baking, you can soften and smooth those bumps with acetone. Practice this method on scrap clay first because it’s a bit tricky. Soak a cotton swab with acetone and lightly rub it over the bumpy clay, alternating directions to avoid creating a groove. Gently wipe once more with an acetone-soaked cotton pad to remove any streaks and smooth the surface.
- Repair cracked and broken clay: Fill in cracks and fix broken clay pieces with polymer clay dust and glue. Bake a scrap piece of color-matched clay. Use a coarse nail file or rasp to shave a small pile of fine clay particles. Mix the clay dust with two-part epoxy glue or plumber’s putty to make a paste, then fill the recesses and sand smooth after it hardens.
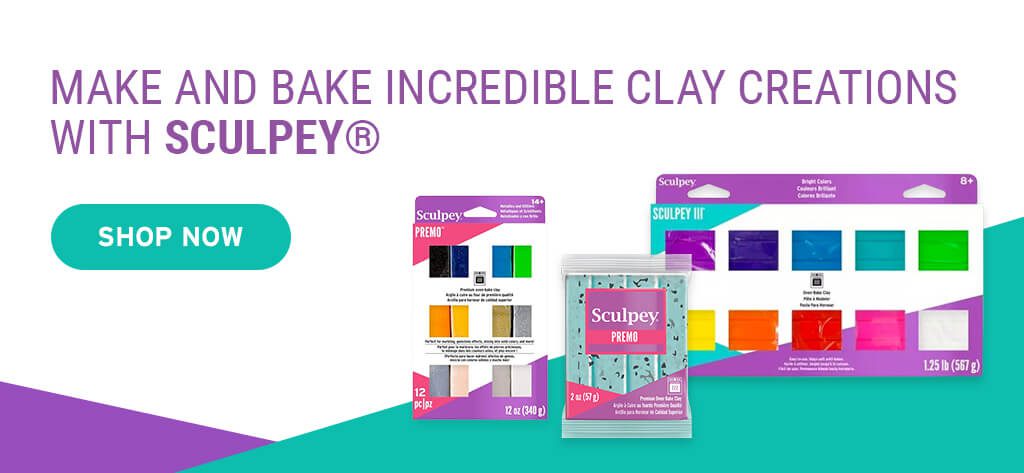
Make and Bake Incredible Clay Creations With Sculpey®
Sculpey® has everything you need to create jewelry, ornaments, gifts and more with confidence! Shop our clays and innovative clay-baking resources to start your clay crafting journey today!
For even more tips on baking different polymer clays, visit our FAQs page or contact us online.