
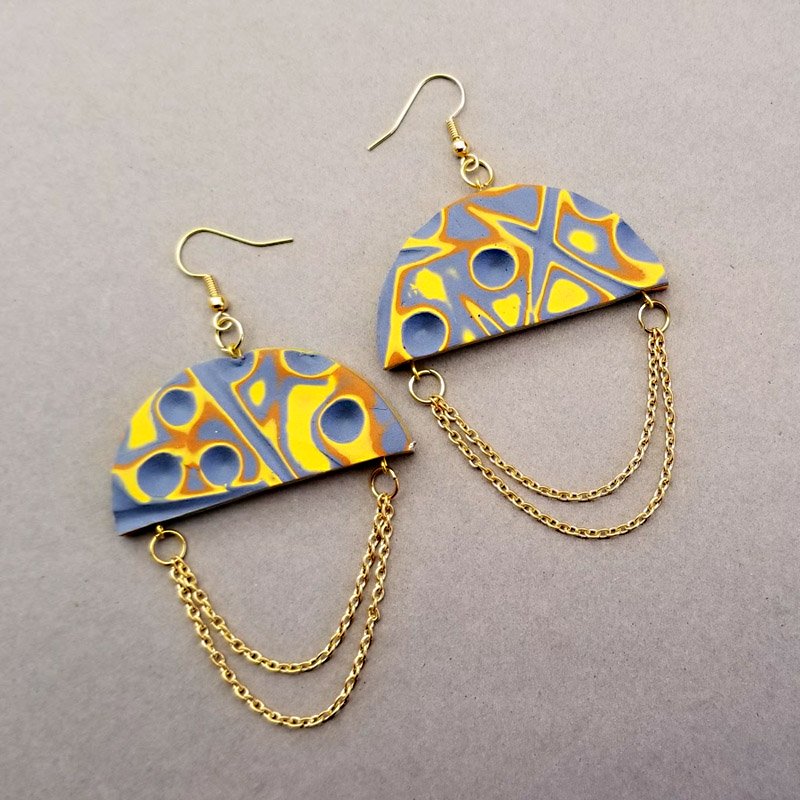
Souffle Easy Mokume Gane "Umbrella" Earrings
Souffle Easy Mokume Gane "Umbrella" Earrings
Read More
These earrings are quick and easy to make and there are so many Souffle color combinations you can use to make a pair for all your friends!
Design by syndee holt
Read Less
ADDITIONAL SUPPLIES
Earring hardware: ear wires, 6 6mm jump rings, 11 inches chain, 6 eye pins (1/4 inch length)
Optional: Clear instant glue to glue the eye pins back in after baking, nail clippers to trim the eye pins to ¼ inch length, jewelry pliers, small smooth ceramic tile
Project Instructions
Polymer ClayGetting Started:Please make sure your work area is covered and you are not working on an unprotected surface. We recommend working on the Sculpey® Work ‘n Bake Clay Mat, wax paper, metal baking sheet, or disposable foil. Uncured clay may damage unprotected furniture or finished surfaces. Be sure to cover your crafting area appropriately.Start with clean hands, unwrap and knead clay until soft and smooth, or condition by running clay though a Pasta Machine. We recommend using a designated machine for clay purposes only. When working with multiple colors, clean hands with soap and water or baby wipes (we have found that baby wipes work best) before switching colors. Shape clay, pressing pieces firmly together. Wash hands after use.Baking:Begin by preheating oven to 275 °F (130 °C). After you are done creating; for best results bake clay on an oven-proof surface such metal, aluminum foil, an index card or the Sculpey® Clay Mat at 275°F (130 °C) for 30 minutes per ¼" (6 mm) thickness according to package directions. Oven safe glass or ceramic surfaces are also acceptable for baking; however please note that the baking times may take longer as the glass or ceramic surfaces take longer to heat up. For best baking results, use an oven thermometer. DO NOT USE MICROWAVE OVEN. DO NOT EXCEED THE ABOVE TEMPERATURE OR RECOMMENDED BAKING TIME.
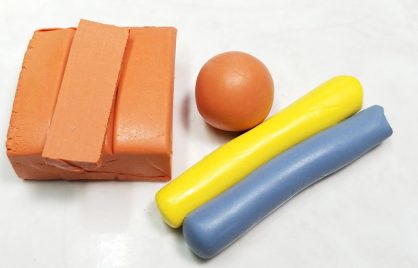
Using a little less than ¼ of a bar, condition the clay by kneading and rolling the clay. Roll the clay into a ball and then use your fingertips to roll it out on your work surface into a coil of clay as shown. Repeat with all three colors.
Stack the coils of clay with the Canary in the middle and gently press the coils together. Using a firmer touch, press the coils to flatten them, taking care not to make them longer.

Cut the stacked clay in half and restack as shown. Firmly press the stacked clay down again. Use the roller to roll the clay stack thinner.


Cut in half again and restack and repeat the last two steps, using the roller to create a more rectangular shape. The stack should now be about ¼ inch thick. Place the stacked clay on a smooth surface like a ceramic tile or sheet of glass. Use the edge of the pointed tool to press into the top of the stack as shown.

Next, use the opposite round end to press into the stack.

Make thin slices across the surface of the clay, as thin as you can! This will expose the beautiful mokume gane patterns you created. NOTE: This will be MUCH easier if your stack is lightly pressed against a smooth surface!

Once the patterns are exposed, you can lightly roll with the roller to even out the surfaces a little. Then use the largest of the Sculpey Circle Cutters to cut out a circle of this patterned clay.

Cut this circle in half and you have the sections for your two earrings! Trim 3 eye pins to about ¼ inch length and gently press them into each earring as shown – 1 at the top of the curved portion and 2 on each side of the straight portion. Bake according to the directions above.

Once the clay has baked and cooled, add a jump ring and the ear wire to the top eye pin. Then add a 3-inch length of chain and a 2 -1/2 inch length to the same jump ring. Attach the jump ring to one of the bottom eyepins. Being careful not to twist the chains, add a second jump ring to the other side and attach to the other eyepin. Repeat for the other earring!
