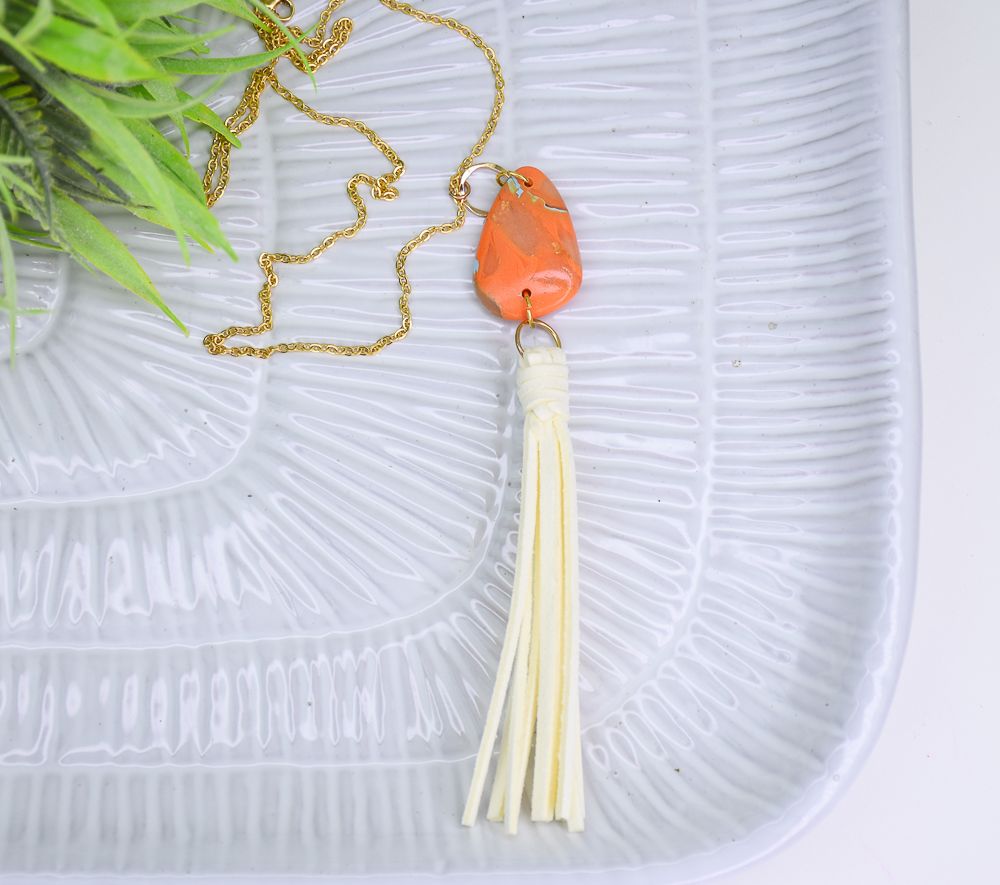
Sculpey Soufflé™ Koi Faux Stone Pendant
Sculpey Soufflé™ Koi Faux Stone Pendant
Designed by Lauren Medina
Read More
Read Less
Sculpey Soufflé™ Koi teams up with Sculpey Premo™ Translucent and Pale Blue to create this unique marbled pendant that will accent a surprising number of your favorite outfits! TIME TO COMPLETION:40-50 minutes to make and 30 minutes to bake
ADDITIONAL SUPPLIES
- Gold metallic flake/leaf sheets
- 4 mm jump ring
- 7 mm jump ring (2)
- 11 mm round gold connector ring
- Necklace Chain, 18L” gold
- Faux suede tassel, about 3.5in.
- Long nose pliers
- Microfinish sandpaper (600, 1200)
- Cotton polishing wheel
- Dremel tool, hand drill or needle tool to place holes

Project Instructions
Step 1
- Getting Started:
Start with clean hands, unwrap and knead clay until soft and smooth, or condition by running clay though a Pasta Machine. We recommend using a designated machine for clay purposes only. When working with multiple colors, clean hands with soap and water or baby wipes (we have found that baby wipes work best) before switching colors. Shape clay, pressing pieces firmly together. Wash hands after use.
- Baking (also called Curing):
Step 2
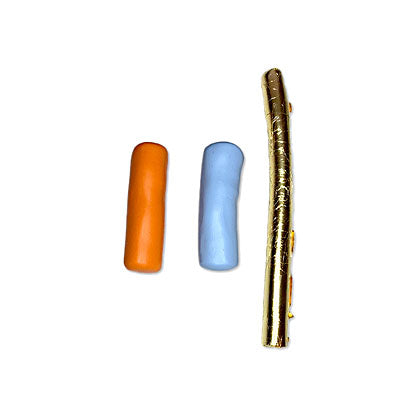
Create two stout logs in Soufflé Koi and Premo Pale Blue. Adjust the opacity of each color by adding more or less translucent clay to your mix. I added a pea-sized amount of translucent clay to both my orange and blue.Roll out a thin snake of translucent clay and completely wrap it in gold foil. It should stick to the clay without adding any adhesives.
Step 3
Roughly chop using your clay blade. I prefer having a mixture of small, medium, and large chunks. The larger pieces will be more prominent in your final design.
Step 4
Mix all of the chunks and form a ball. Compress well to ensure there aren’t any gaps. If you want to create swirls, roll the ball in your hands. You can repeat the chopping and compressing process to create further marbling and unique blends/patterns.Artist tip: To create borders or rocky veins between each chunk add white acrylic paint. Coat each piece, then compress. Let the acrylic paint completely dry, then proceed to the rest of the steps.

Step 5
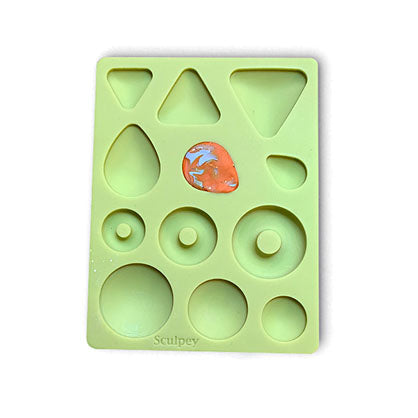
Use Sculpey’s bakeable silicone mold with the midsize teardrop shape to start your stone’s form. Depending on how much clay you’ve mixed, you should have enough for a few stones at this size.Don’t waste that beautiful mix - you can make matching earrings and various faux stones for future projects.
Step 6
If you wish, you can use your fingers, gently form your teardrop into a more natural, asymmetrical shape. Don’t worry about the fingerprints - we will buff those away in the next step.If you don’t plan to use a jewelers drill after baking/curing, then use a needle tool to add holes to the top and bottom of your shape for assembly after baking.
Bake according to the directions in step 1 above.

Step 7
After baking, sand your stone using 600 grit micro-finishing sandpaper. After a few minutes, switch to 1200 grit. Once you’ve removed all fingerprints and created a uniform surface you’re ready for buffing! For a brilliant, natural-looking gloss finish use a cotton polishing wheel attachment and setting 4 or 5 on your Dremel for about 10 mins.Optional: If you don’t have a Dremel tool, apply UV resin or Sculpey Gloss Glaze to your sanded piece.

Step 8
To assemble you’ll need: an 18-inch gold chain, one 4 mm gold jump ring, two 7 mm gold jump rings, one gold connector, a tassel and your faux stone.Use your jewelers (or modelers) hand drill to drill one hole at the top and one hole at the bottom of your stone to attach your 7 mm jump rings.

Step 9
Attach your 4 mm jump ring to your gold chain.Attach your gold connector to the 4mm jump ring.
Sandwich your stone between the gold connector and your tassel.
You may need an additional jump ring but my tassel came with one.
Admire your job well done!
Artist tip: You may need a larger jump ring if your stone is thicker - it’s a good idea to have a few different sizes on hand.

- Choosing a selection results in a full page refresh.
- Opens in a new window.