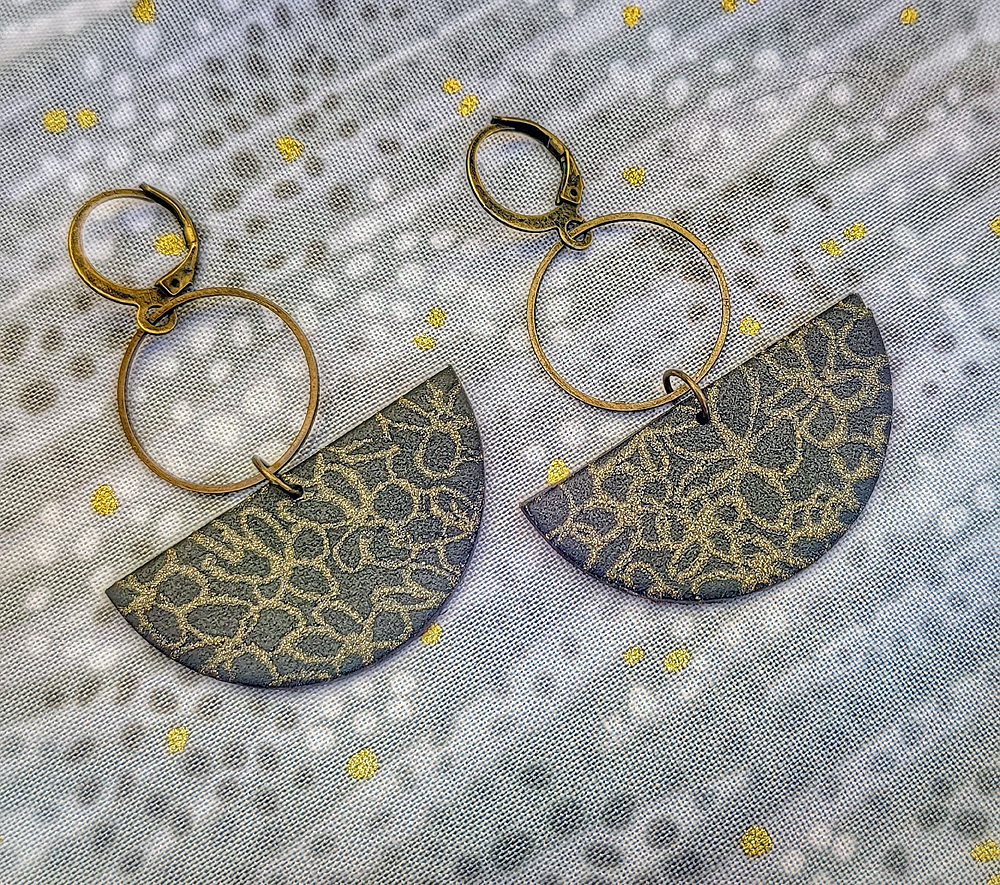
Sculpey Soufflé™ and Liquid Sculpey® Custom Silkscreened Dangle Earrings
Sculpey Soufflé™ and Liquid Sculpey® Custom Silkscreened Dangle Earrings
Read More
Creating designs with polymer clay is so exciting to do, but to team your clay up with your own custom handmade silkscreen is SUPER FUN! You can draw your own designs directly onto clear plastic or print them on transparency material through your printer. Then it’s time to “burn” your screen. Don’t worry EZ Screen has terrific directions that make the whole silkscreen creation easy. The bonus for this project is that we will be using Gold Liquid Sculpey® (LS) to screen with. LS doesn’t air dry, so there isn’t the big rush to wash the screen as when acrylic paint is used. You can screen several sheets of clay (different colors!) before you do an easy cleanup of the screen!
Time to completion: 90 minutes to make the screen, 60 minutes to make/bake the earrings
Designed by syndee holt
Read Less
Time to completion: 90 minutes to make the screen, 60 minutes to make/bake the earrings
Designed by syndee holt
ADDITIONAL SUPPLIES
- EZ Screen Mini Starter Kit
- Round cutter- mine is 1.5 inches in diameter
- Flexible card (like an old hotel key) or a Silicone paint brush like I’m using
- Baby Wipes and small bottle of hand sanitizer
- Needle tool or drill to make the assembly hole in the clay
- Gold or Antique Gold 6 mm jump ring (2)
- Flat brass rings – mine are 20 mm (2)
- Lever back round French hook ear wire (2)
- Jewelry pliers (I prefer to use a pair of matching bent nose pliers)

Project Instructions
Step 1

Step 2

Step 3

Step 4

Step 5

Step 6

Step 7


Step 8

Step 9

Step 10

843-11

Step 12

Step 13
