
Sculpey Premo™ Tints of Glam Earrings
Sculpey Premo™ Tints of Glam Earrings
Designed by Amy Koranek
Read More
Read Less
This tutorial highlights one of my favorite tinting techniques - using the Gold Glitter Metallic Premo™ colors - to make a family of sparkle colors from one base color. In this case, we are tinting Premo™ Ecru with three different Gold Glitters to bump up the sparkle and shine.COMPLETION TIME:60 Minutes to make, bake, and assemble - some additional time required for glue and paint dry time
ADDITIONAL SUPPLIES
- Bright gold paint pen
- 6 mm Gold tone jump rings (4)
- Ear posts with backs (2)
- Flat nose pliers
- Silicone glue or instant drying glue

Project Instructions
Step 1
- Getting Started:
Start with clean hands, unwrap and knead clay until soft and smooth, or condition by running clay though a Pasta Machine. We recommend using a designated machine for clay purposes only. When working with multiple colors, clean hands with soap and water or baby wipes (we have found that baby wipes work best) before switching colors. Shape clay, pressing pieces firmly together. Wash hands after use.
- Baking (also called Curing):
Step 2
For this project it’s helpful to have small sheets of each color to measure out the proportions. One half block of Ecru and 1/4 block of the glitter colors 1/8” thick. For each glitter color we will mix one part Ecru to two parts of the glitter.
Step 3
For the buttons at the top of the earrings, measure out a 3/4” circle of Ecru and two 3/4” circles of Yellow Gold Glitter. Mix the circles together by hand until Yellow Gold Ecru is achieved. Then roll out the sheet and cut out two 3/4” circles.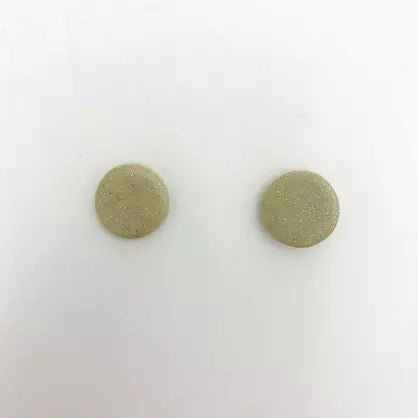
Step 4
For the half circles in the middle of the earrings, measure out a 1.5” circle of Rose Gold Glitter and a 1.5” half circle of Ecru.Mix the shapes together by hand until Rose Gold Ecru is achieved.
Then roll out the sheet and cut out a 1.5” circle. Cut that circle in half to have two 1.5” half circles.

Step 5
For the bottom irregular oval shapes, cut out two White Gold Glitter and one Ecru irregular ovals. Mix the shapes together by hand until White Gold Ecru is achieved. Then roll out the sheet and cut out two large irregular ovals.
Step 6
Lay out the earring design. Flip one of the bottom irregular ovals over to mirror image the other. Smooth the cut edges of the flipped piece with fingertips.Poke holes in the pieces to allow for assembly with jump rings after baking.
Bake pieces following the baking instructions for Sculpey Premo™ .
Allow to cool completely before handling.

Step 7
Here is the layout for the earring assembly.Add a line of gold paint around the outside of the bottom pieces with gold paint marker.
NOTE: if the gold paint doesn’t cure completely overnight, you may find that baking the pieces again will help the paint to set.

Step 8
Use flat nose pliers to assemble jump rings and clay pieces.
Step 9
Glue ear backs to the top circles and allow glue to dry completely.