Sculpey Premo™ Mod Slab Terrazzo Earrings
Sculpey Premo™ Mod Slab Terrazzo Earrings
Designed by Precious Nunez
Read More
Read Less
Create your own unique terrazzo earrings using a few new Sculpey clay colors like Sculpey Soufflé™
Citron and Sculpey Premo™ Light Pink! Spice up your outfit with this cute spring colored earring set!
Time to complete:
25 minutes to make, 30 minutes to bake/cure
Time to complete:
25 minutes to make, 30 minutes to bake/cure
ADDITIONAL SUPPLIES
- Dangle drop earring cutters
- 8 mm silver jump rings
- Silver earring posts and back
- Super Glue
- Cornstarch
- Needle nose/flathead pliers

Project Instructions
Step 1
- Getting Started:
Start with clean hands, unwrap and knead clay until soft and smooth, or condition by running clay though a Pasta Machine. We recommend using a designated machine for clay purposes only. When working with multiple colors, clean hands with soap and water or baby wipes (we have found that baby wipes work best) before switching colors. Shape clay, pressing pieces firmly together. Wash hands after use.
- Baking (also called Curing):
Step 2
Roll a small slab of Gray Granite on a middle thickness setting.
Step 3
Take bits of White, Light Pink, Copper, Citron, and Gray Granite and place randomly across the slab and slightly layer upon each color. Repeat this step for the other side of the slab.
Step 4
Roll the slab through the clay machine to flatten the design on a medium/wide setting.
Step 5
Dip the clay cutters into cornstarch and cut out 4 pieces in total onto the slab. *Cornstarch helps the clay to not stick to the cutters*.
Step 6
Make 4 holes into the pieces with your needle tool to make them into earrings as shown. Bake according to Step 1.
Step 7
Take the two top pieces of the design and super glue the posts to the back.
Step 8
Open the jump rings with your pliers and attach, repeat this step with the next pair of earrings. Close the jump rings with the pliers.
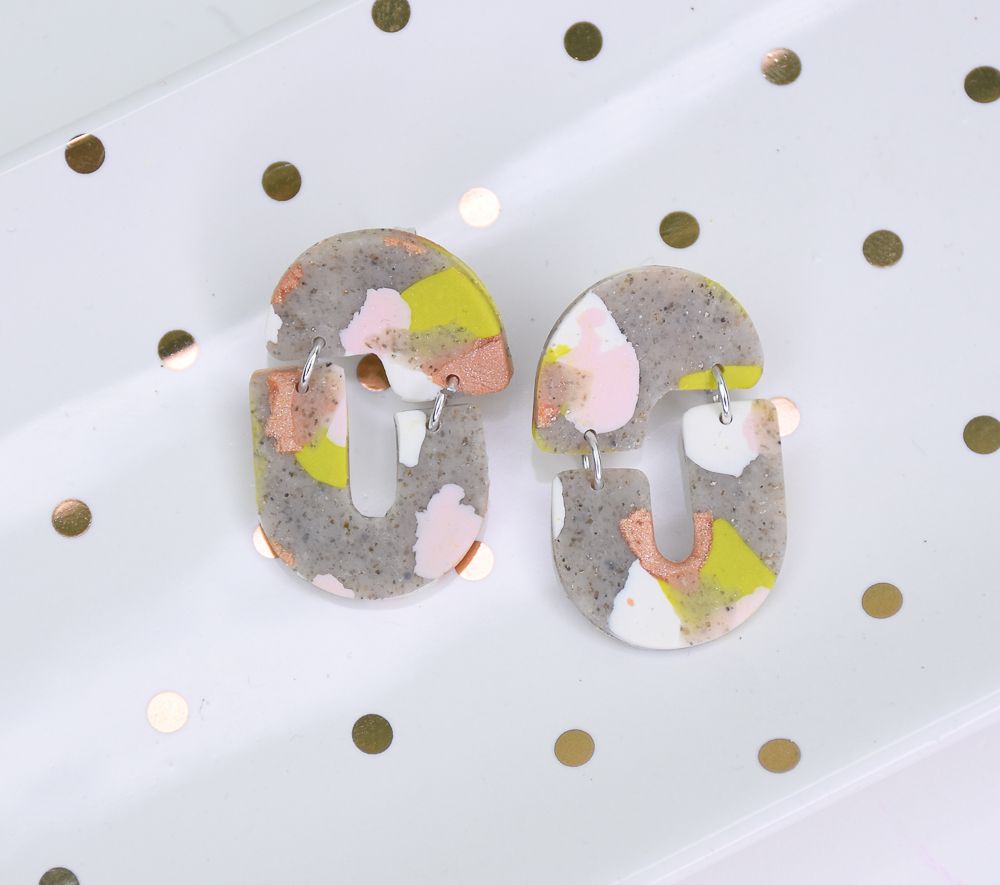
Step 9
Here’s a look at my completed earrings. I can’t wait to wear them!