
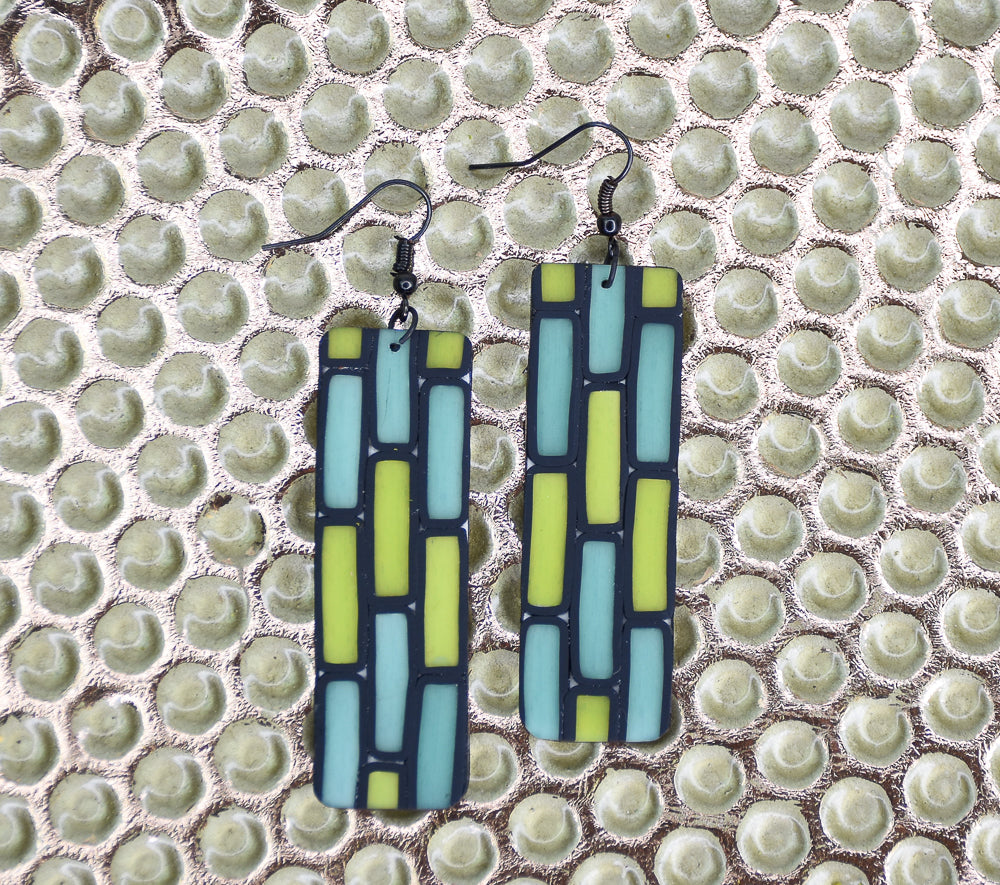
Sculpey Premo™ Mid Century Modern Stained Glass Effect Earrings
Sculpey Premo™ Mid Century Modern Stained Glass Effect Earrings
Read More
Create your very own colors using the Sculpey Color Tints and Premo Translucent clay! Of course, you can use the tints with any other clay color as well.
TIME TO COMPLETION: This is a project that requires some drying time for the dyes so I recommend that you mix the dyes, apply them to the conditioned clay surface and allow the inks to dry before sitting down to complete the project. I left mine overnight. This gives you time to work on other projects – like assembling that big stack of earring components you have been meaning to get to! But the final pieces are totally worth it!
ASSEMBLY TIME: 45 minutes BAKING TIME: 30 minutes
Read Less
ADDITIONAL SUPPLIES
- Small shallow dishes to mix colors (I’m using a Sculpey Hollow Bead Maker)
- Metal or plastic stirring tool (I’m using one of my Sculpey Etch N Pearls to stir)
- Non porous surface for the clay to rest on for the dyes to dry – I’m using deli sheet
- Needle tool
- Black marker for the edge after baking
- Black or gold-toned jumprings (2)
- Black or gold-toned ear wires (2)
- Pliers for assembling the earrings
Project Instructions
Step 3

Step 2

Step 4

Step 5

Step 6

Step 7

Step 8

Step 9

Step 10

Step 11

Step 12

Step 14

Step 15

Step 16

Step 17

Step 18

Step 19
