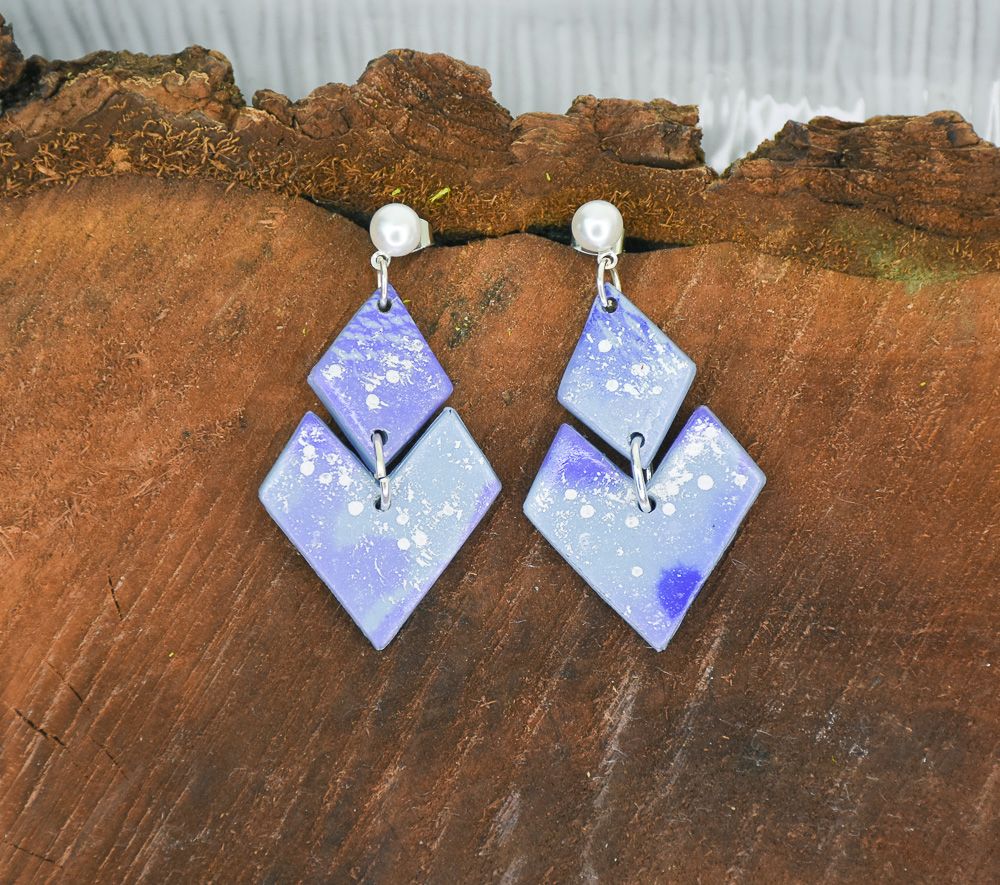
Sculpey Premo™ Ice Blue Pearl Dreamy Earrings
Sculpey Premo™ Ice Blue Pearl Dreamy Earrings
Designed by Amy Koranek
Read More
Read Less
These dreamy Ice Blue Earrings can be worn with everything from jeans to evening wear and they will be sure to catch everyone’s eye!COMPLETION TIME:60 Minutes to make and bake.
ADDITIONAL SUPPLIES
- Alcohol ink in dark blue
- Isopropyl alcohol in a mist bottle
- Paper towel
- Cutter set of nesting diamonds
- Metallic silver acrylic paint
- Toothbrush for crafts
- Paint brush
- 6 mm Silver tone jump rings (2)
- 4 mm Silver tone jump rings (2)
- Pearl post studs with eye rings and backs (2)

Project Instructions
Step 1
- Getting Started:
Start with clean hands, unwrap and knead clay until soft and smooth, or condition by running clay though a Pasta Machine. We recommend using a designated machine for clay purposes only. When working with multiple colors, clean hands with soap and water or baby wipes (we have found that baby wipes work best) before switching colors. Shape clay, pressing pieces firmly together. Wash hands after use.
- Baking (also called Curing):
Step 2
Sheet Ice Blue Pearl to 1/8” thick.Drip four drops of blue alcohol ink onto the sheet.

Step 3
Spritz the blue spots with the isopropyl alcohol in the mist bottle.
Step 4
Carefully lift the sheet of clay and tilt it to spread the ink and alcohol.
Step 5
Blot off excess ink and alcohol with paper towel.
Step 6
When the ink and alcohol are dry enough to handle, flip the clay over so the untinted side is up, and fold the inked side back toward the top. This will help distribute the inked areas more randomly while re-introducing some of the area of clay that was not inked.
Step 7
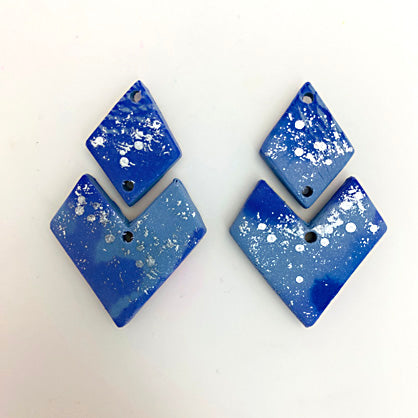
Roll the re-folded sheet into a smooth sheet with the Clay Roller.Cut out two small diamonds and the matching nested larger diamonds.

Step 8
Use the Blunt Point Tool to tap a random pattern of silver metallic paint onto the surface of the clay.Splatter paint silver metallic paint with an old toothbrush.
Allow the paint to dry.

Step 9
Poke holes in the clay pieces to assemble them with jump rings after baking.Bake the clay pieces following the baking instructions for Sculpey Premo™.
Allow to cool completely before handling.
Step 10
Layout the pieces for assembly.Paint a thin layer of Satin Glaze on the face of the pieces and allow to dry completely.

Step 11
Use flat nose pliers to connect the pieces with jump rings.