Sculpey Premo™ Floral Foil Earrings
Sculpey Premo™ Floral Foil Earrings
Designed by Precious Nunez
Read More
Read Less
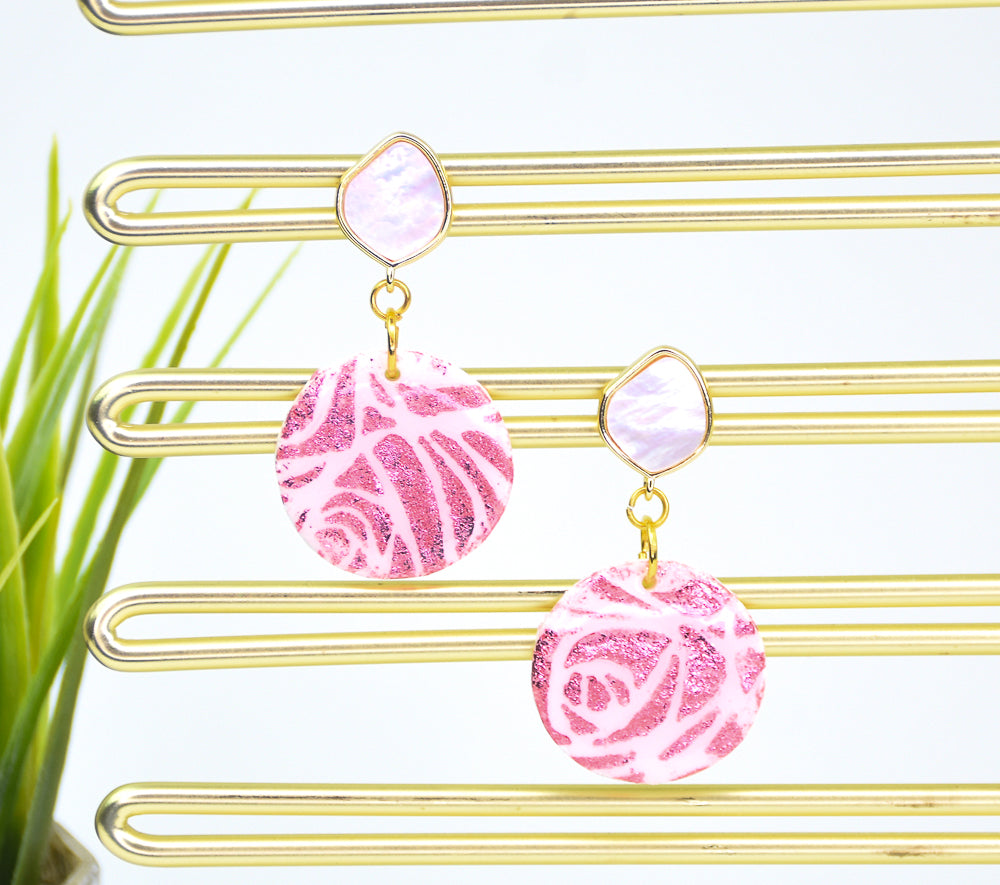
Create these stylish Foiled Floral Earrings in just a few steps! All you need is Sculpey Premo White clay and a few other supplies to make these super cute earrings!Time to complete: Sculpting time approximately 20 minutes, baking time 30 minutes
ADDITIONAL SUPPLIES
- Clay extruder
- 20-gauge (0.8mm) Copper craft wire
- Copper toggle findings
- 2 copper eye screws
- 8 mm copper jump rings
- Flat nose pliers
- Wire cutters
- Small craft drill

Project Instructions
- Getting Started:
Start with clean hands, unwrap and knead clay until soft and smooth, or condition by running clay though a Pasta Machine. We recommend using a designated machine for clay purposes only. When working with multiple colors, clean hands with soap and water or baby wipes (we have found that baby wipes work best) before switching colors. Shape clay, pressing pieces firmly together. Wash hands after use.
- Baking (also called Curing):
Roll out a sheet of white clay wide enough to make two circle cutouts.

Squeeze a small amount of Translucent Liquid Sculpey across the sheet and spread with your fingers to make a sticky surface. Lay the stencil on top.

Take a sheet of foil and place it over the stencil (my foil sheets came with paper lining) and trace the stencil with your finger to make sure the foil adheres to all the details.

Gently remove the stencil to reveal the design. Use your acrylic roller to further secure the foil to the clay surface.

Cut out two circles and bake according to Step 1.

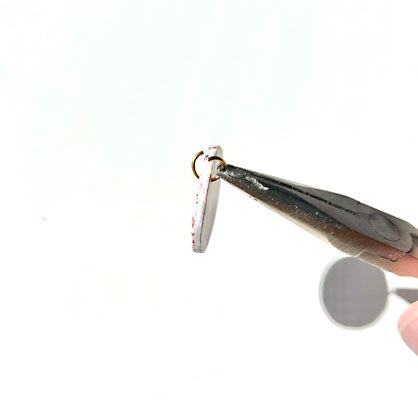
Drill one small hole at the top of each circle and glaze them with UV Resin.

Use the flat nose pliers to open the 8 mm jump rings and loop through the hole you created and close.
Repeat Step and add a 4 mm jump ring to each piece along with the shell topper earrings and close.
