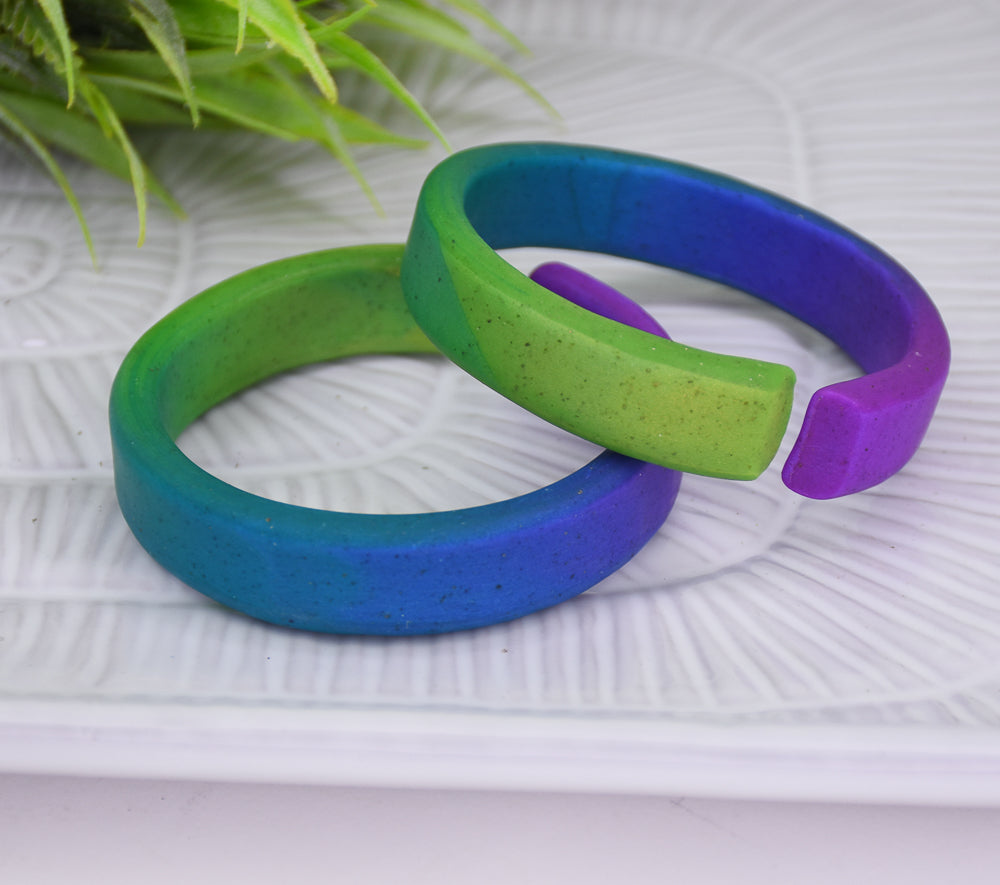
Sculpey Premo™ Tinted Blended Cuff Bracelet
Sculpey Premo™ Tinted Blended Cuff Bracelet
Read More
Gray Granite Premo™ is one of my all time favorite tinting colors. It starts out gray, but believe it or not, when used as a tint what really comes through is all of those gorgeous speckles and not the gray color. This is my favorite tinting combination - Gray Granite plus pearlescent colors!
COMPLETION TIME:
90 Minutes to make and bake
DESIGNED BY Amy Koranek
Read Less
ADDITIONAL SUPPLIES
- Glass or metal bottle that measures approximately 7.5” in diameter

Project Instructions
Step 1
Step 2

Step 3

Step 4

Step 5

Step 6

Step 7

Step 8

Step 9

Step 10

Step 11

Step 12

Step 13

Step 14

Step 15

Step 16

Step 17
