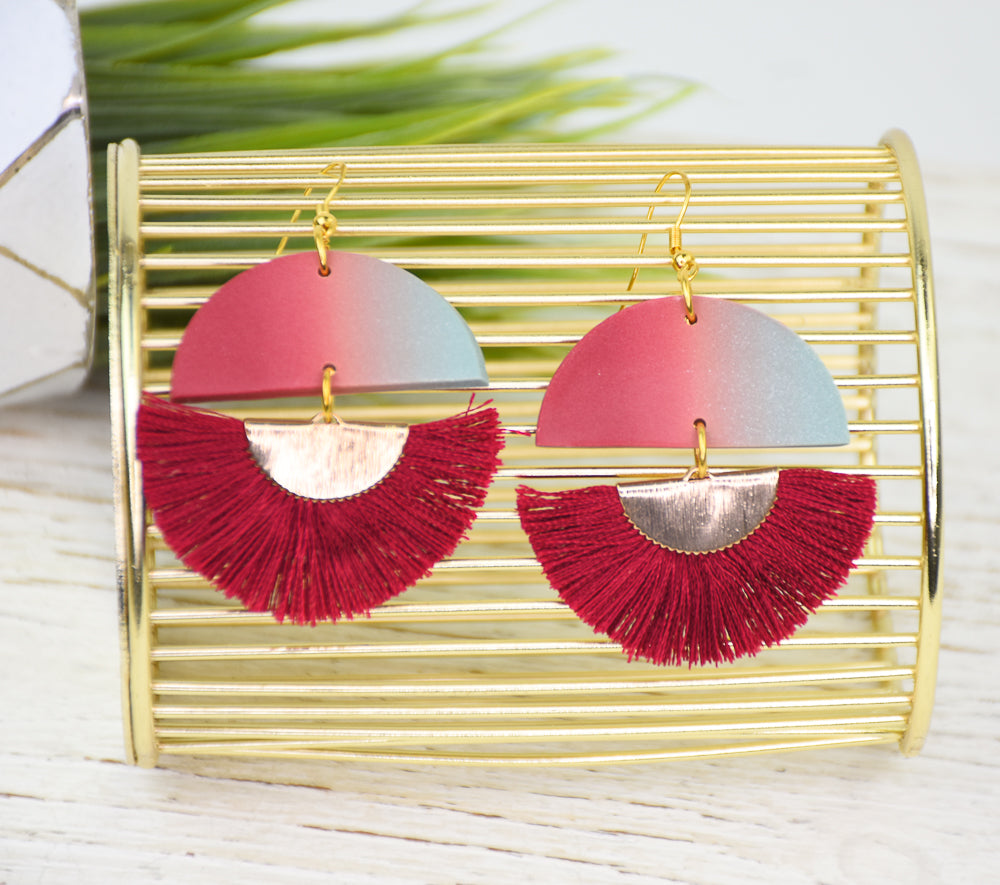
Sculpey Premo™ Coastal Pearl Fringed Earrings
Sculpey Premo™ Coastal Pearl Fringed Earrings
Read More
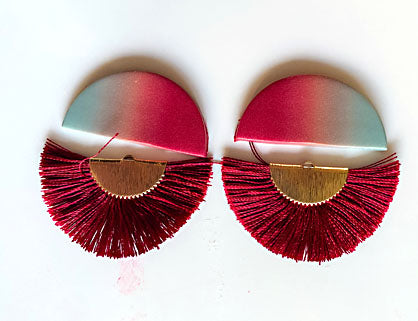
Let’s create dangle earrings together incorporating tassels and Skinner blends featuring some gorgeous Sculpey Premo™ and Sculpey Soufflé™ colors.
TIME TO COMPLETION: 30 minutes to make 30 minutes to bake
Designed by Lauren Hooper
Read Less
ADDITIONAL SUPPLIES
- 2 matching wooden rulers
- Exacto knife
Jewelry Pliers - Jump rings (4)
- Fishhook earrings

Project Instructions
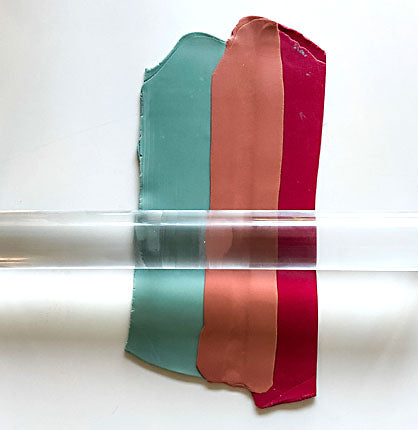
Step 1
Step 2

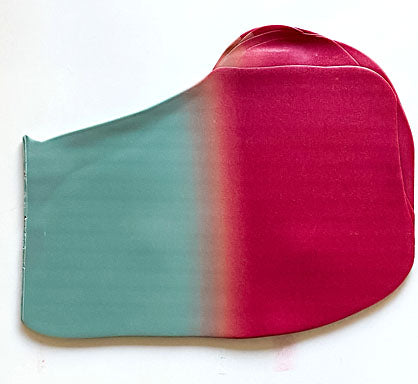
Step 3
Step 4

Step 5
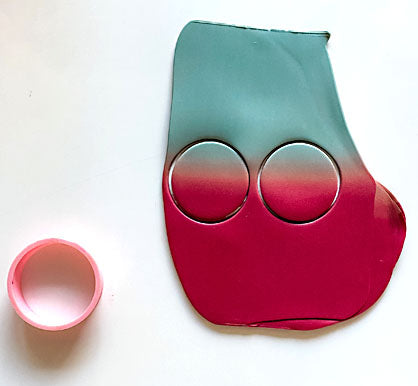
Step 6
Step 7