
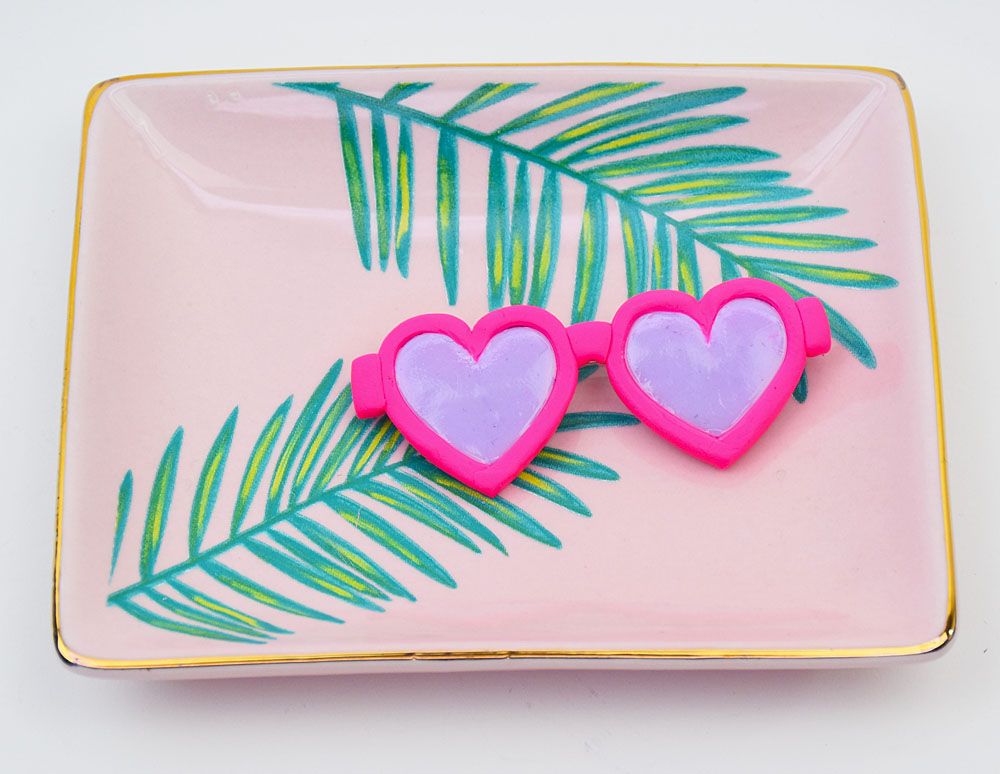
Sculpey III® Sunglasses Jean Jacket Pin
Sculpey III® Sunglasses Jean Jacket Pin
Designed by Amy Koranek
Read More
Read Less
Create this cool little sunglass pin for your jean jacket or beach coverup in less than an hour! COMPLETION TIME: 30 Minutes to make and bake, some additional time required for glaze to dry and glue to dry
ADDITIONAL SUPPLIES
- Paintbrush
- 2” Pin bar
- Silicone glue or instant dry glue
Project Instructions
Step 1
- Getting Started:
Start with clean hands, unwrap and knead clay until soft and smooth, or condition by running clay though a Pasta Machine. We recommend using a designated machine for clay purposes only. When working with multiple colors, clean hands with soap and water or baby wipes (we have found that baby wipes work best) before switching colors. Shape clay, pressing pieces firmly together. Wash hands after use.
- Baking (also called Curing):
Step 2
Use either the teardrop shape from the Mini Geometric Cutters or hand shape four little teardrops 3/4” tall from Spring Lilac.
Step 3
Push the teardrops together in pairs to make hearts.
Step 4
Smooth the seam down the center of the hearts with fingertips.
Step 5
Roll Candy Pink to a 1/8” thick sheet with the Acrylic Clay Roller.Cut 1/8” wide strips with the Clay Blade.
Cut one end of the strip at an angle to match the joint where the two lobes meet at the top of the heart.
Tuck the tip of the strip into the space between the lobes and wrap one lobe with the strip.
Trim the strip to match the tip of the heart.

Step 6
Repeat Step 5 to wrap the other side of the heart with the excess at the bottom.
Step 7
Trim the excess.Make sure the strip around the outside is well connected to the heart shaped lenses.

Step 8
Repeat for the second heart
Step 9
Make a little pink arch for the nose bridge.
Step 10
Cut the nose bridge at the appropriate angle to connect the two lenses.Push the lenses together connecting them both to the bridge.

Step 11
Make little pieces on the outside of each lens where the arms of the sunglasses would connect.
Step 12
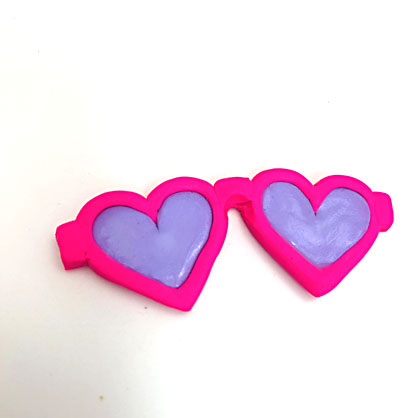
Refine the shapes and smooth all seams with your fingertips.Bake following the baking instructions for Sculpey® III.
Allow to cool completely before handling.

Step 13
Use a fine paintbrush to apply a thin coat of Sculpey® Glossy Glaze to the lenses only.Allow to dry completely before handling.
Step 14
Glue a pin bar to the back of the glasses using silicone glue or instant drying glue. Allow to dry completely