Sculpey III® Monster Mash
Sculpey III® Monster Mash
Designed by Amy Koranek
Read More
Read Less
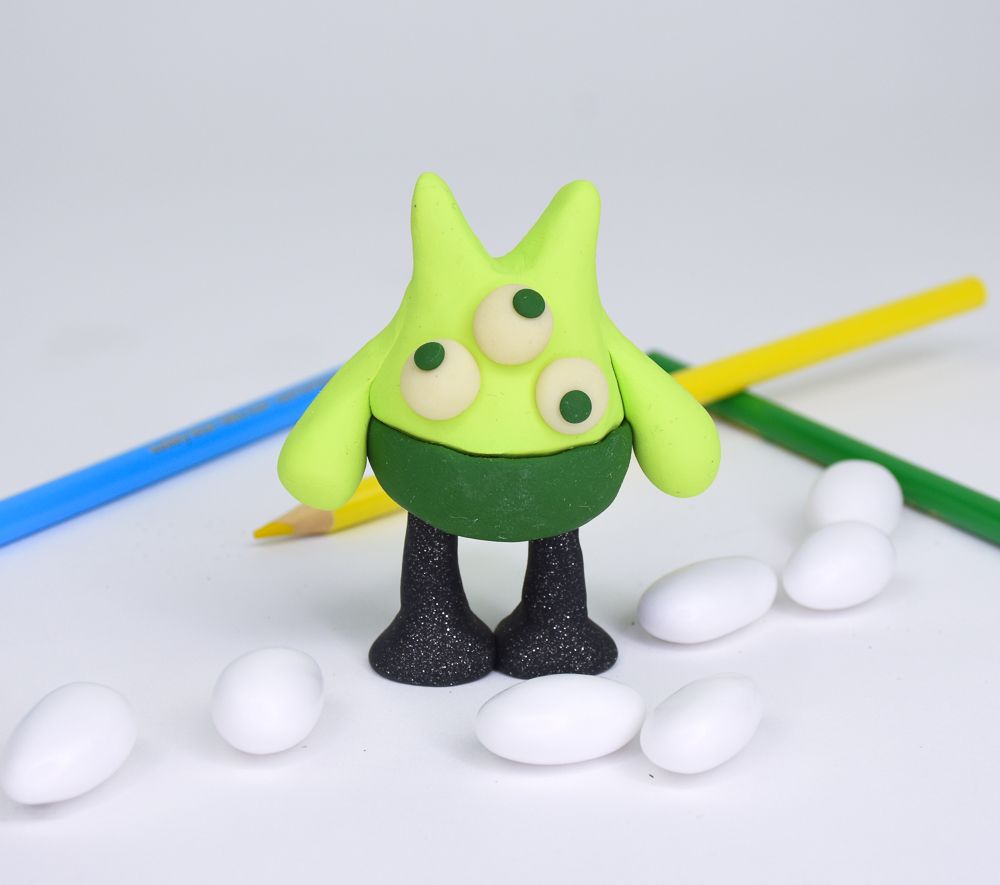
Who doesn’t love a cute little monster for their desktop? Build this one in about an hour!COMPLETION TIME:60 Minutes to make and bake
ADDITIONAL SUPPLIES
- Toothpicks (2)
- Scissors or wire cutters

Project Instructions
Step 1
- Getting Started:
Start with clean hands, unwrap and knead clay until soft and smooth, or condition by running clay though a Pasta Machine. We recommend using a designated machine for clay purposes only. When working with multiple colors, clean hands with soap and water or baby wipes (we have found that baby wipes work best) before switching colors. Shape clay, pressing pieces firmly together. Wash hands after use.
- Baking (also called Curing):
Step 2
From 1/4 bar Black Glitter, make two long club shapes.
Step 3
Push a toothpick into each club shape.Flatten the thick part of the clubs to the work surface to make feet.
Push the feet side by side.
Make sure the two feet can stand up by themselves.
Bake the feet following the baking instructions for Sculpey III®.
Allow to cool completely before handling. Pre-baking will make the feet more sturdy to hold the body up later.

Step 4
While the legs are being baked you can work on the body.From 1/4 bar Leaf Green, make a domed patty on your work surface. This should be about 2” in diameter. This will be the bottom of the body.

Step 5
From 1/2 bar Spring Green, make a thick pear shape.
Step 6
Flatten the bottom of the pear shape. This will be the top of the body.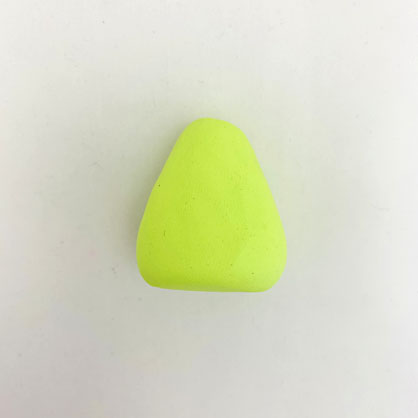
Step 7
Push the Leaf Green bottom to the Spring Green top.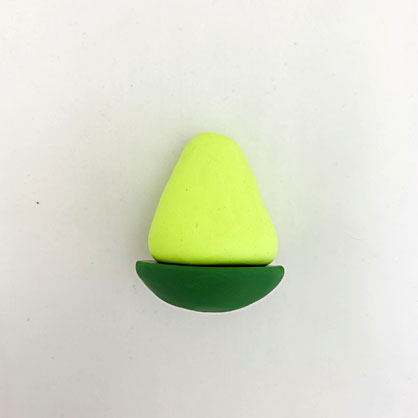
Step 8
Use your fingertips to pull the bottom up around the top.
Step 9
Now we will add the pre-baked legs.Compare the height of the toothpicks to the size of the body. We want to push the legs up into the body but we don’t want the toothpicks to stick out through the body. Trim the toothpicks as needed with scissors or wire cutters.
Push the toothpicks with the legs and feet up into the body.
Make sure the monster can stand on his legs without support.

Step 10
Stand the monster up.Push down using the Blunt Point Tool to divide the upper body into two lobes.

Step 11
Pinch the two lobes into soft points.
Step 12
From 1/8 bar Spring Green make two little tapered shapes for arms.
Step 13
Push the arms to the sides.
Step 14
Smooth the seams with your fingers.
Step 15
From Glow make three eyeballs.Before setting the eyeballs in place, make an indent with the Ball Tool to create eye sockets in the head. The eyes will set better into the eye sockets than just applying them to the flat face.

Step 16
Add Spring Green pupils to the eyes.Bake the monster following the baking instructions for Sculpey III®.
Allow to cool completely before handling.
