Skip to product information
1 of 1

Sculpey Eraser Clay Eraser Lips

Sculpey Eraser Clay Eraser Lips

Read More
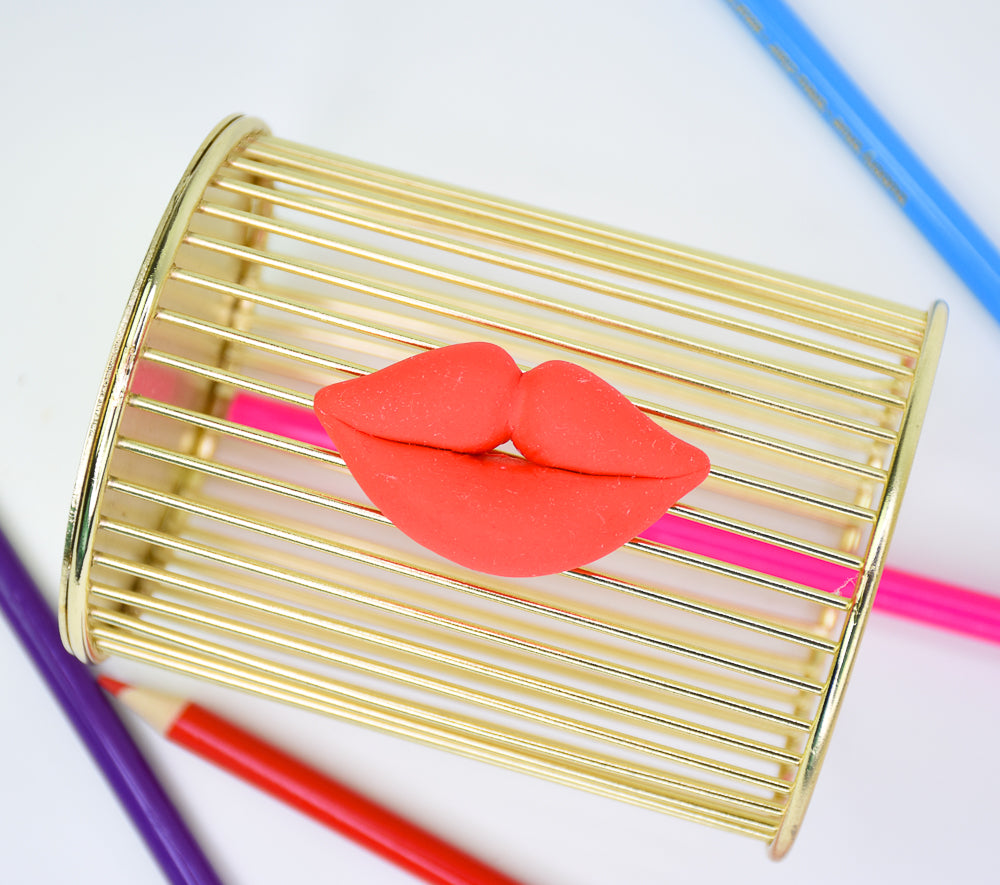
What a fun gift to make for a coworker or your BFF for their desktop! These luscious looking lips also can function as an eraser. TIME TO COMPLETION: 25 Minutes to make and bake Designed by Amy Koranek
Read Less
View full details
Project Instructions

Step 1

Getting Started:
Please make sure your work area is covered and you are not working on an unprotected surface. We recommend working on the Sculpey® Oven Safe Work Mat, wax paper, metal baking sheet, or disposable foil. Uncured clay may damage unprotected furniture or finished surfaces. Be sure to cover your crafting area appropriately.

Start with clean hands, unwrap and knead clay until soft and smooth, or condition by running clay though a Pasta Machine. We recommend using a designated machine for clay purposes only. When working with multiple colors, clean hands with soap and water or baby wipes (we have found that baby wipes work best) before switching colors. Shape clay, pressing pieces firmly together. Wash hands after use.

Baking:
Begin by preheating oven to 250°F (121°C). After you are done creating; for best results bake clay on an oven-proof surface such metal, aluminum foil, an index card or the Sculpey® Oven Safe Work Mat at 250°F (121°C) for 15 minutes per ¼" (6 mm) thickness according to package directions. Oven safe glass or ceramic surfaces are also acceptable for baking; however please note that the baking times may take longer as the glass or ceramic surfaces take longer to heat up. For best baking results, use an oven thermometer. DO NOT USE MICROWAVE OVEN. DO NOT EXCEED THE ABOVE TEMPERATURE OR RECOMMENDED BAKING TIME. BAKING SHOULD BE DONE BY AN ADULT.

Step 2

From one ounce of Red, create three simple shapes: two teardrop shaped tapers and a long taper that is pointed on both ends.

Step 3

Position the pieces as shown. Use your fingertips to add some curl to the outer edges of the mouth.

Step 4

Flatten the pieces making them come into good contact with each other and making the mouth larger.

Step 5

Add the finishing touches with your fingertips to make the mouth look just how you would like. Then bake following the baking instructions for Sculpey® Eraser Clay. Allow to cool completely before handling.