
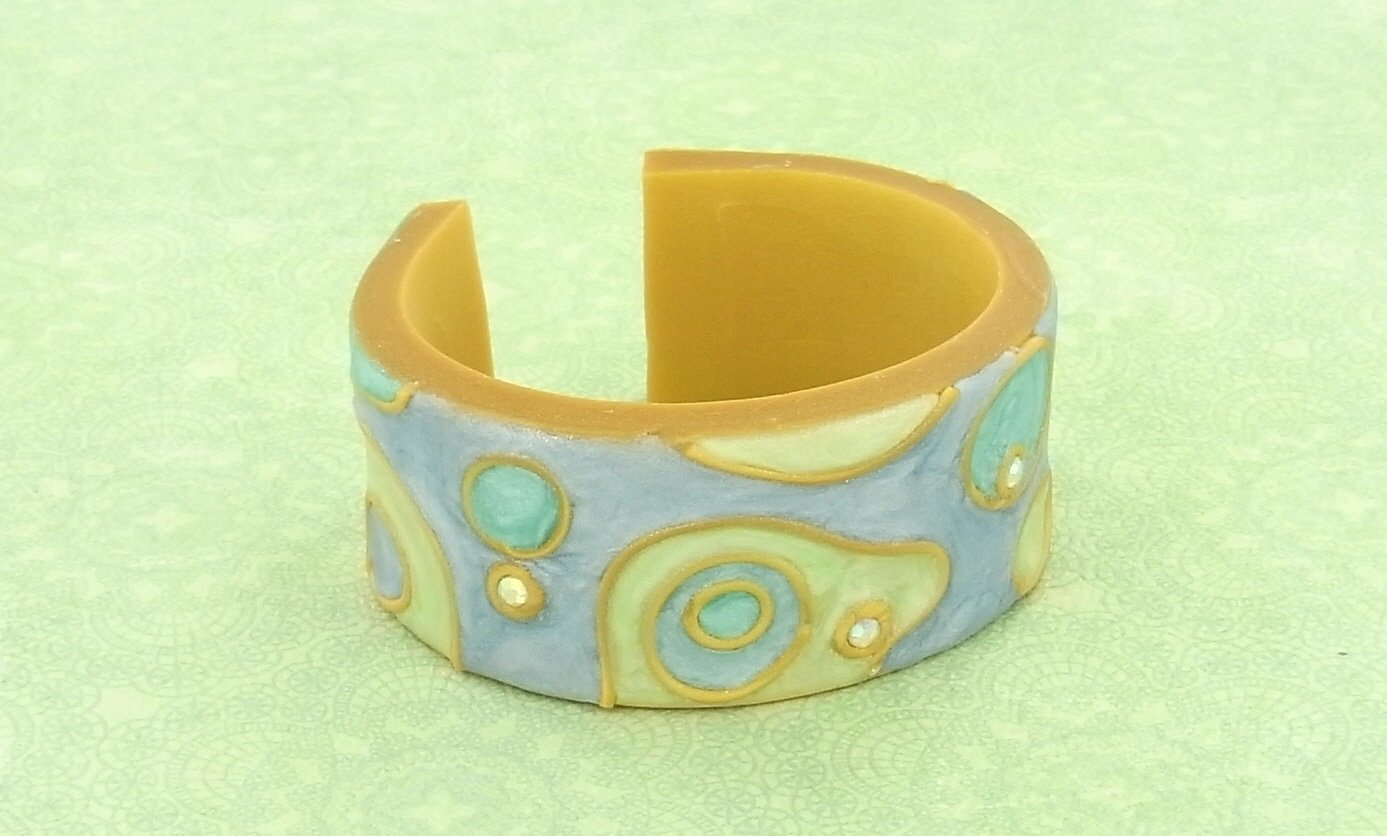
Sculpey Premo™ Swirled "Enamel" Cuff Bracelet
Sculpey Premo™ Swirled "Enamel" Cuff Bracelet
Read More
Glass enamel designs are made by fusing metal wire to metal sheet, then filling in each section with different colors of powdered glass that are melted in a kiln. Get the same gorgeous look the easy way with polymer clay.
Read Less
ADDITIONAL SUPPLIES
- Waxed paper or deli wrap
- Craft knife
- Hot fix 3mm round crystals
- Alcohol swabs or rubbing alcohol
- Paper towels
Project Instructions
- Getting Started:
Start with clean hands, unwrap and knead clay until soft and smooth, or condition by running clay though a Pasta Machine. We recommend using a designated machine for clay purposes only. When working with multiple colors, clean hands with soap and water or baby wipes (we have found that baby wipes work best) before switching colors. Shape clay, pressing pieces firmly together. Wash hands after use.
- Baking:
Make bracelet base from two #1 sheets of 18K Gold created with the Clay Conditioning Machine and rolled together with Acrylic Roller, cut to 1-1/4" x 6-3/4". Lay bracelet base on waxed paper. Spread thin layer of Oven Bake Clay Adhesive on top surface. Using smallest spaghetti disk in the extruder, extrude 18 K Gold strings. Make circles and designs on the bracelet base; pat lightly to adhere without distorting the clay. The Oven Bake Clay Adhesive will bond the strings to the base. Add small balls of 18K Gold and press in hot-fix crystals. Wrap clay around outside of cuff bracelet form. Bake for 30 minutes and allow to cool completely.

Mix 1/2 block Pearl and 1/2 block Translucent. Divide mixture in three. Add a pea-sized ball of Peacock Pearl to one part and mix thoroughly. Repeat with Bright Green Pearl and Ultramarine Blue to make three pastel colors. Press thin snakes and small balls into recessed areas between strings on bracelet surface, using one color per area. When all areas are filled with clay, smooth with your fingers, then wipe with alcohol swabs to remove fingerprints. Bake for 30 minutes. When completely cool, remove the bracelet from the cuff form and get ready for compliments!
