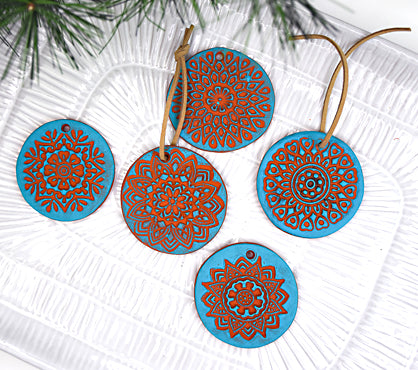
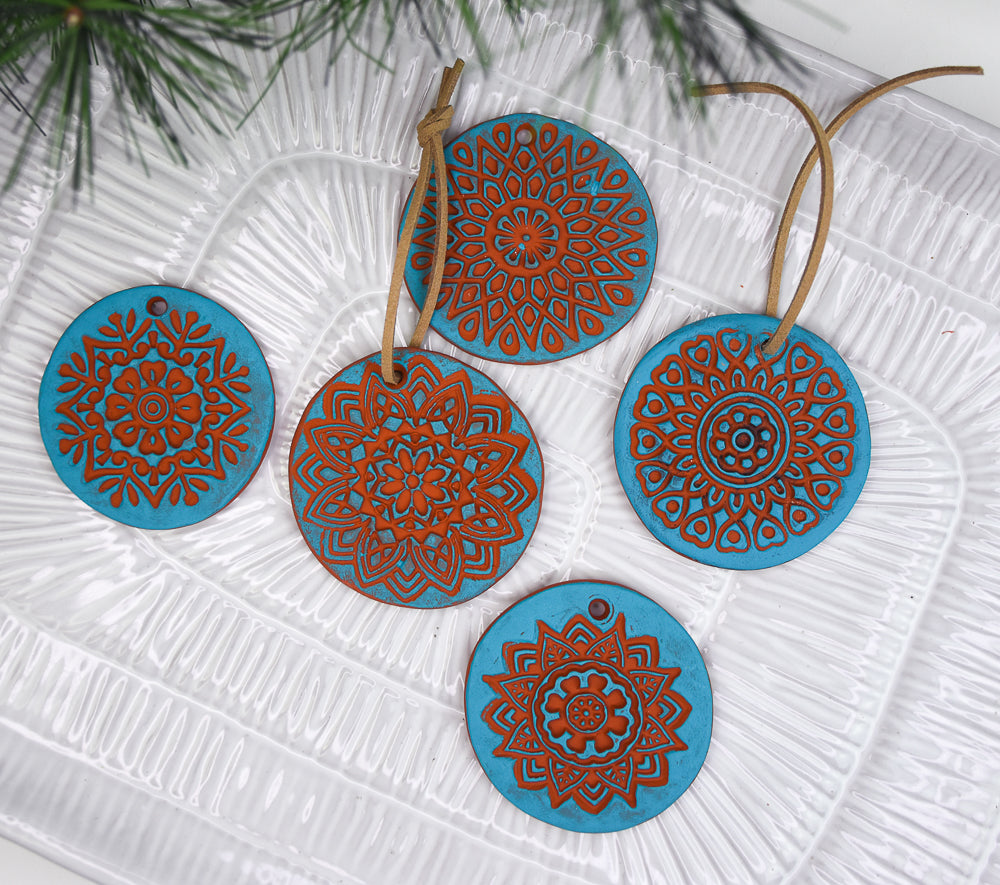
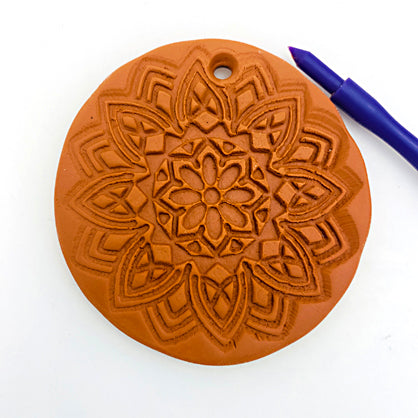
Original Sculpey® Terra Cotta Stamped Mandala Ornament
Original Sculpey® Terra Cotta Stamped Mandala Ornament
Read More
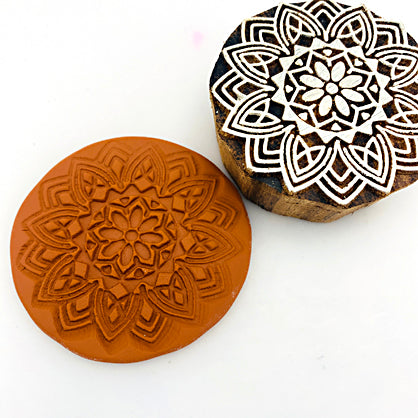
These gorgeous mandalas are so easy to create you will want to make them with all your favorite color accents!
TIME TO COMPLETION: 35 Minutes to make and bake
DESIGNED BY AMY KORANEK
Read Less
ADDITIONAL SUPPLIES
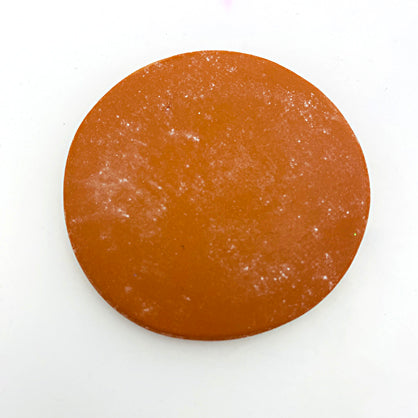
- Corn starch
- 2” Diameter rubber stamps with mandala pattern
- Scrap paper
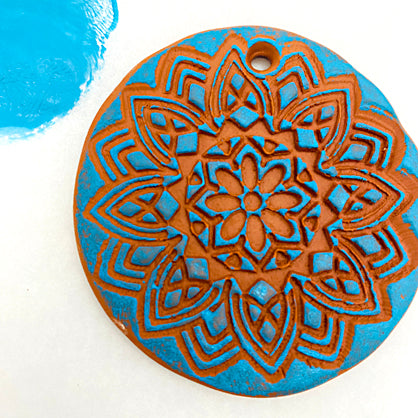
- Acrylic paint in Indian Turquoise
- 9” Coordinating cord of your choice
Project Instructions
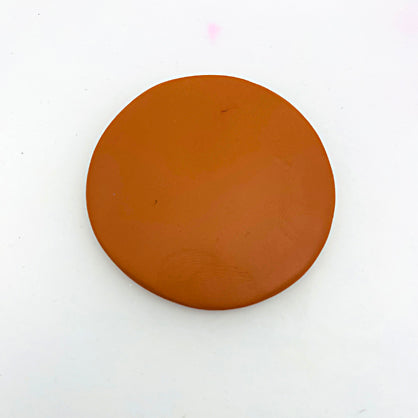
Step 1
Step 2

Step 3
Step 4
Step 5
Step 6
Step 7
748-8