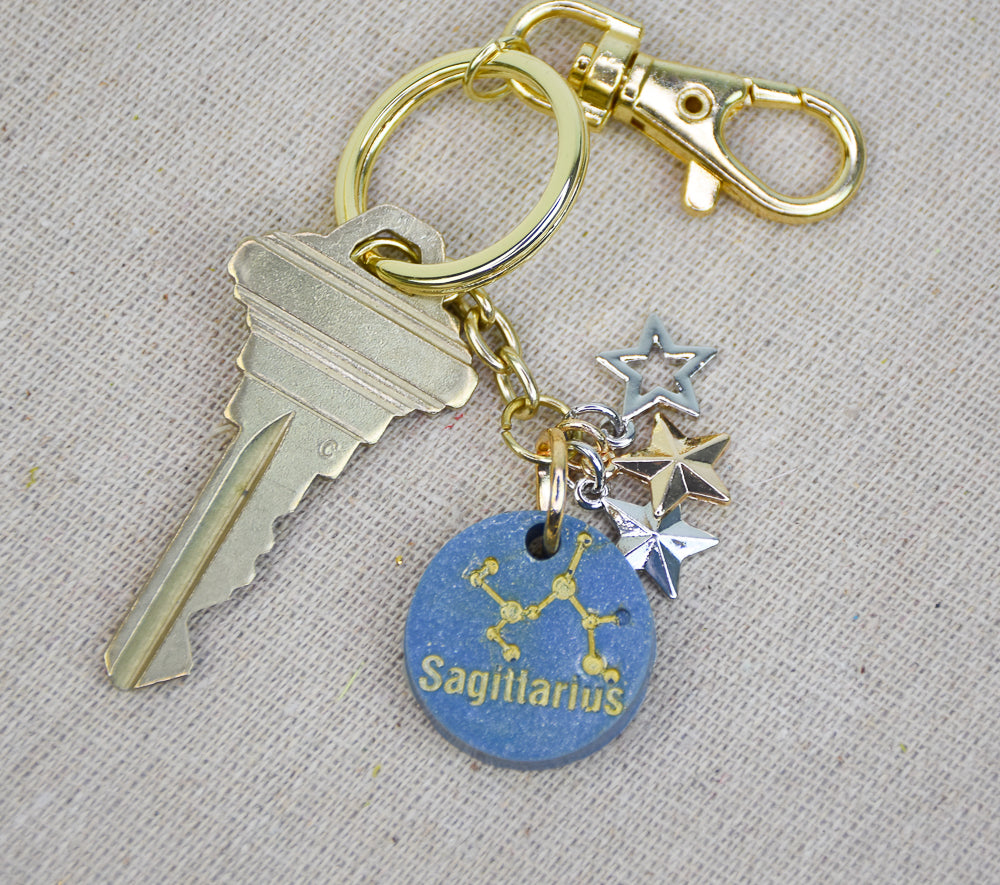
Liquid Sculpey® Zodiac Keychain
Liquid Sculpey® Zodiac Keychain
Read More
Create a custom gift in about an hour that will be sure to bring lots of smiles to the lucky recipient!
TIME TO COMPLETE: 60 minutes to bake and assemble
Read Less
ADDITIONAL SUPPLIES
- Toothpick
- Dish towel
- Paper towel
- Silicone zodiac mold
- Gold paint marker
- Rubbing alcohol
- Gold tone split key ring on chain with lobster clasp
- 8 mm Gold tone jump ring
- Assorted metal star charms (3)
- Flat nose pliers

Project Instructions
Step 1
Step 2

Step 3

Step 4

Step 5

Step 6

Step 7

Step 8
