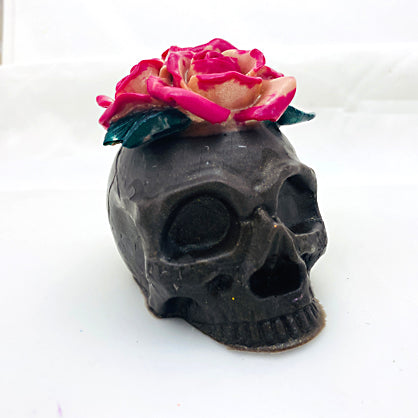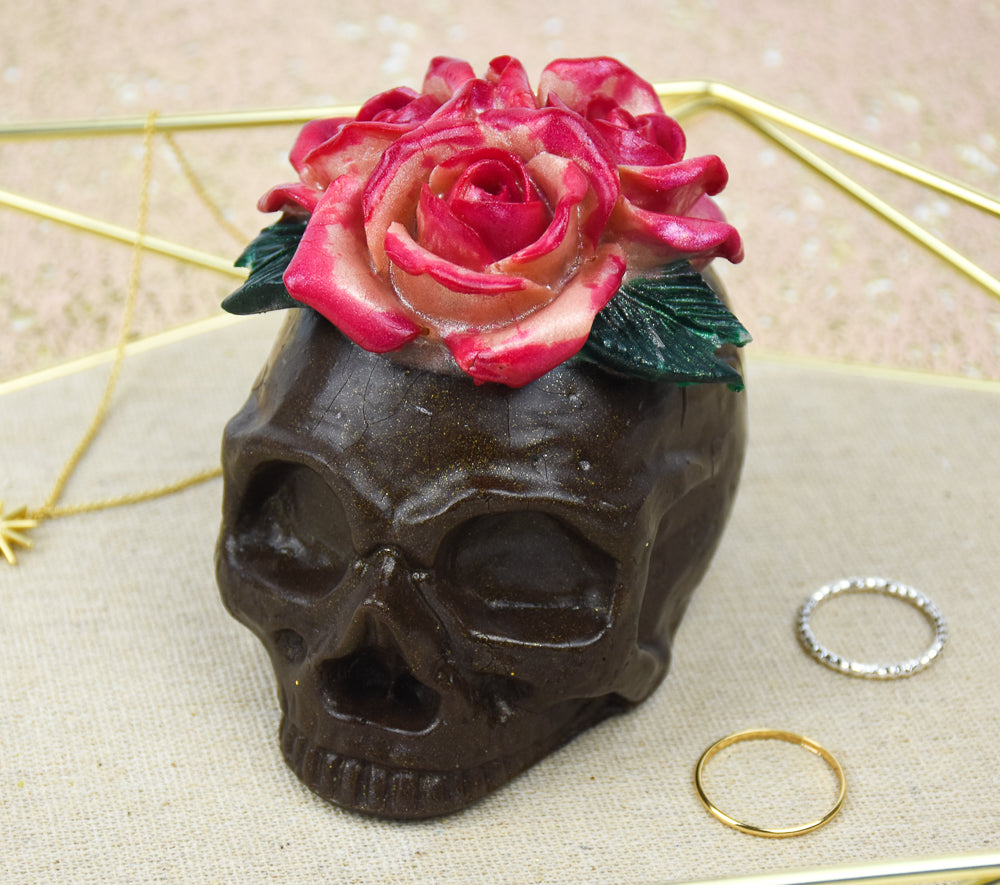
Liquid Sculpey® Skull and Roses
Liquid Sculpey® Skull and Roses
Read More
Read Less
“Wow!” You will hear that exclamation time and time again when you display this incredible skull and roses created with Liquid Sculpey®.
TIME TO COMPLETE:
2 Hours to make and bake (bakes 4 times)
Designed by Amy KoranekADDITIONAL SUPPLIES
- Paper towel
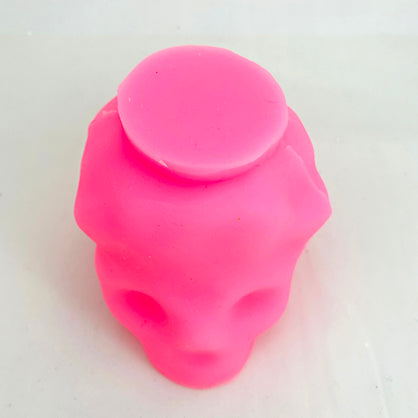
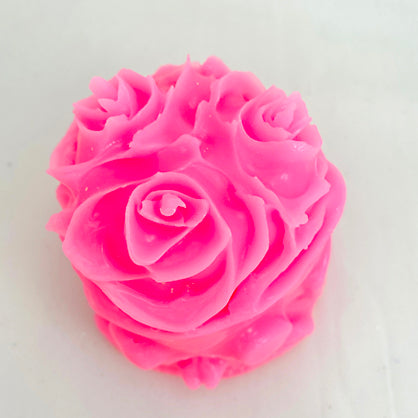
- Oven safe silicone skull mold with roses
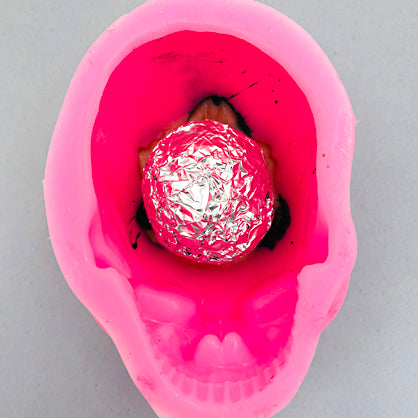
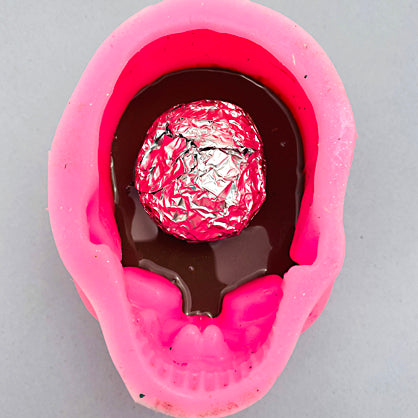
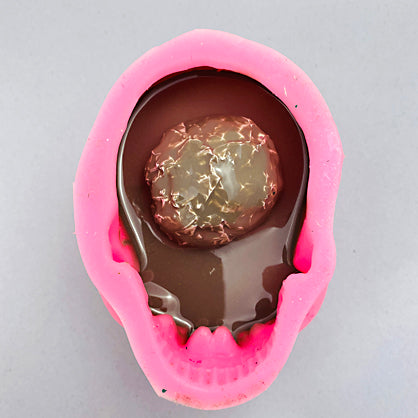
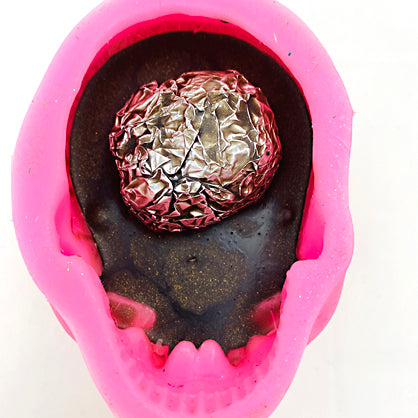
- Aluminum foil
- Small disposable paintbrush

Project Instructions
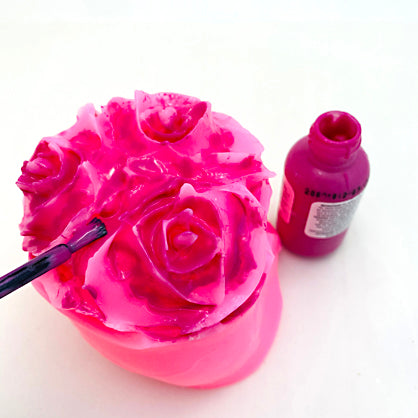
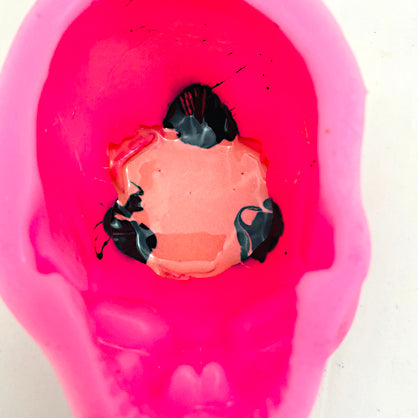
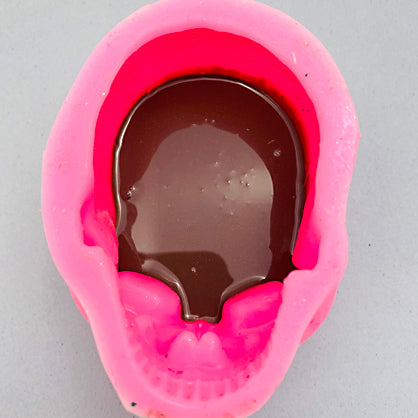
Step 1
Step 2
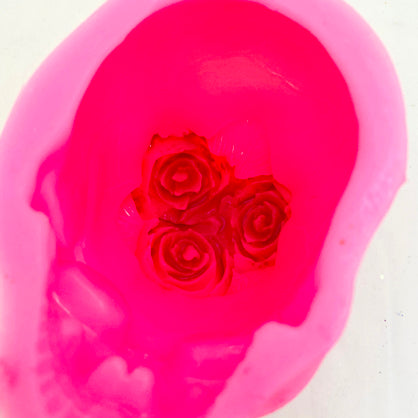
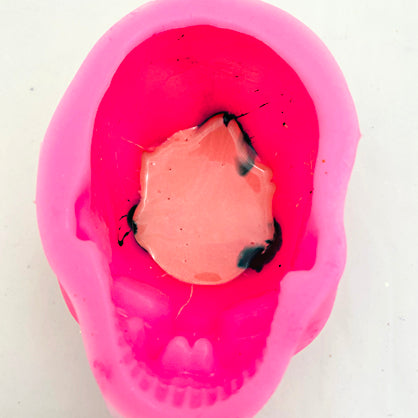
Step 3
Step 4
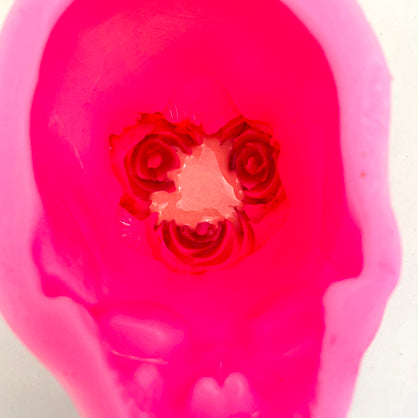
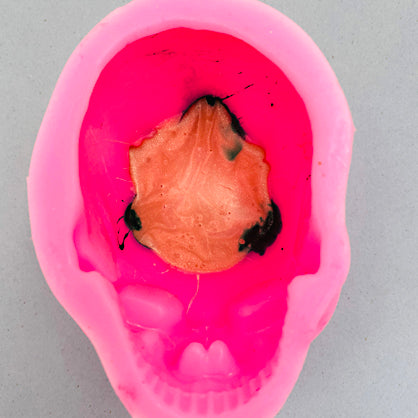
Step 5
Step 6
Step 7
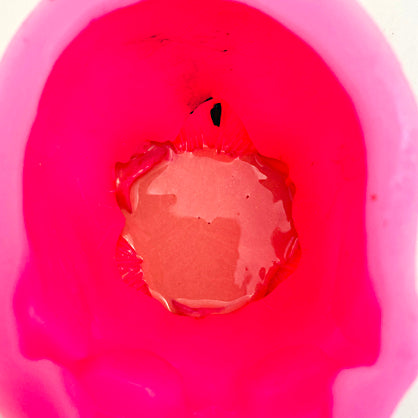
Step 8
Step 9
Step 10
Step 11
Step 12
Step 13
Step 14
Step 15
Step 16