Liquid Sculpey® Tinted Mod Round Earrings
Liquid Sculpey® Tinted Mod Round Earrings
Read More
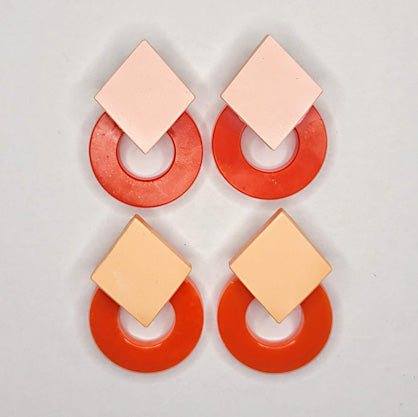
These earrings are a sure show-stopper! The colors are a combination of gorgeous pastel and saturated oranges. The Sculpey Tools™ Geometric Jewelry mold makes these a snap to create!
TIME TO COMPLETION: 30 minutes to mix and fill mold. 1 hour to bake (twice for the pair)
DESIGNED BY SYNDEE HOLT
Read Less
ADDITIONAL SUPPLIES
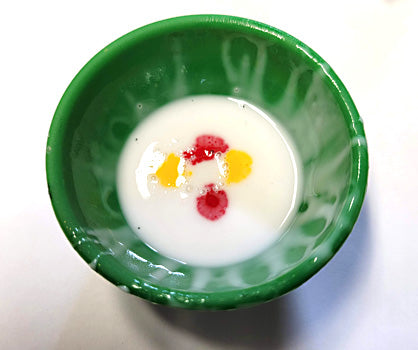
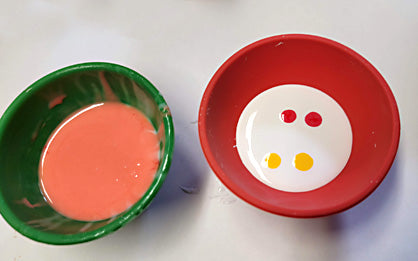
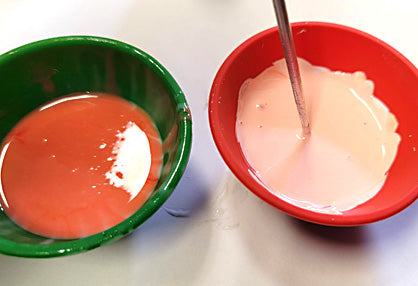
- Small mixing bowls (2)
- 3-4 popsicle craft sticks
- Earring Posts (2)
- Instant glue

Project Instructions
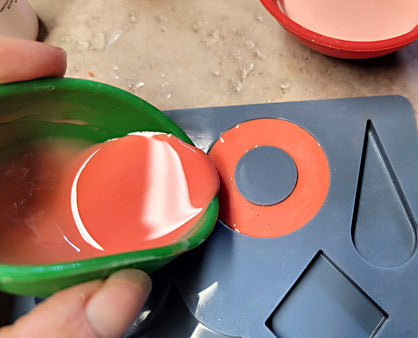
Step 1
Step 2
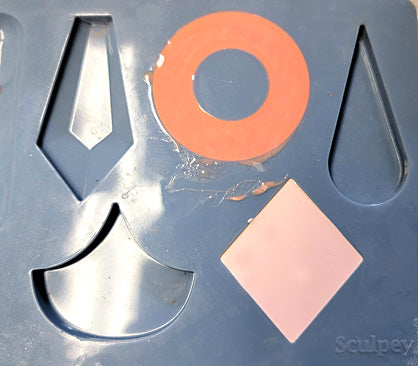
Step 3
Step 4
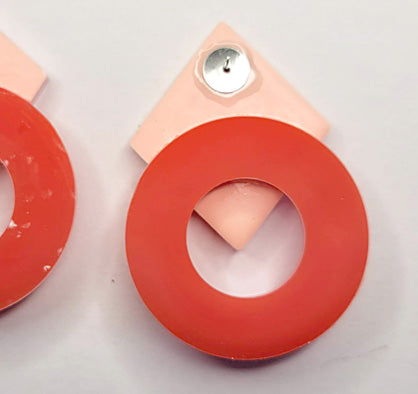
Step 5
Step 6
Step 7
Step 8