
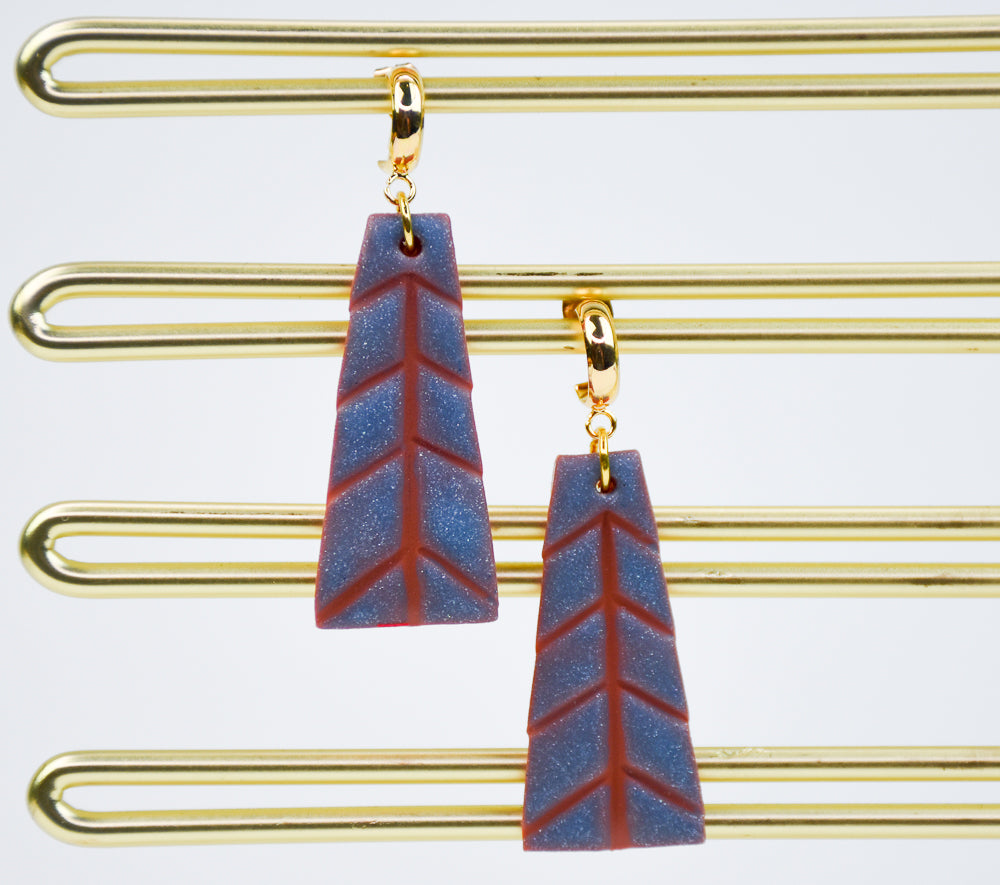
Liquid Sculpey® Faux Enamel Earrings
Liquid Sculpey® Faux Enamel Earrings
Read More
Creating a faux enamel look is easy to do when you team Liquid Sculpey® with your favorite color of bar clays! You will want to make these in all color palettes.
TIME TO COMPLETE:
2 Hours to make, bake (bakes 3 times), and assemble
Designed by Amy Koranek
Read Less
ADDITIONAL SUPPLIES
- Paper towel
- Disposable paper or plastic plate
- Optional - disposable paintbrush
- 6mm Gold tone jump rings (2)
- Gold tone earring toppers with backs (2)
- Flat nose pliers
Project Instructions
Step 1
Step 2

Step 3
756-3

Step 5

Step 6

Step 7

Step 8

Step 9

756-10

756-11

Step 12

Step 13
